20 Car Detailing Tricks That Look Expensive
Polished Results, Without The Luxury Price Tag
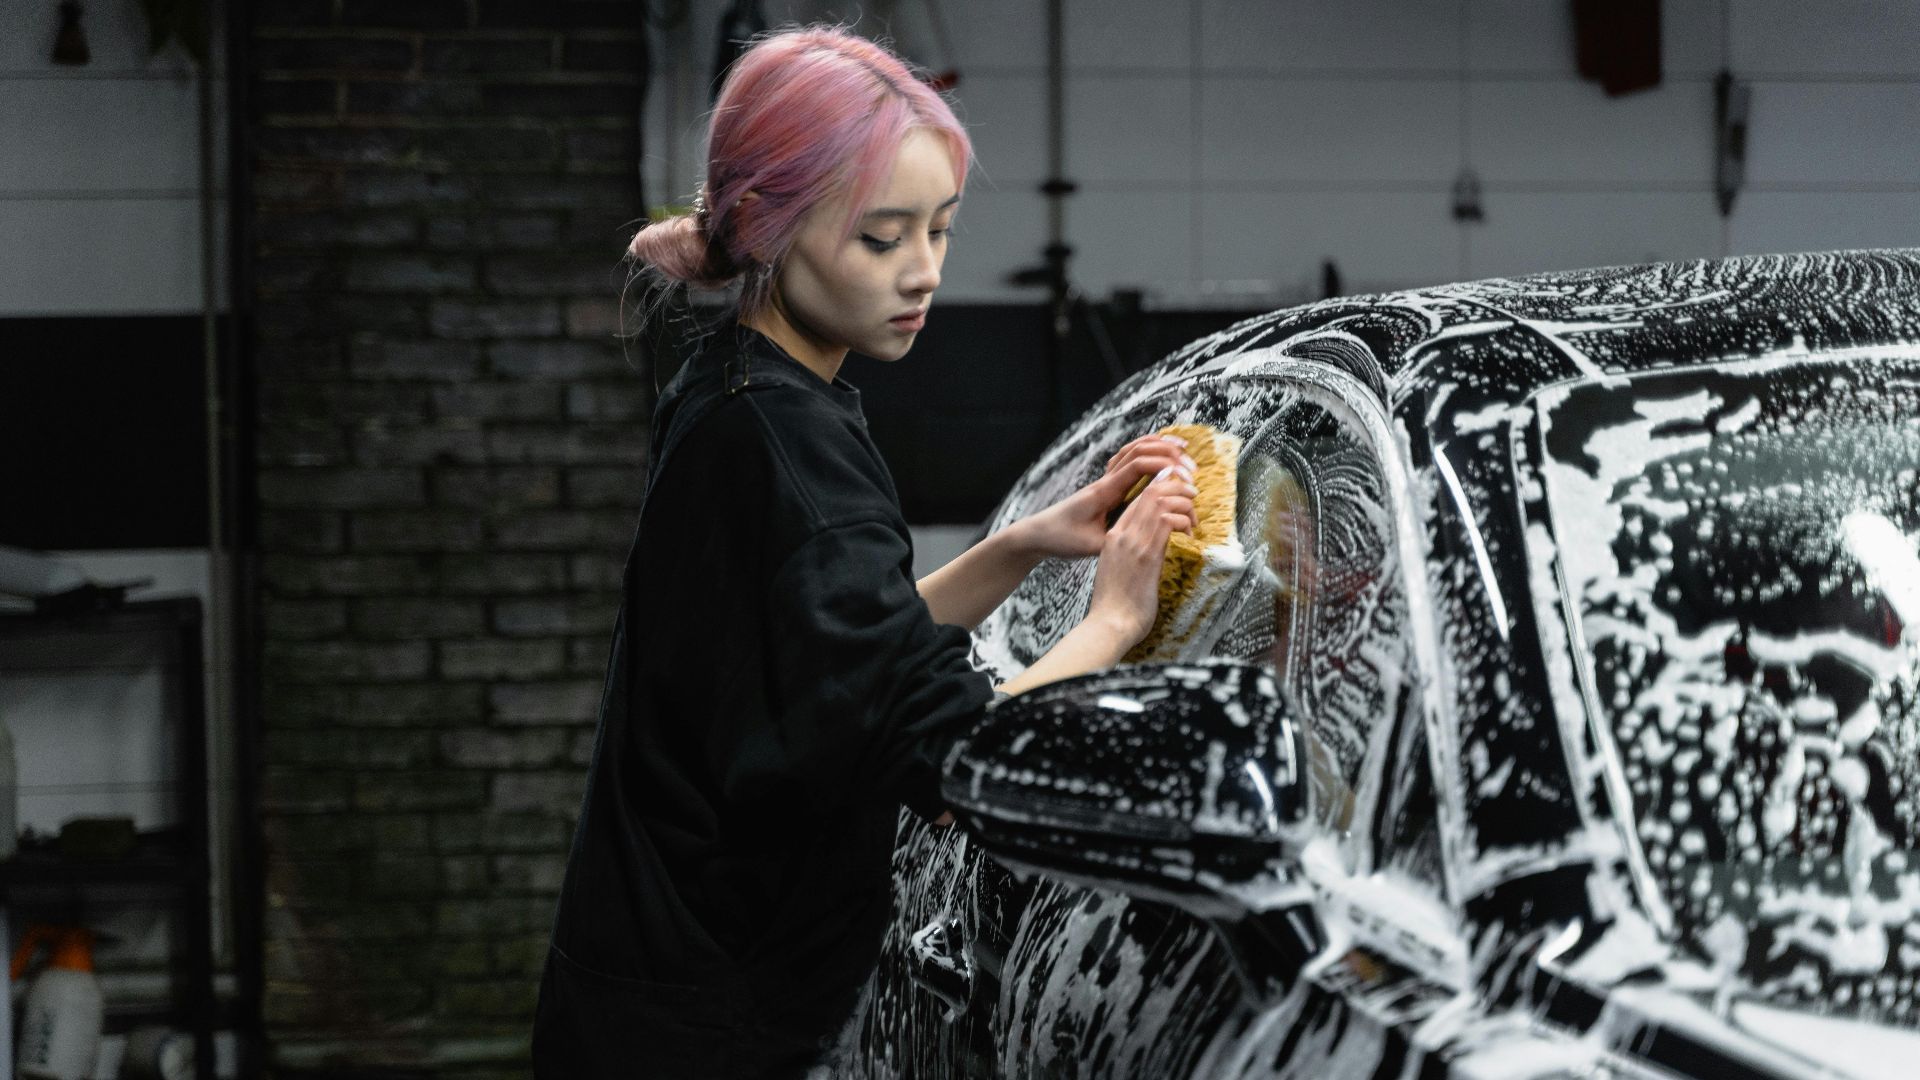
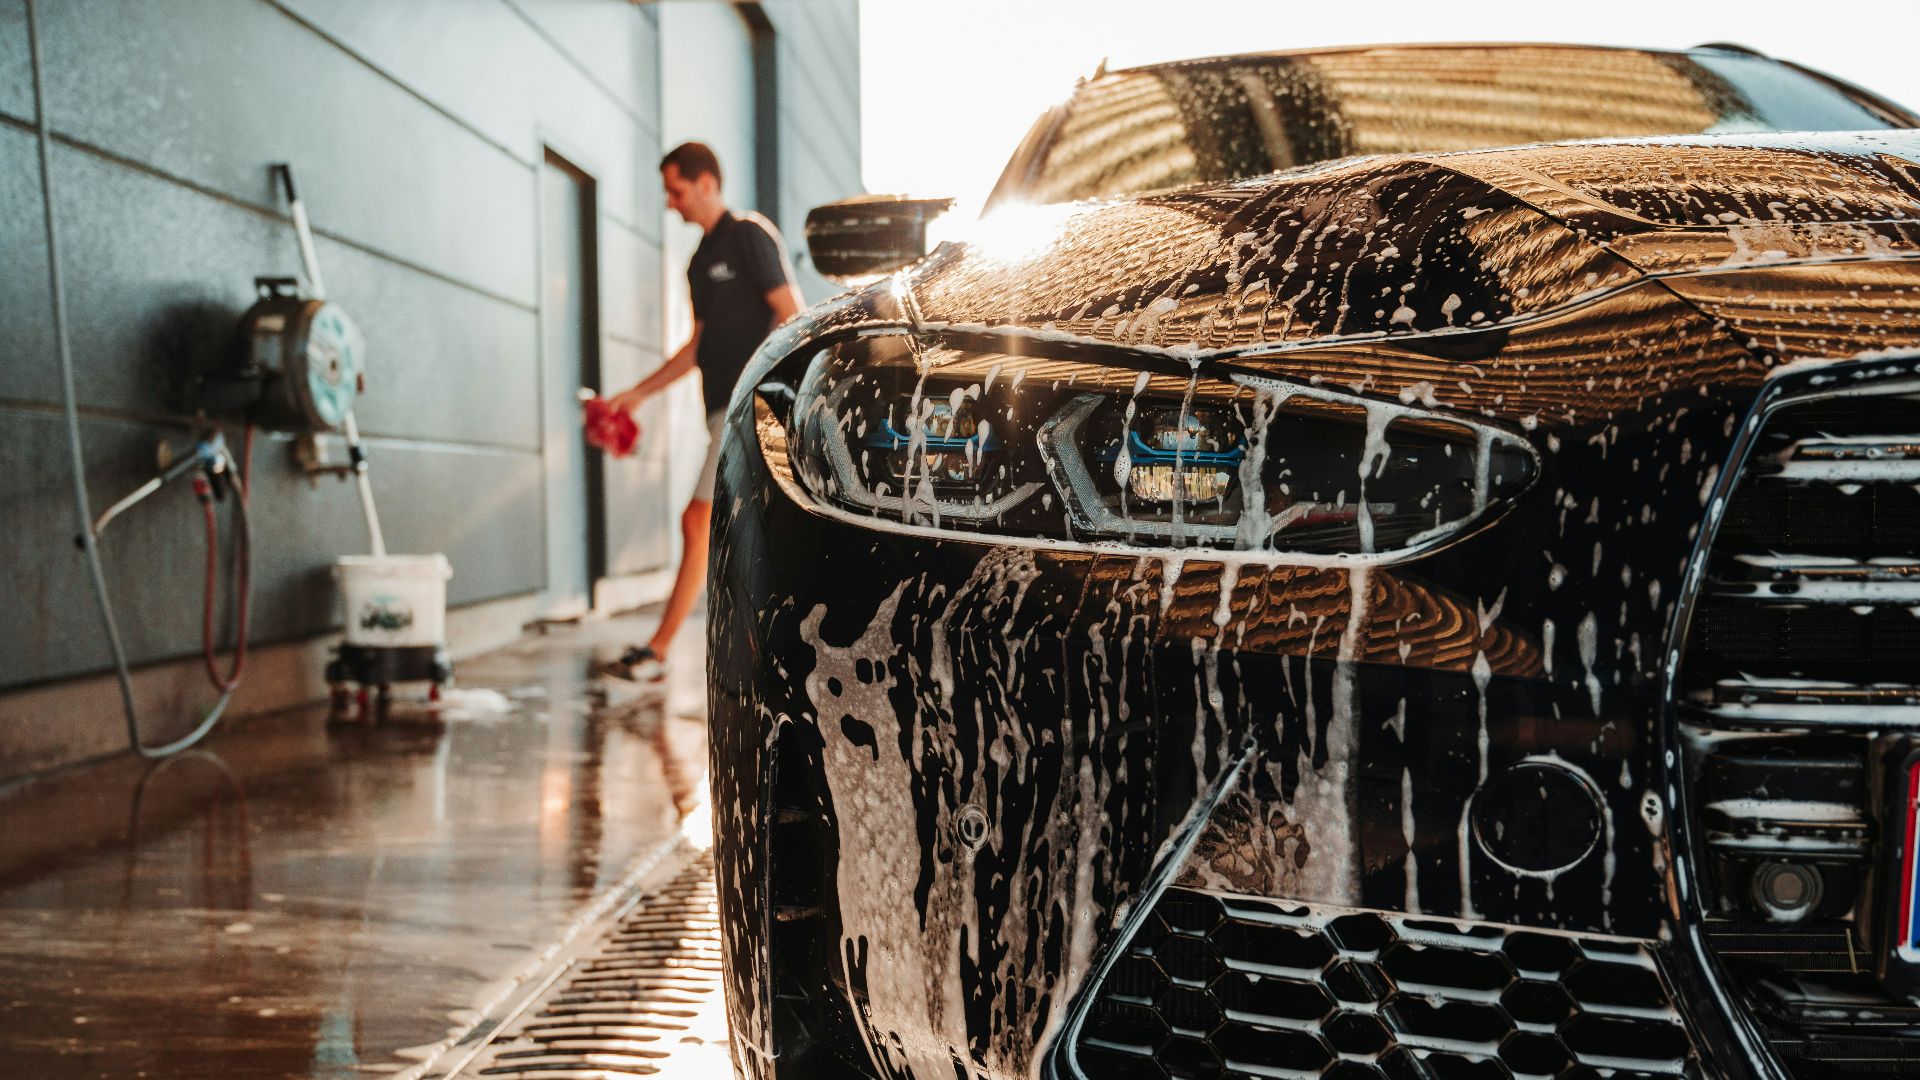
Here's a thing that doesn't get talked about enough: a car can run like a dream and still look, well, rough. Tired. Like it's given up a little. And the funny thing is, when a car looks expensive, it's rarely because someone threw money at fancy products. It's because somebody paid attention to the small stuff. Clean lines. Even finishes. No gunk hiding in the corners. That's it, really. To become the person with the classiest ride on the block, follow these 20 tricks.
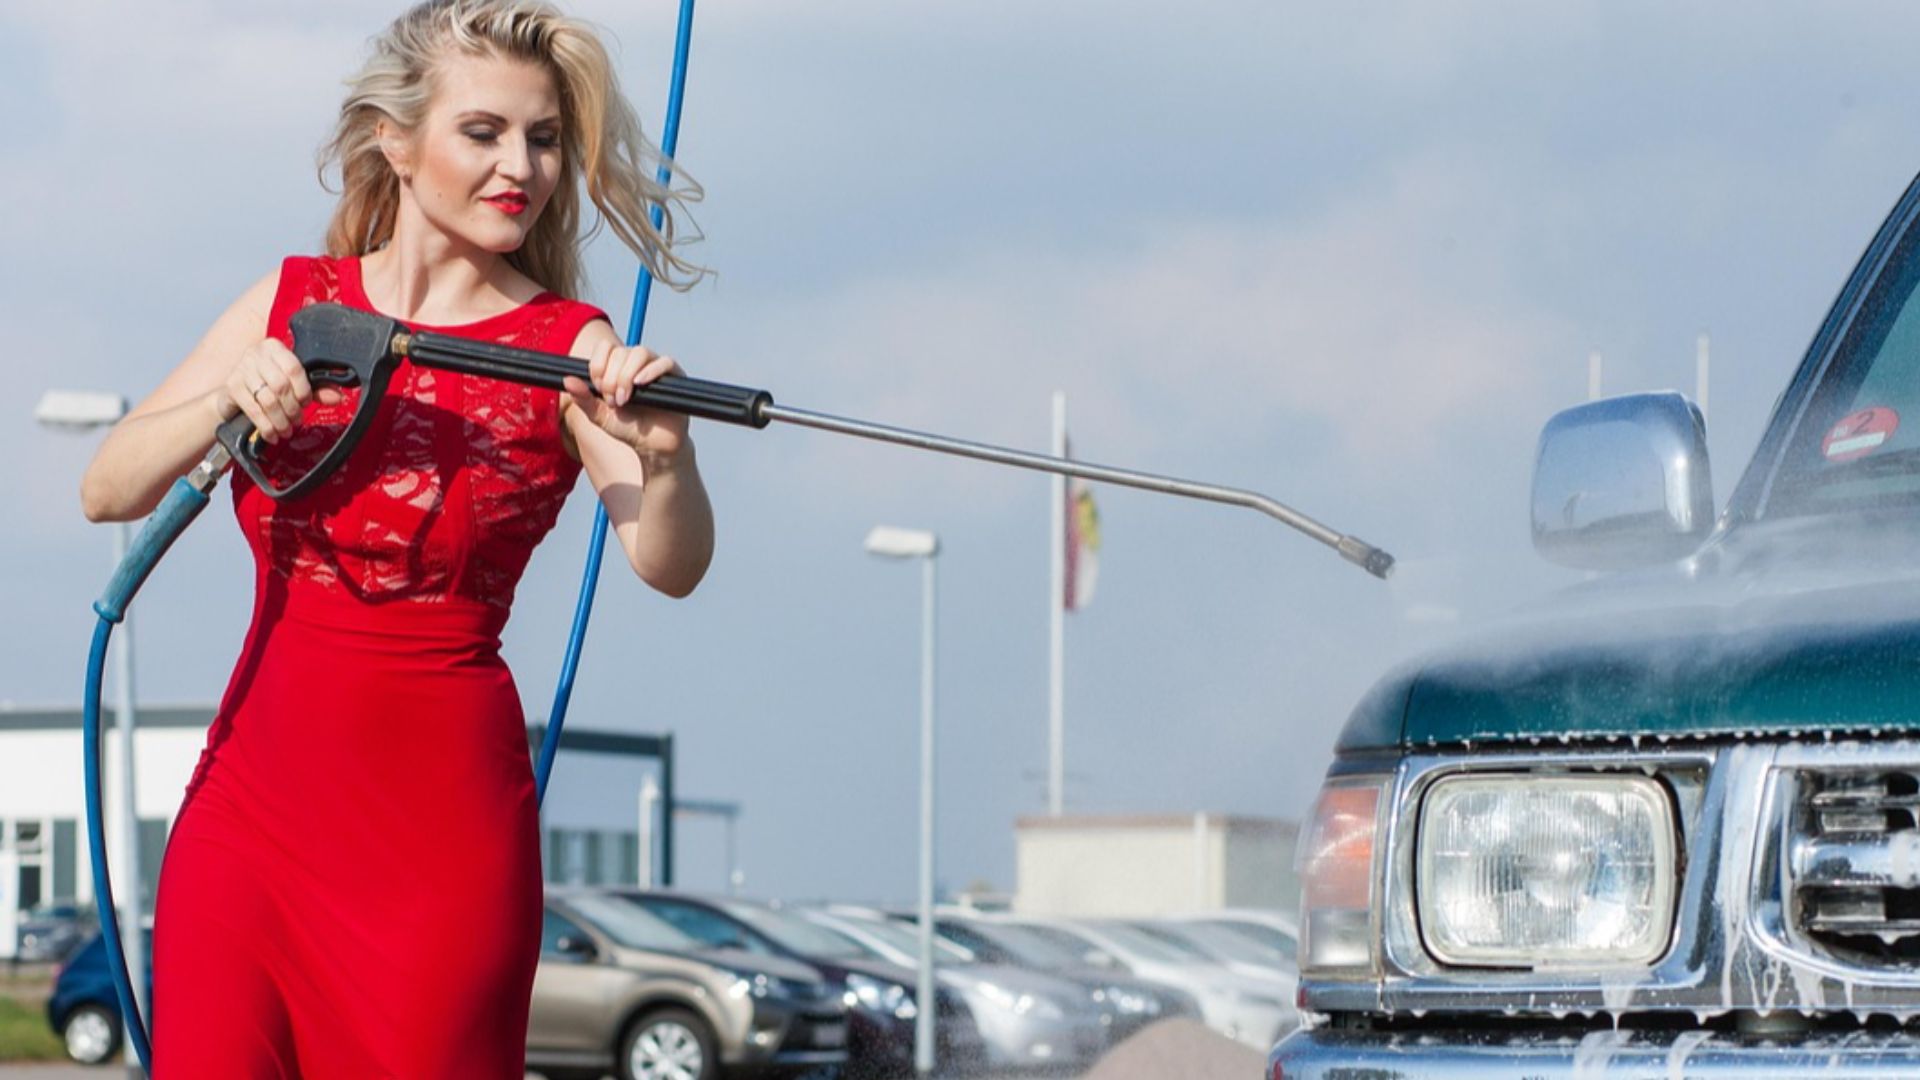
1. Two-Bucket Wash
One bucket of soapy water, one for rinsing your mitt. Keep that rinse water as clean as you can; otherwise, you're dragging last week's road grit straight across your clear coat. This one simple habit is honestly what separates paint that looks deep and rich from paint that looks scratched up and sad.
2. Door Jambs
You know that sticky gray film inside the door jambs? The one you only really notice when you're dressed nicely and lean against the car? Yeah, that one. A citrus-based bug remover and a small detailing brush will sort it out fast. Keep wiping until the towel comes away clean. When those jams are crisp, the whole car feels newer the second you swing the door open.
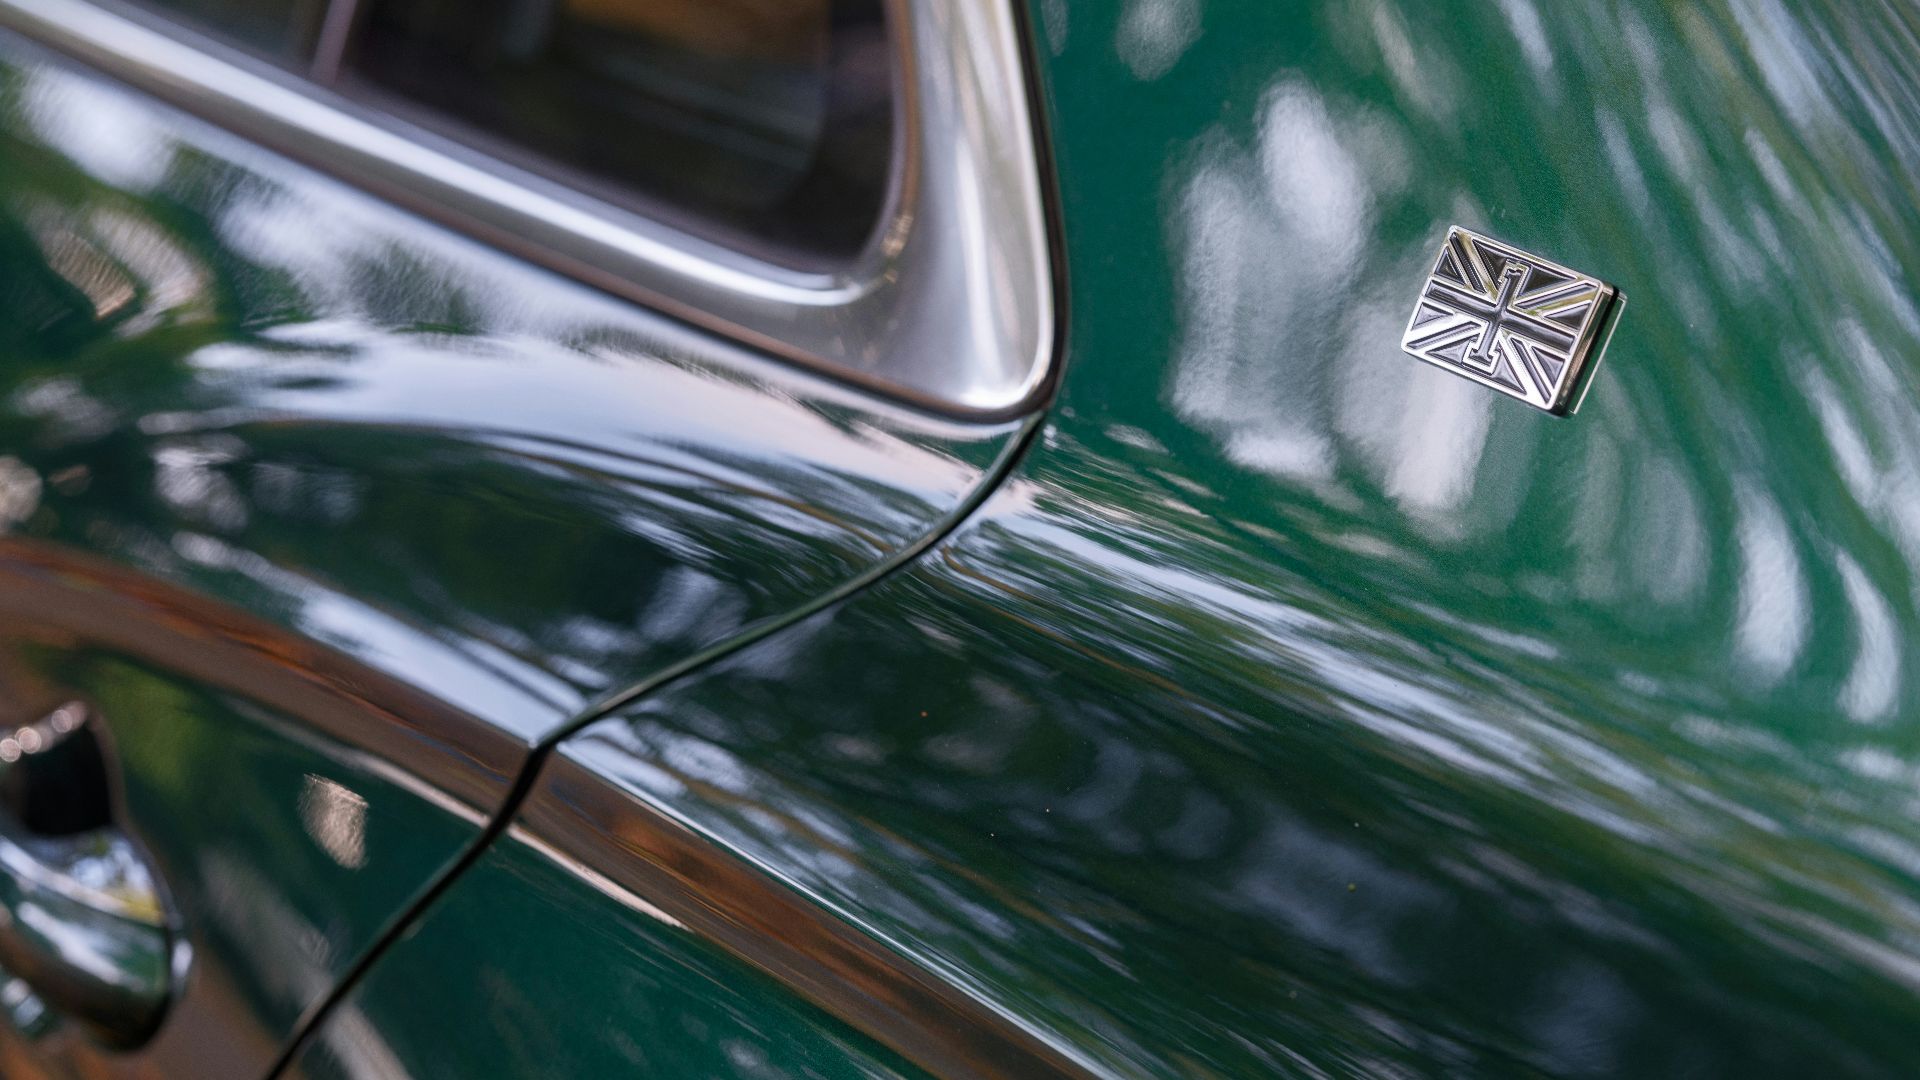
3. Crevice Cleaning
This is where "almost clean" goes to die. Work some cleaner into the tight seams around badges and trim edges with a soft brush, rinse well, and you'll suddenly notice how much sharper the bodywork looks.
4. Panel Gaps
Panel gaps tend to get dusty even when the rest of the paint is gleaming. Mist a protectant onto a small towel or detailing swab and wipe inside the gaps. The subtle darkening and water beading make the car look actually maintained, not just rinsed off.
5. Gentle Drying
A lot of good washes get completely ruined in the drying stage, which you can tell by the haze that shows up in the afternoon sun. Use microfiber towels with minimal pressure. Let the towel absorb rather than scrub. Switch to a fresh section before it feels saturated. A swirl-free finish looks higher-end than almost any product you could buy.
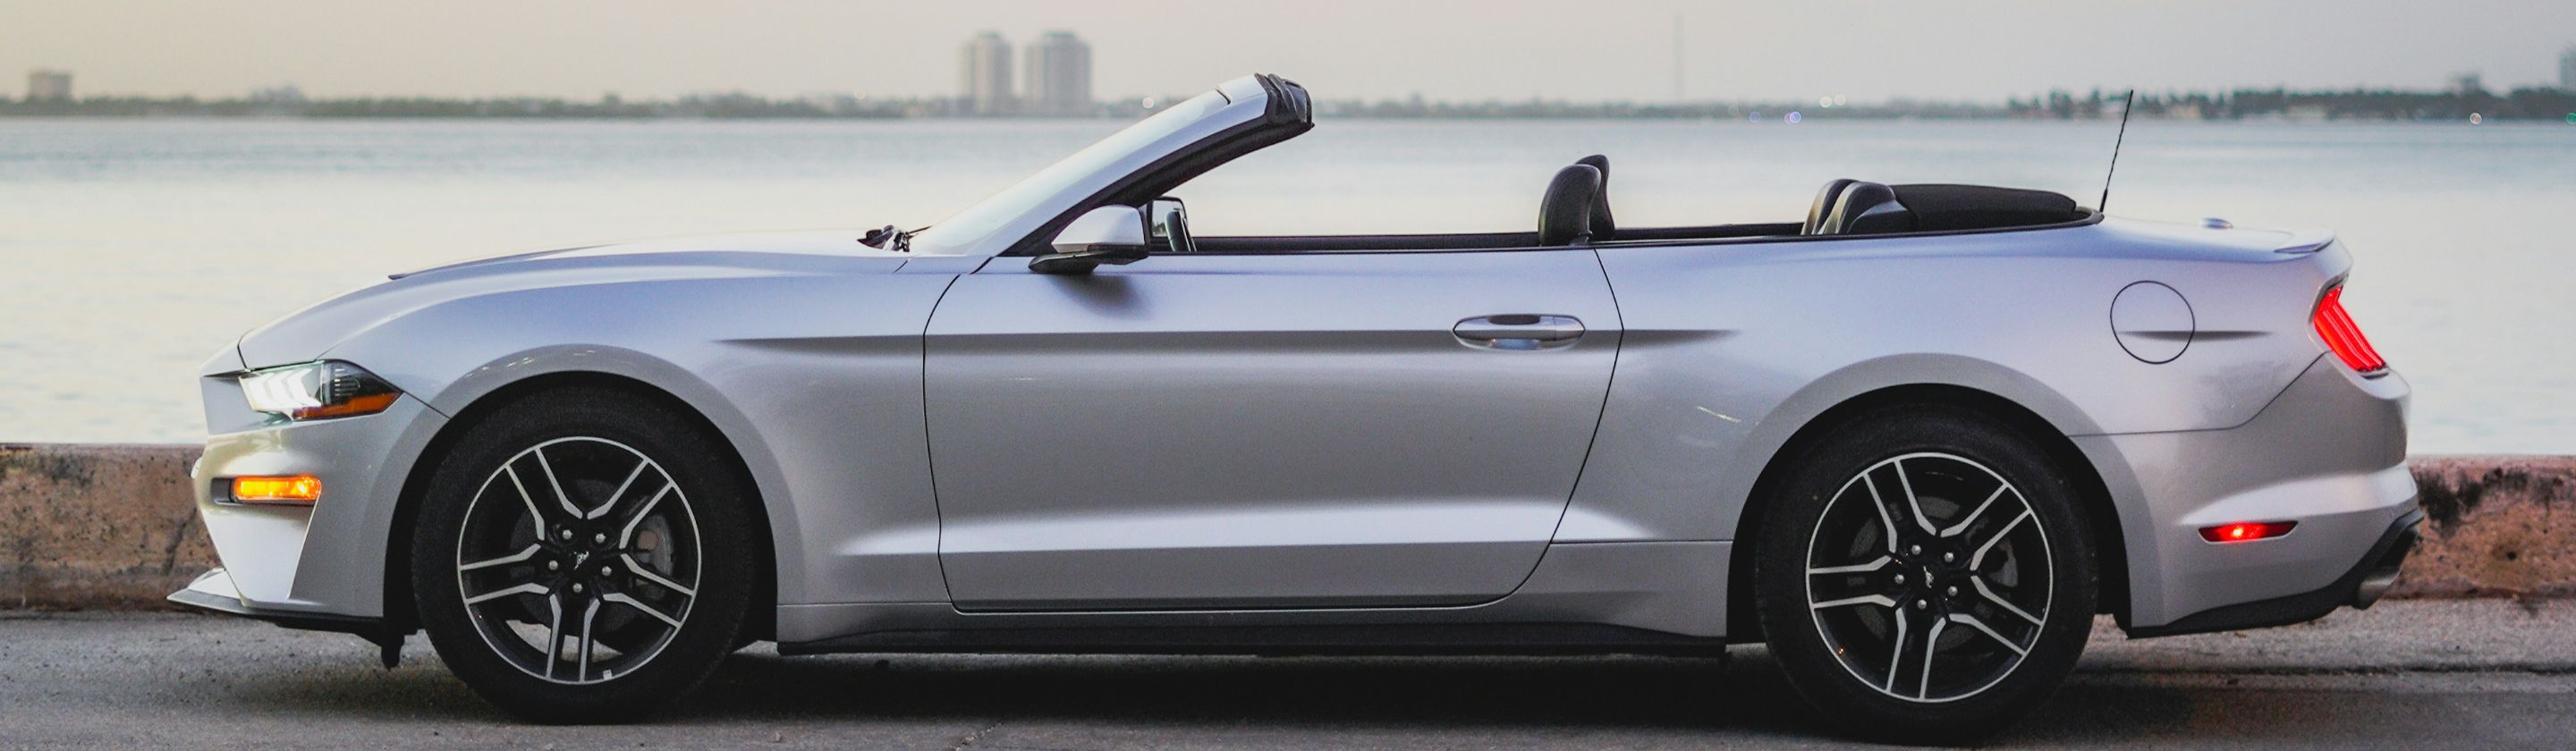
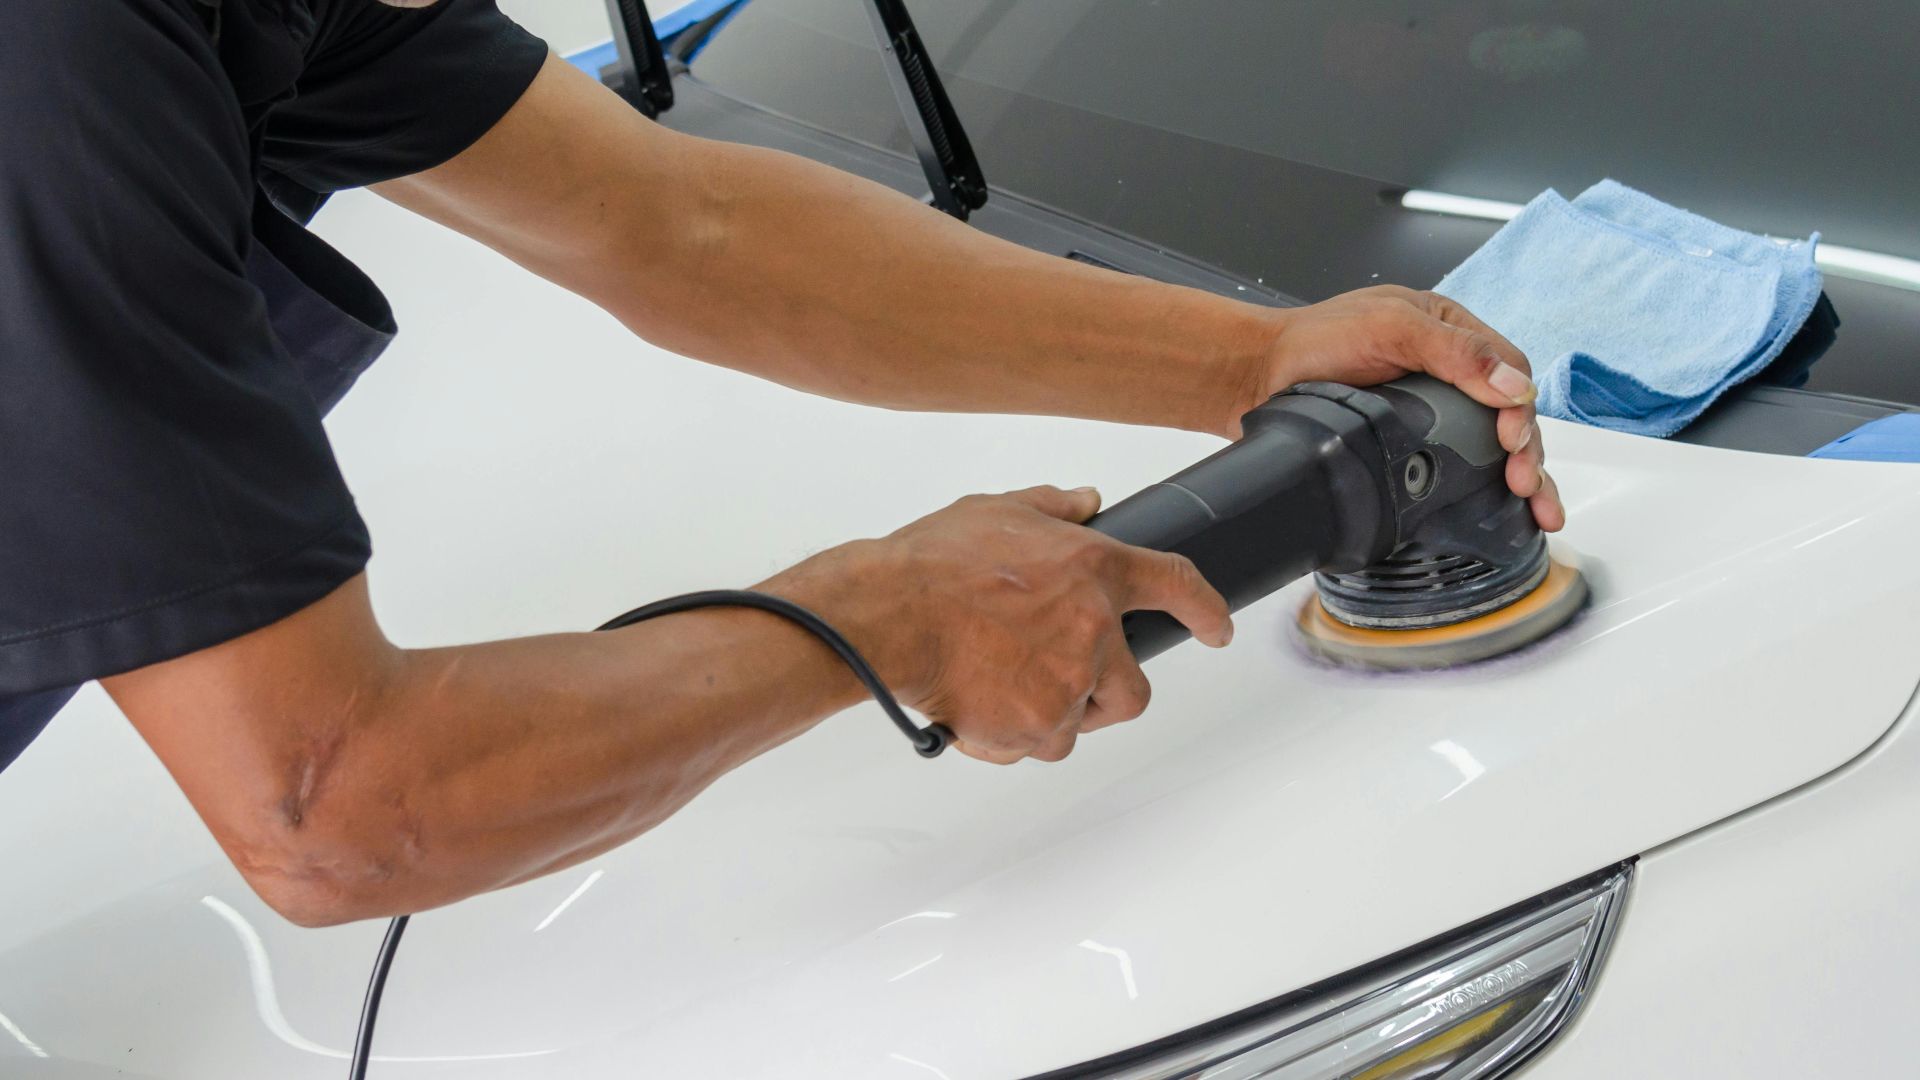
6. Polished Wheel Lips
Exposed metal edges and wheel lips can go from dull and forgettable to genuinely show-ready with basic metal polish. Work in small sections and buff until the metal shines like a diamond. That bright contrast against a darker wheel face looks like a pretty pricey upgrade.

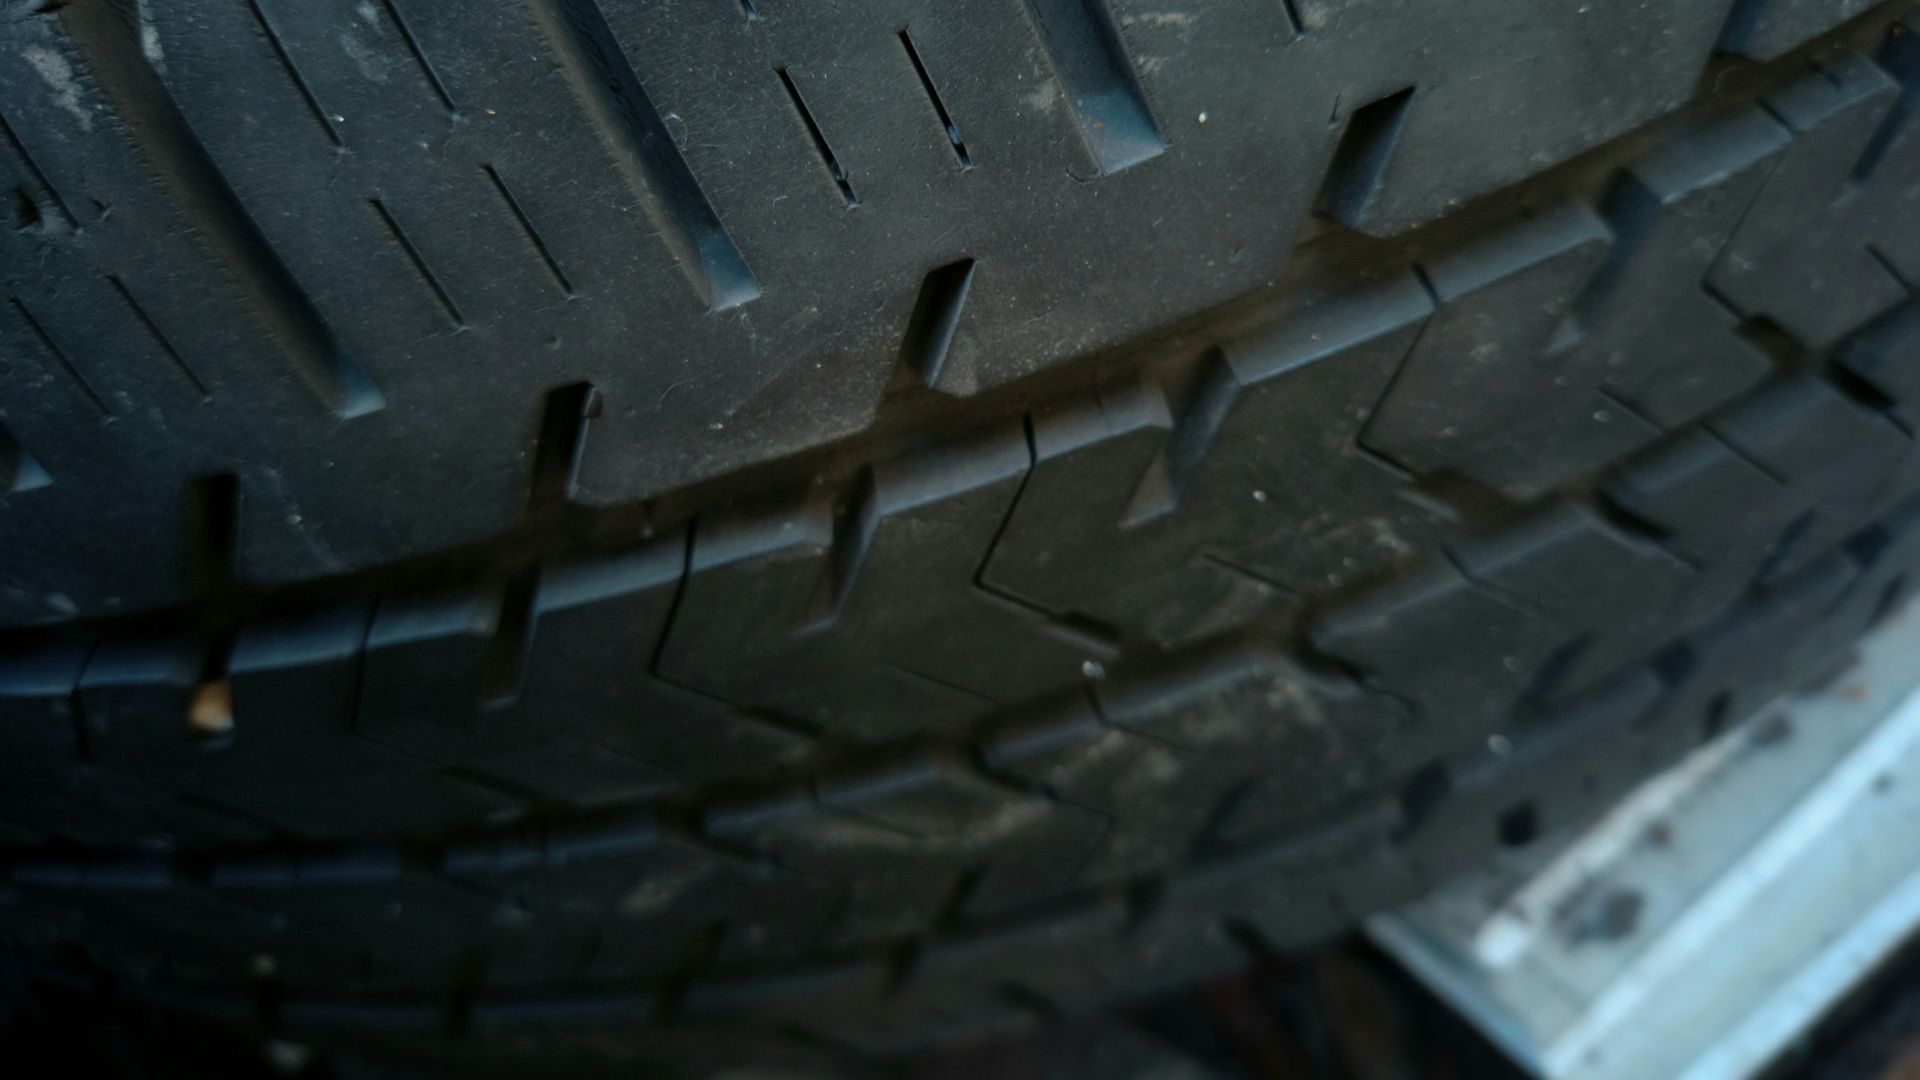
7. Brake Dust Corners
Even freshly washed wheels can look messy if baked-on grime is still hiding behind the spokes. A wheel-safe cleaner and a slim brush will reach those tight spots. Rinse until the water runs clear. When those hidden corners are clean, the whole wheel design looks spiffier, and the car looks better from ten feet away.
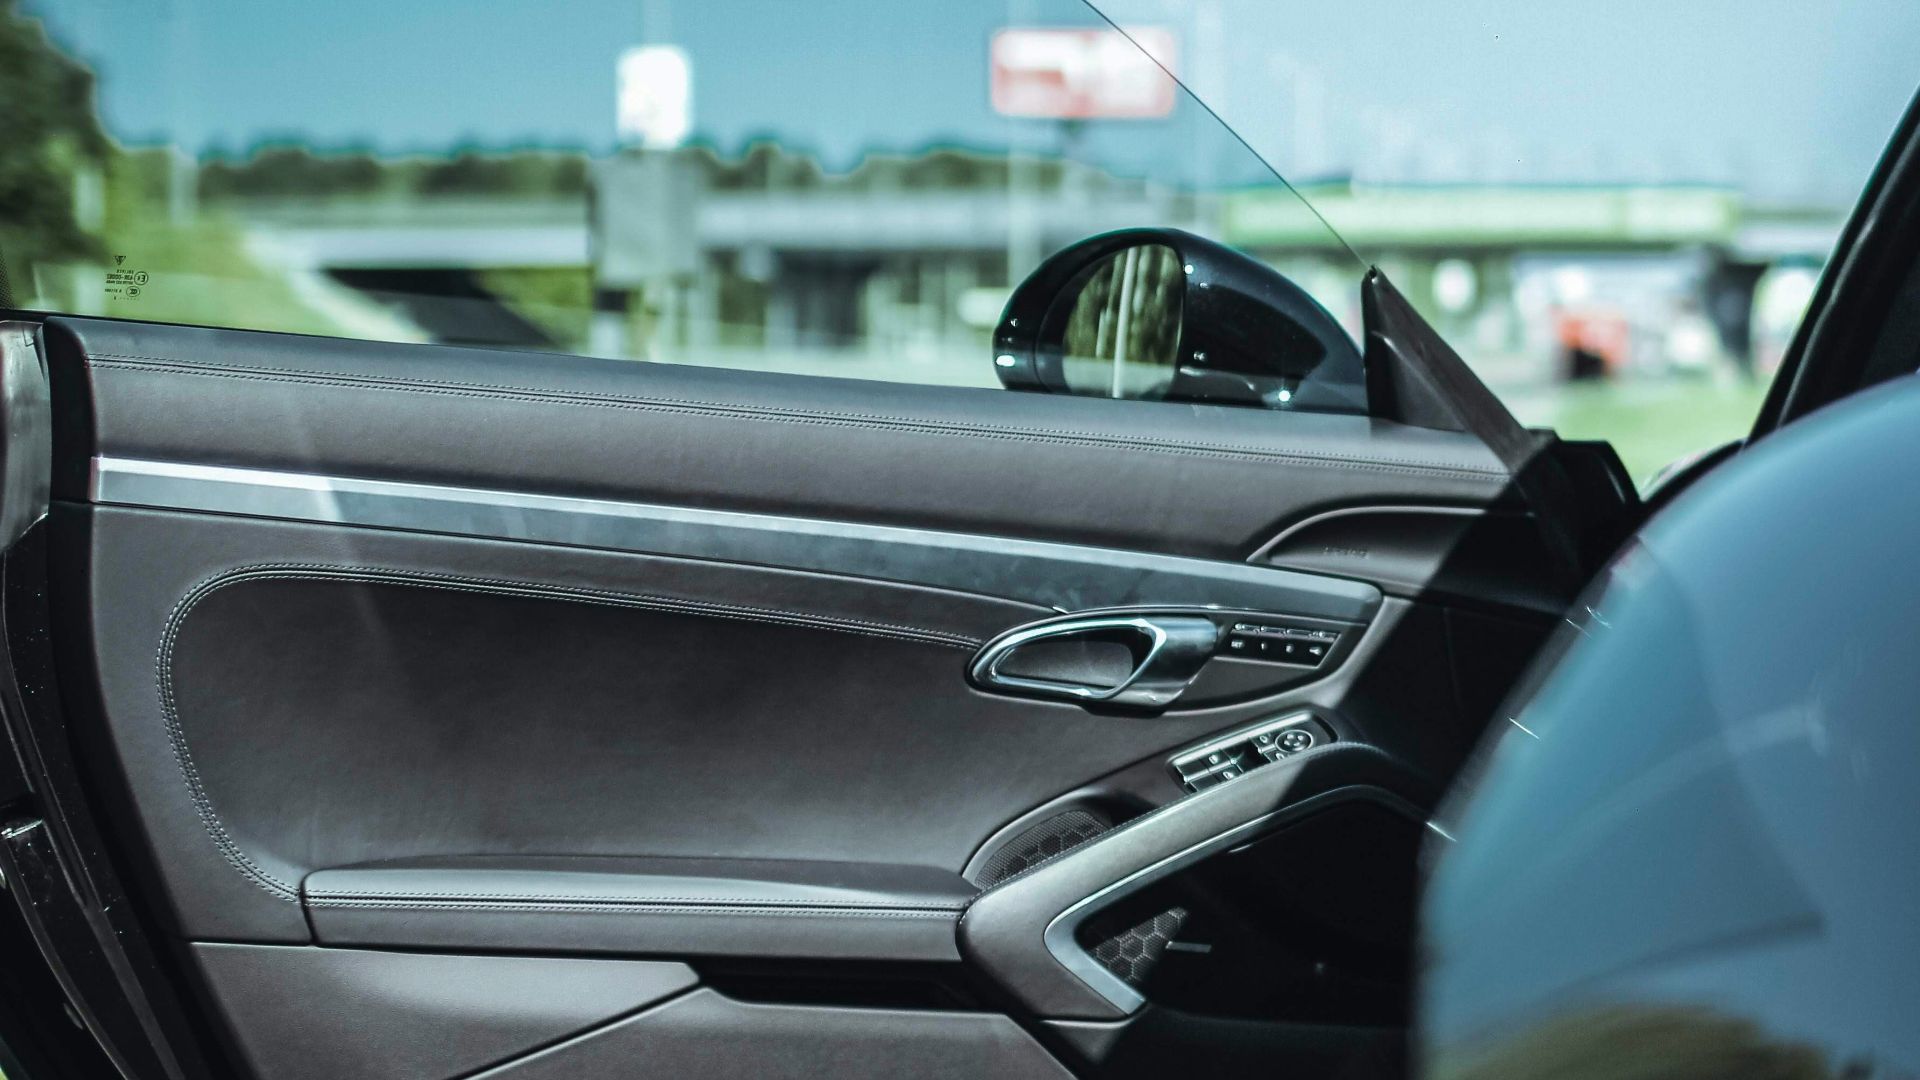
8. Restored Weather Strips
Faded door seals and window rubbers are such a visual distraction, especially on darker paint. Clean them with a rubber-specific cleaner, wipe until the surface looks even, and the glass line suddenly looks crisp again.

9. Silicone-Safe Wipes
Some rubber needs a gentle touch to stay looking good over time. Use a silicone-safe wipe along window rubbers, especially that top edge where dust just bakes in over summer. Buff lightly so it doesn't look greasy.
10. A Wax Or Sealant Stencil Detail
A small stencil pattern done cleanly in wax or sealant can look like a real custom touch. Pick a subtle spot, and keep the design simple. When done well, you’ll feel like you own a new luxury vehicle.
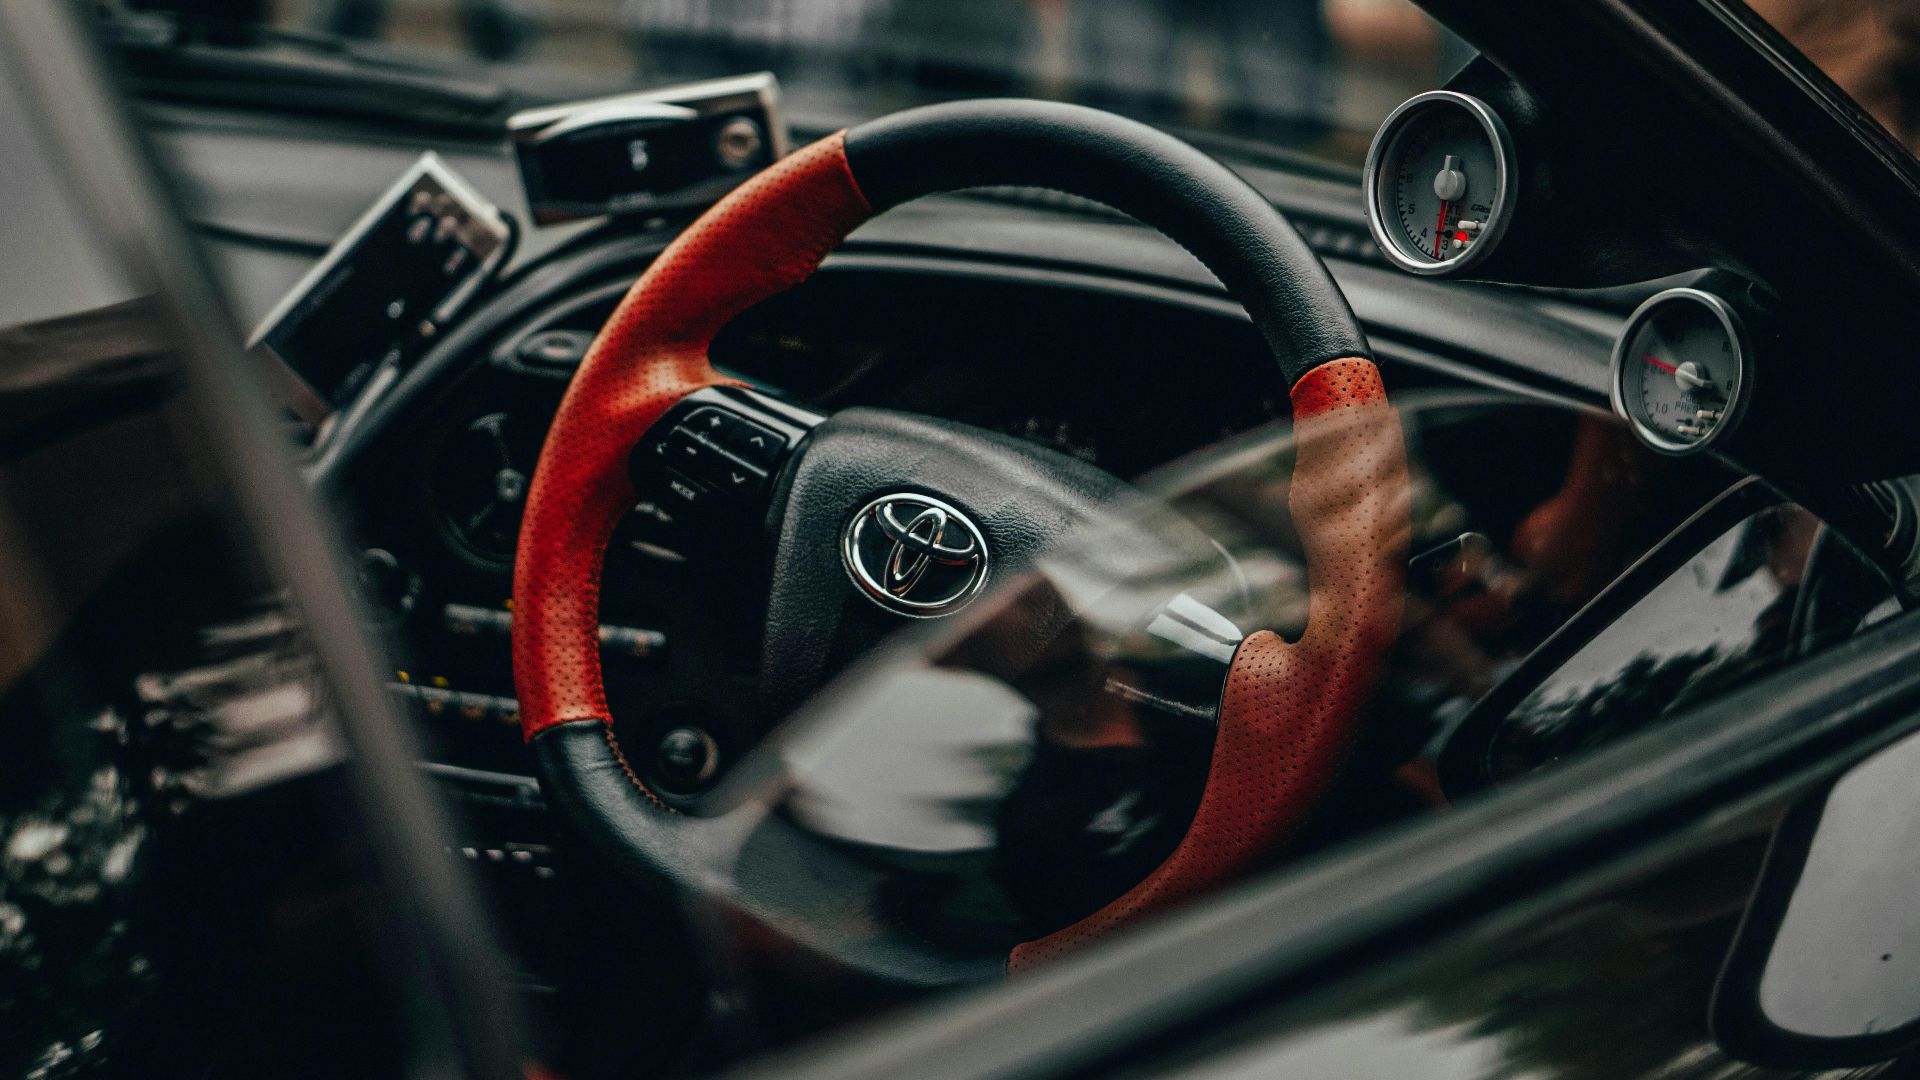
11. Cleaning Behind The Steering Column
Interior detailing feels incomplete when you can't properly reach behind the wheel. Drop the steering column so you can actually get to the dash, the stalks, and the top of the pedals without doing hand yoga. When the driver’s zone is spotless, the cabin feels much more premium.
12. Blow Out The Dust
Wiping a dusty interior first is a reliable way to smear grime into every texture and seam. Use a car dryer or blower to push dust out of vents, seat tracks, and console edges, then vacuum what settles in the aftermath. Starting with a dust-free car makes every step after it look sharper and more professional.
13. Crevice Tool For Everything
Seat gaps are where receipts, crumbs, and mysterious grit go to live forever. Attach a crevice tool and work slowly along the seams and seat rails. The absence of crunchy sounds when you shift in your seat is, genuinely, an underrated luxury.
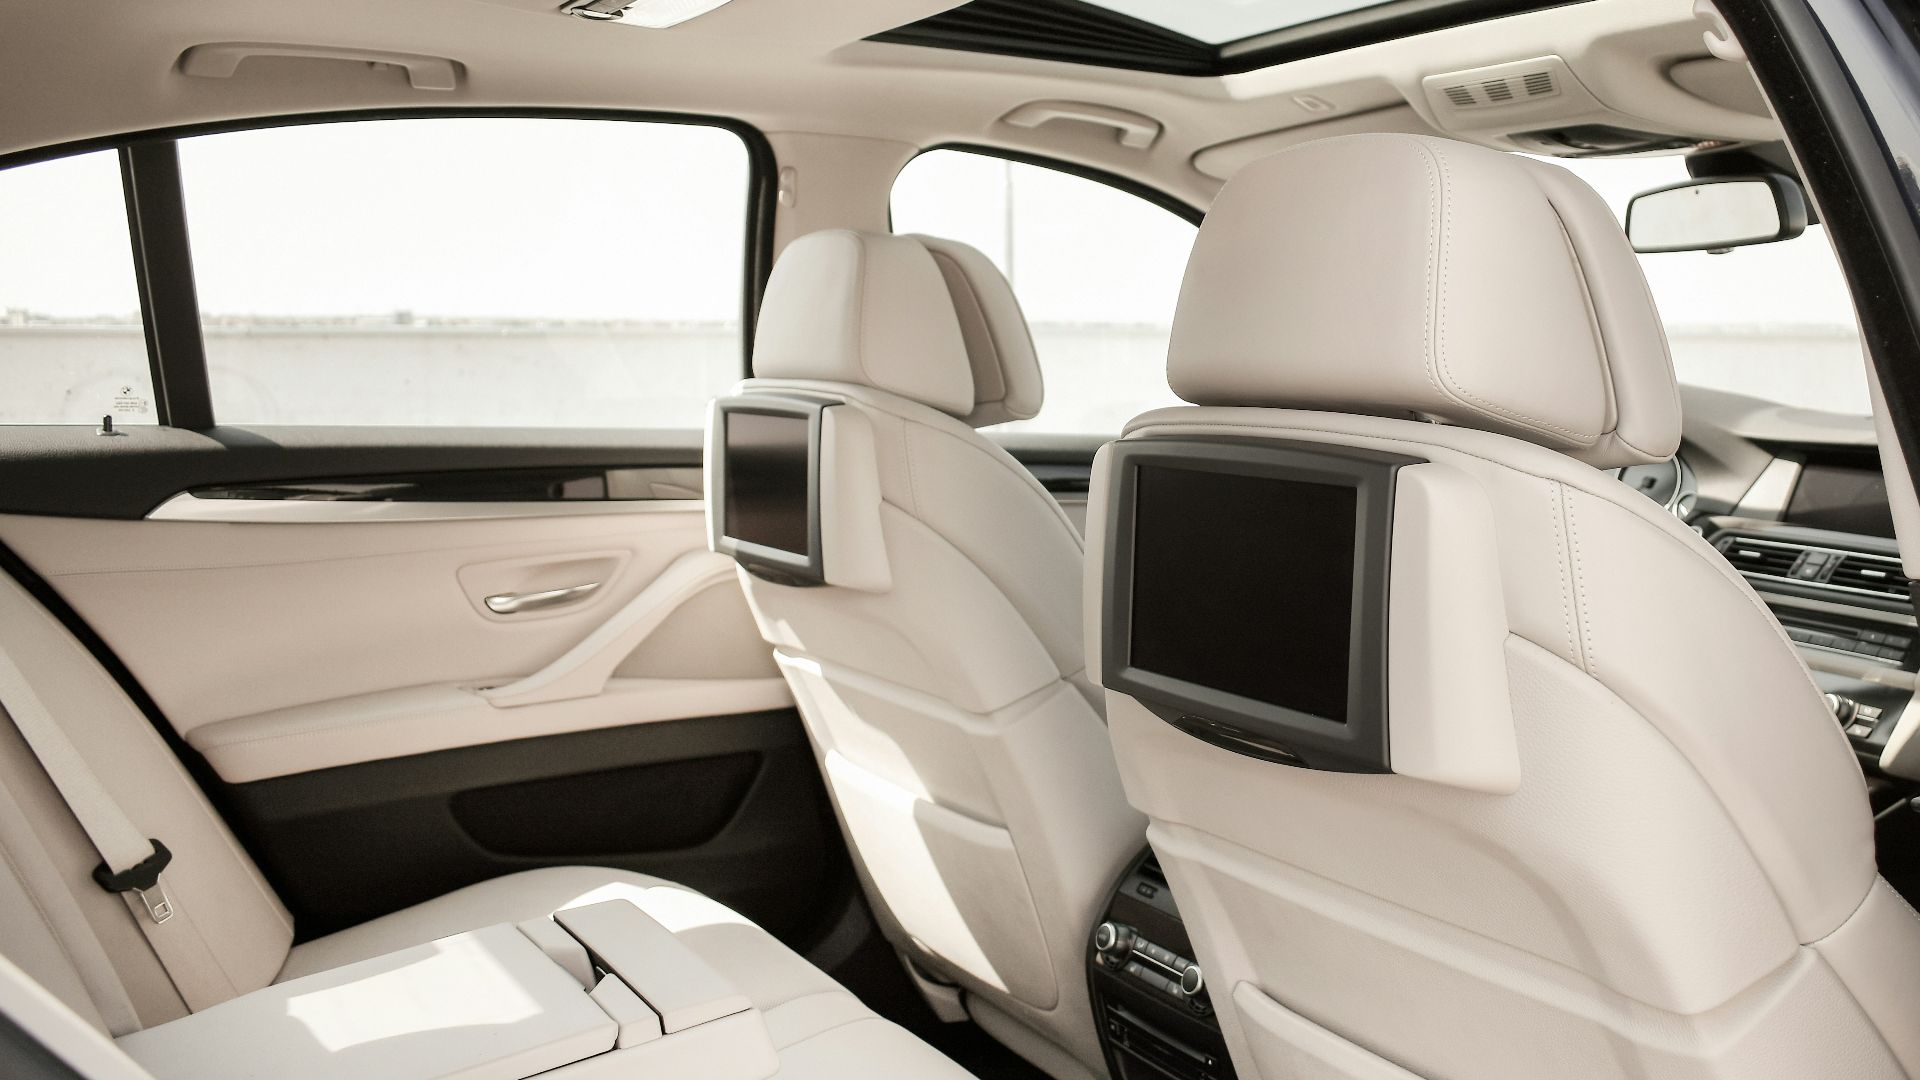
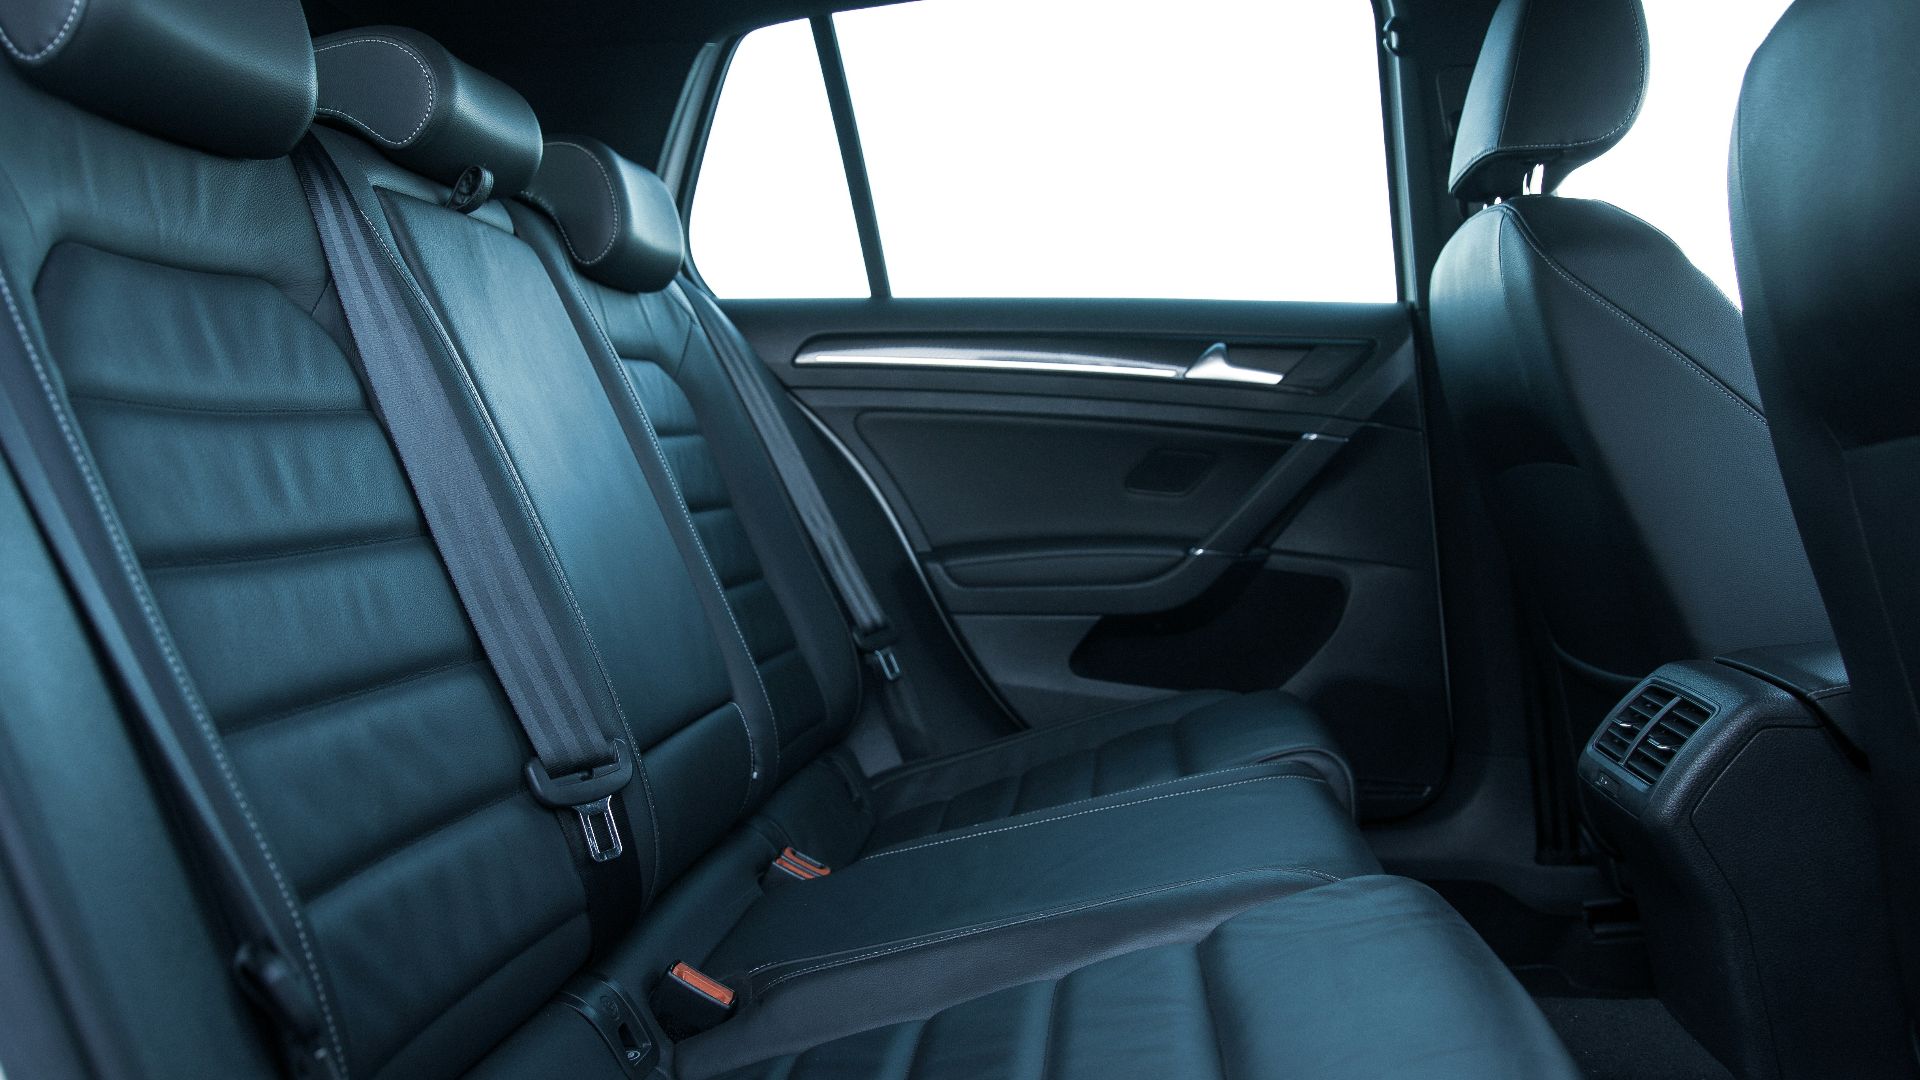
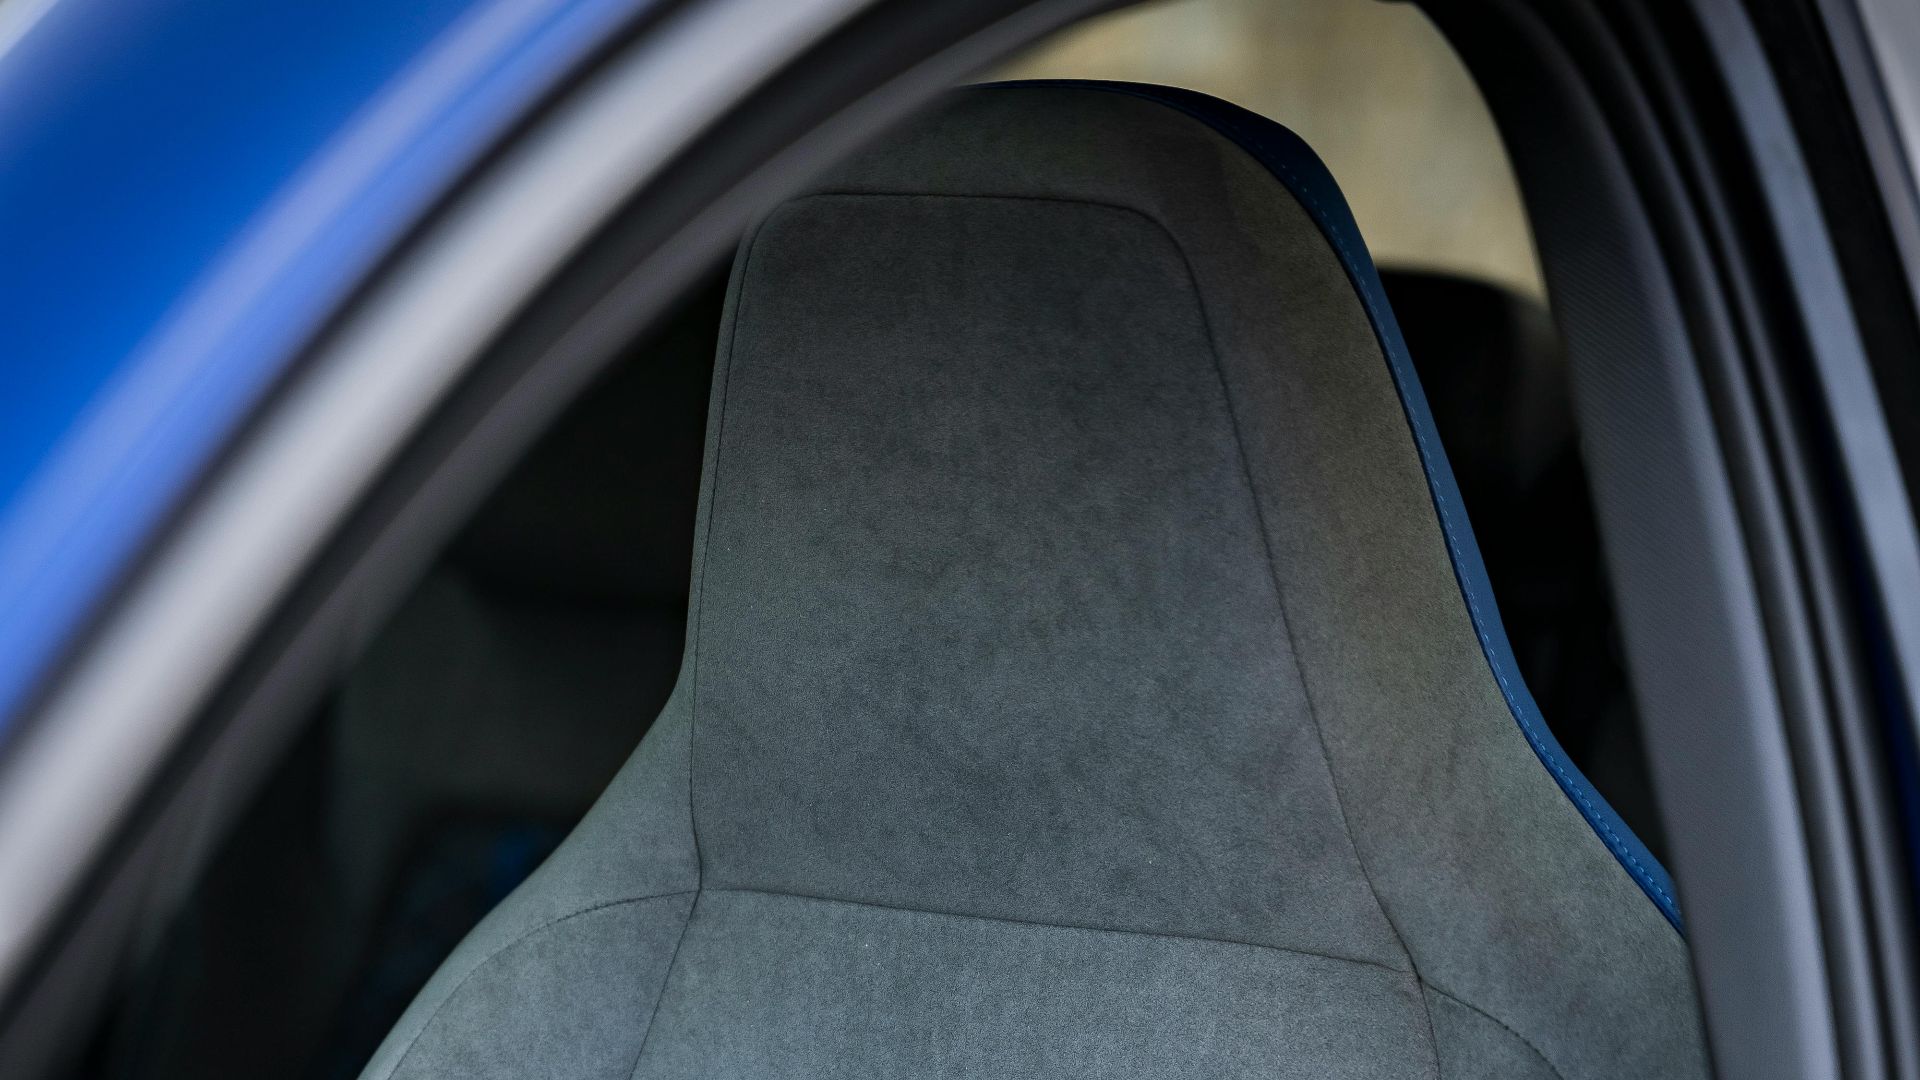
14. Brightening Your Fabric
For cloth seats and carpet, rubber gloves give you a grip that no towel can match. Lightly rub the surface, and you'll pull embedded dirt and lint into little clumps that vacuum right up. It's oddly satisfying, and the fabric looks cleaner without looking worn.
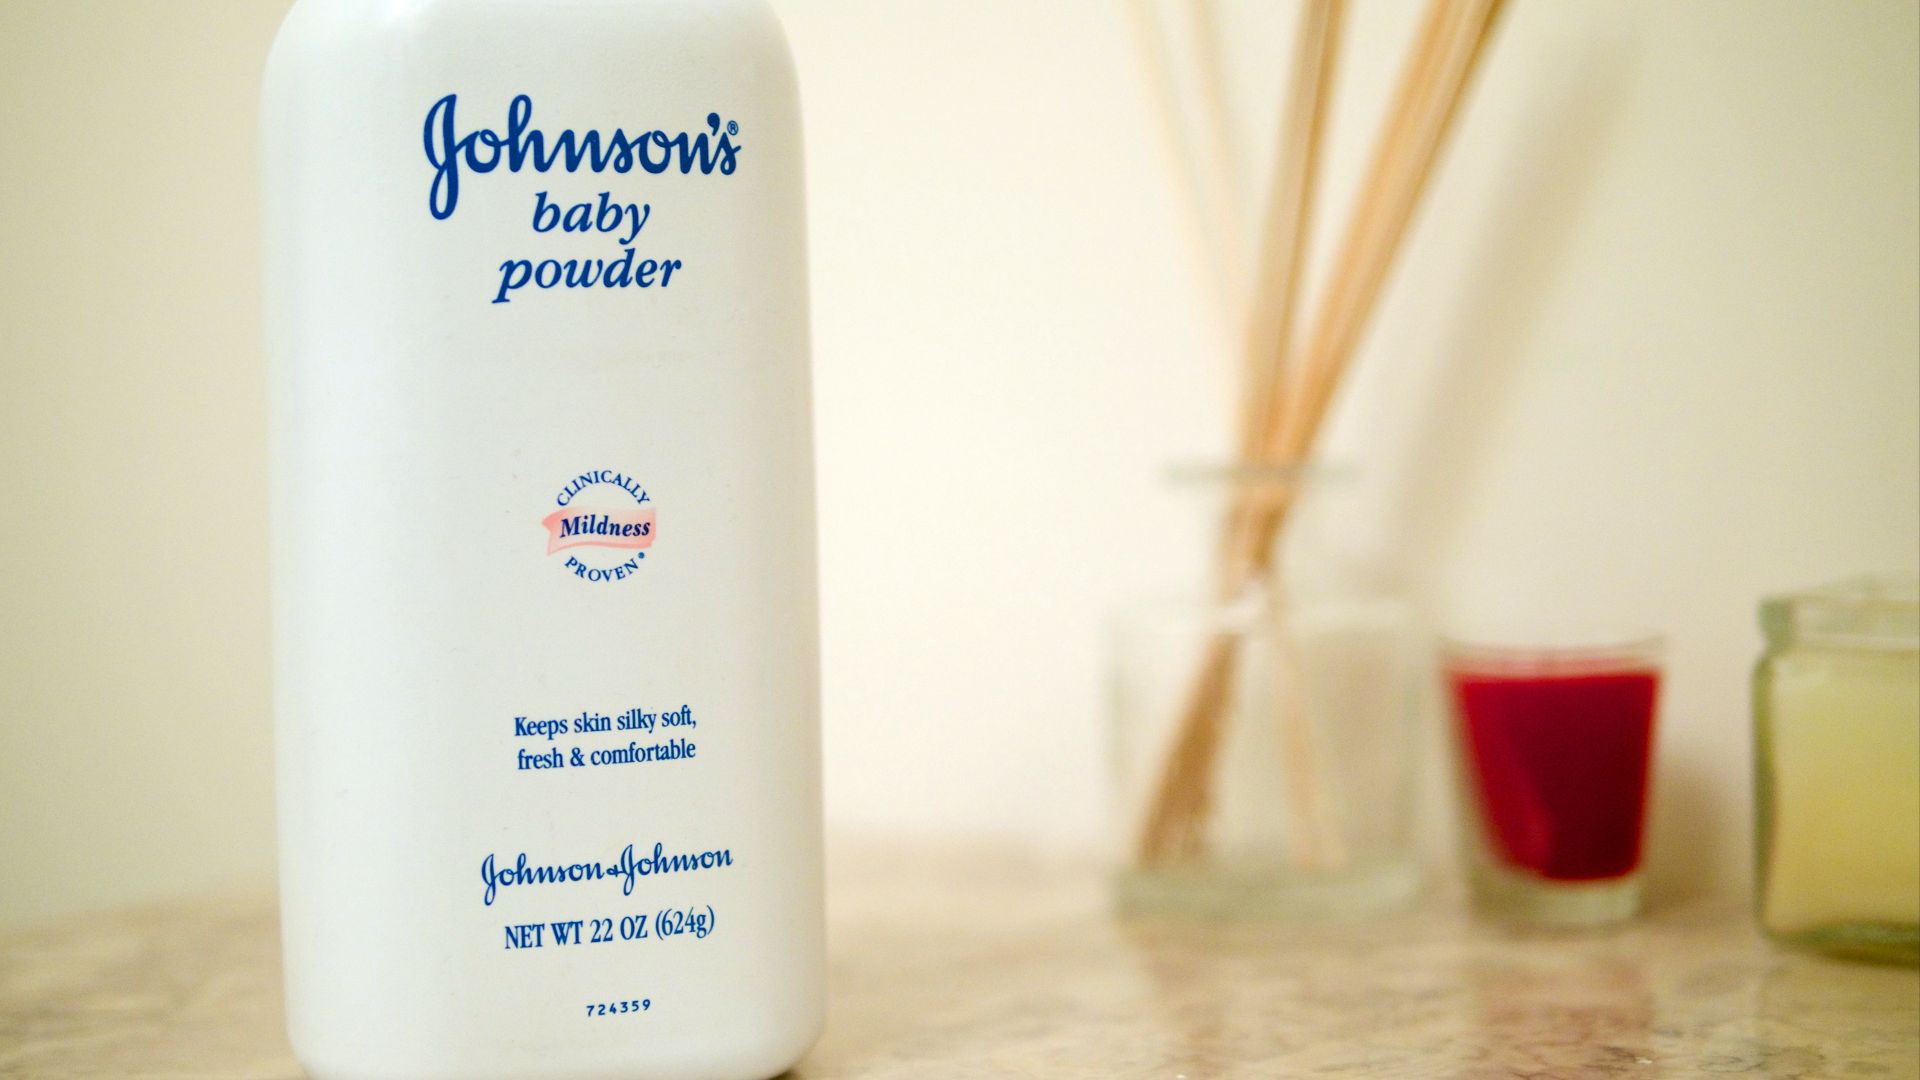
15. Use Baby Powder
Pet hair clings to just about anything, but especially on upholstery with a tight weave. Sprinkle a small amount of baby powder, brush gently, and vacuum once the hair starts releasing from the fibers.
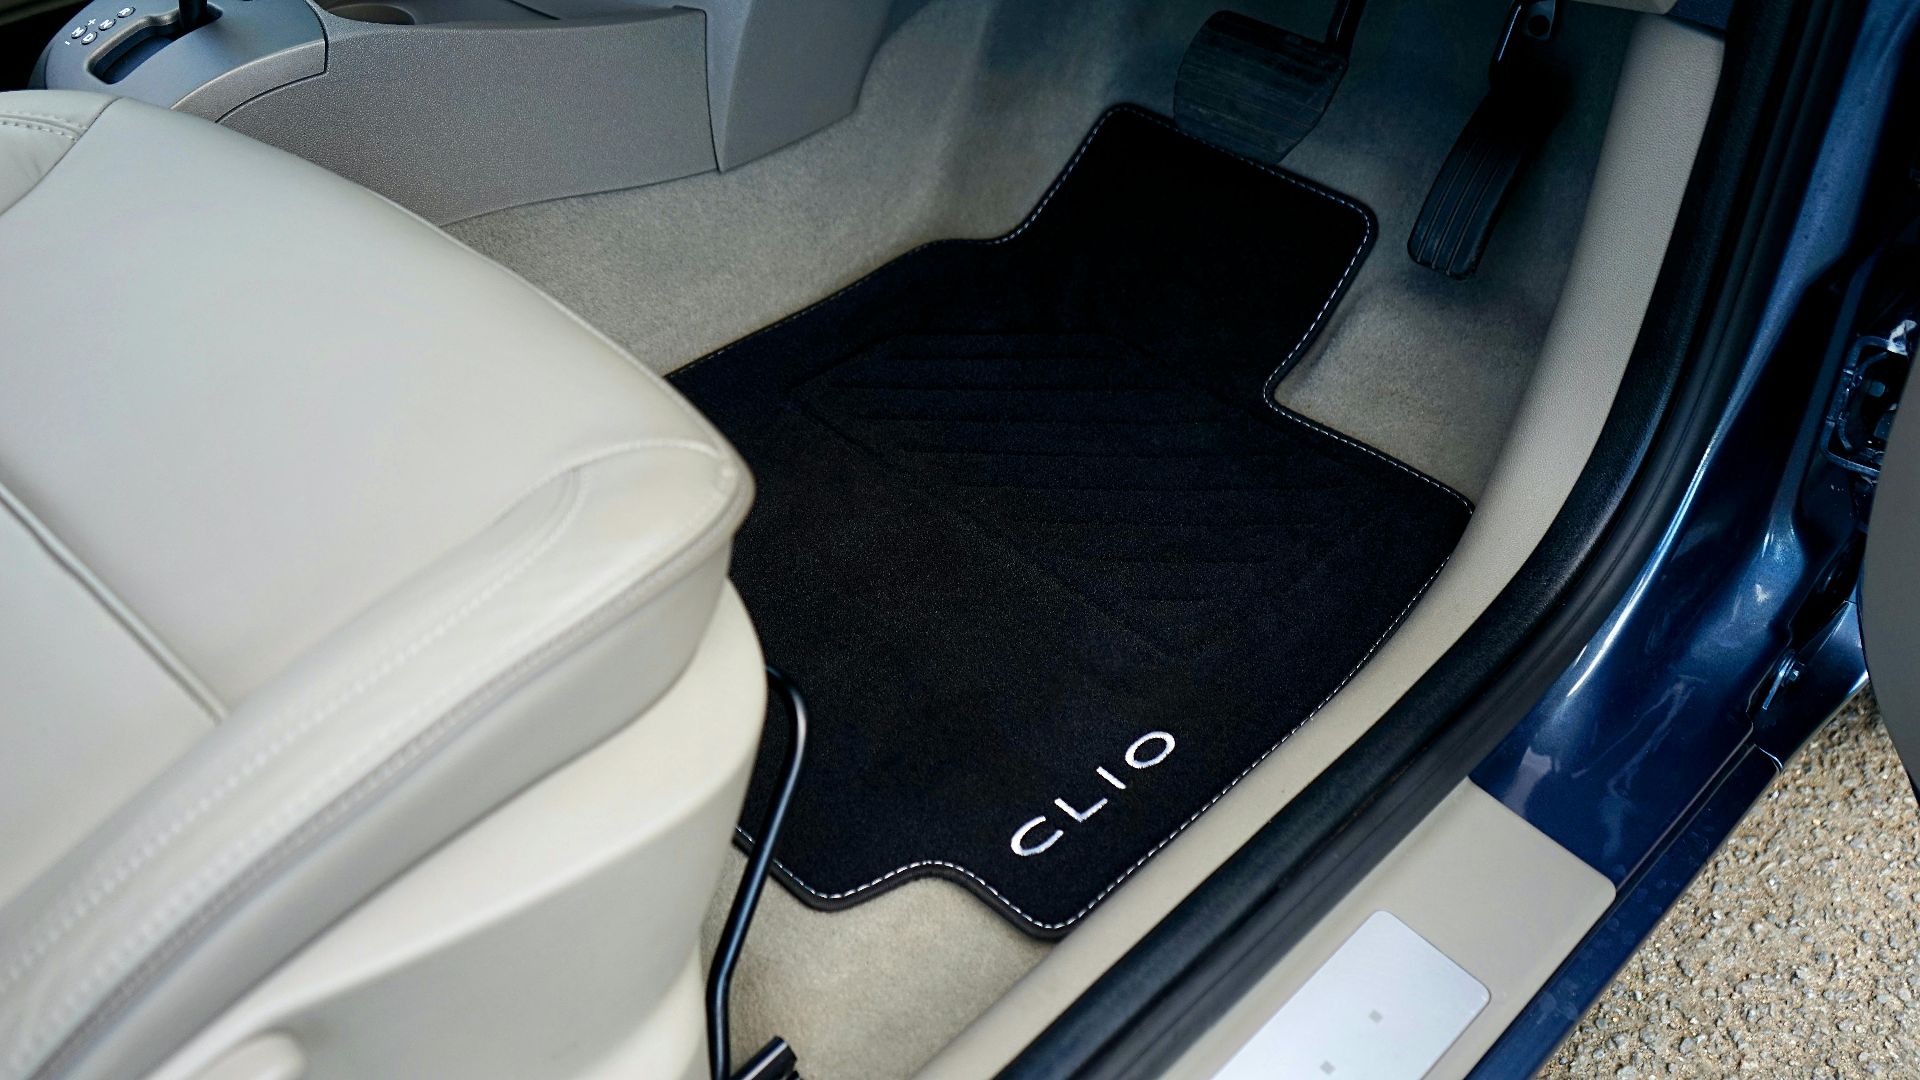
16. Carpets And Floor Mats
When pet hair is tangled deep in carpet, a plain window squeegee blade pulls it up fast. Drag it across in consistent passes, and hair collects into piles you can easily vacuum away.
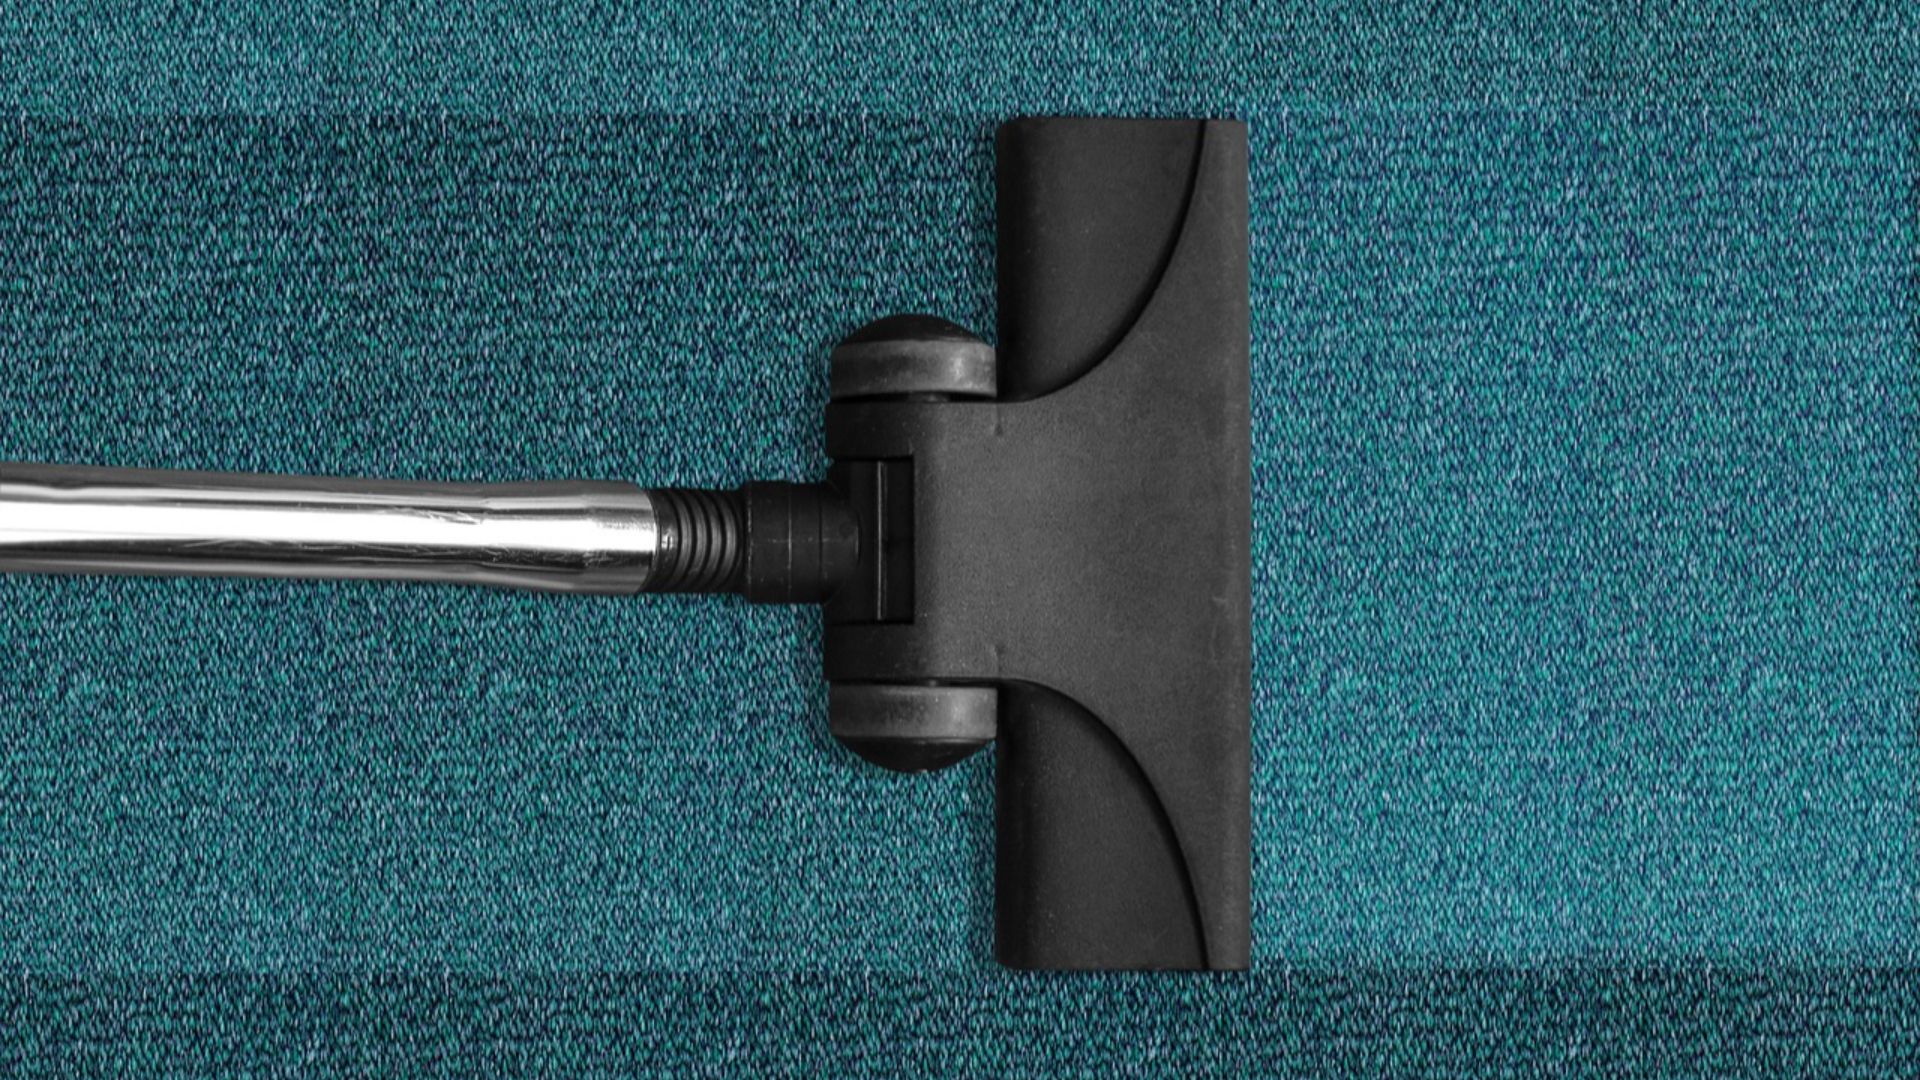
17. Extractor Shampoo
Vacuuming is maintenance, not restoration, and stains love to prove that point. Renting a carpet extractor for an afternoon lets you shampoo and pull out grime that's been compacted for months. The cabin instantly looks brighter and smells cleaner, without a high-end bill attached.

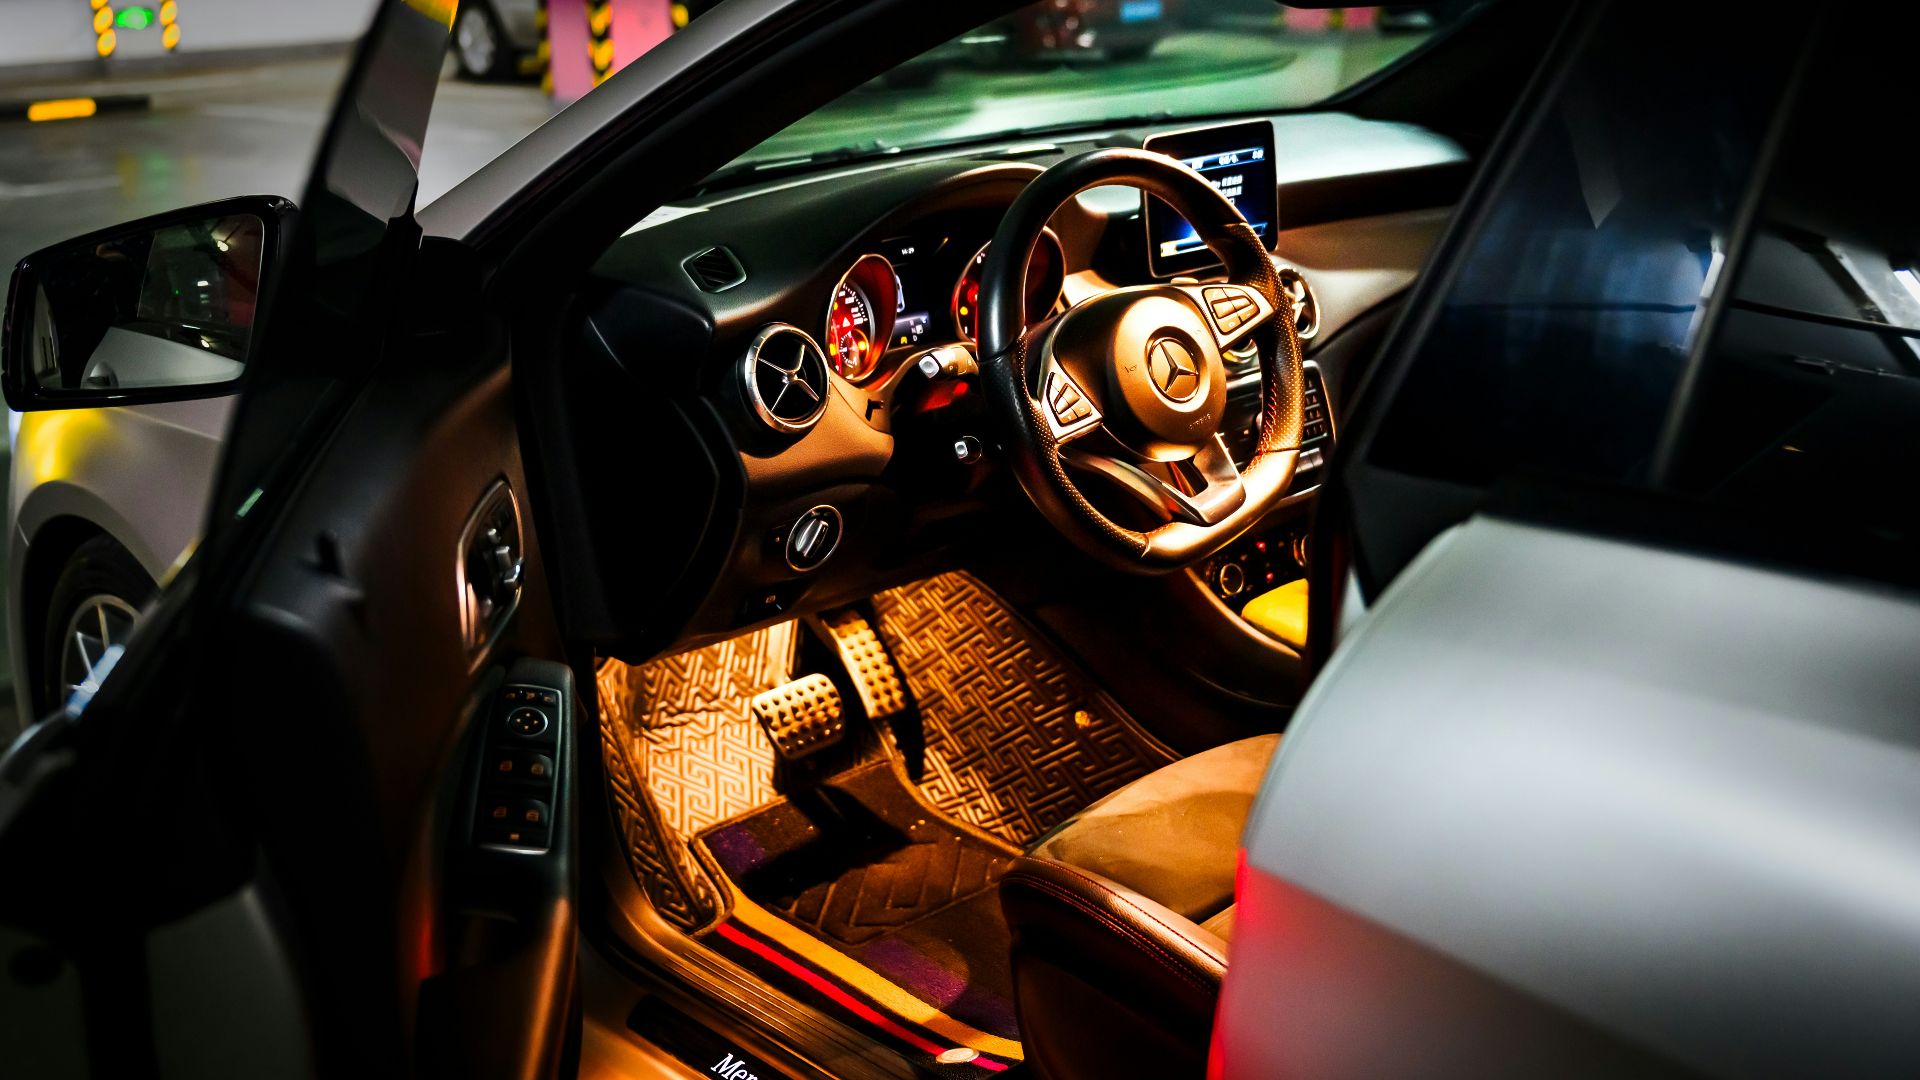
18. Carpet Stripes
After the carpets are clean, give them that freshly finished look with simple stripes. Use a rubber floor mat or a clean brush to create neat lines in one direction, kept consistent across the footwells. It looks meticulous in person and even better in photos when the sunlight hits the texture.
19. Pedals Scrubbed
Dirty pedals make the whole cockpit feel neglected, even if everything else is spotless. A stiff brush and a degreaser are wiped until the grooves are clean and the surface looks uniform.
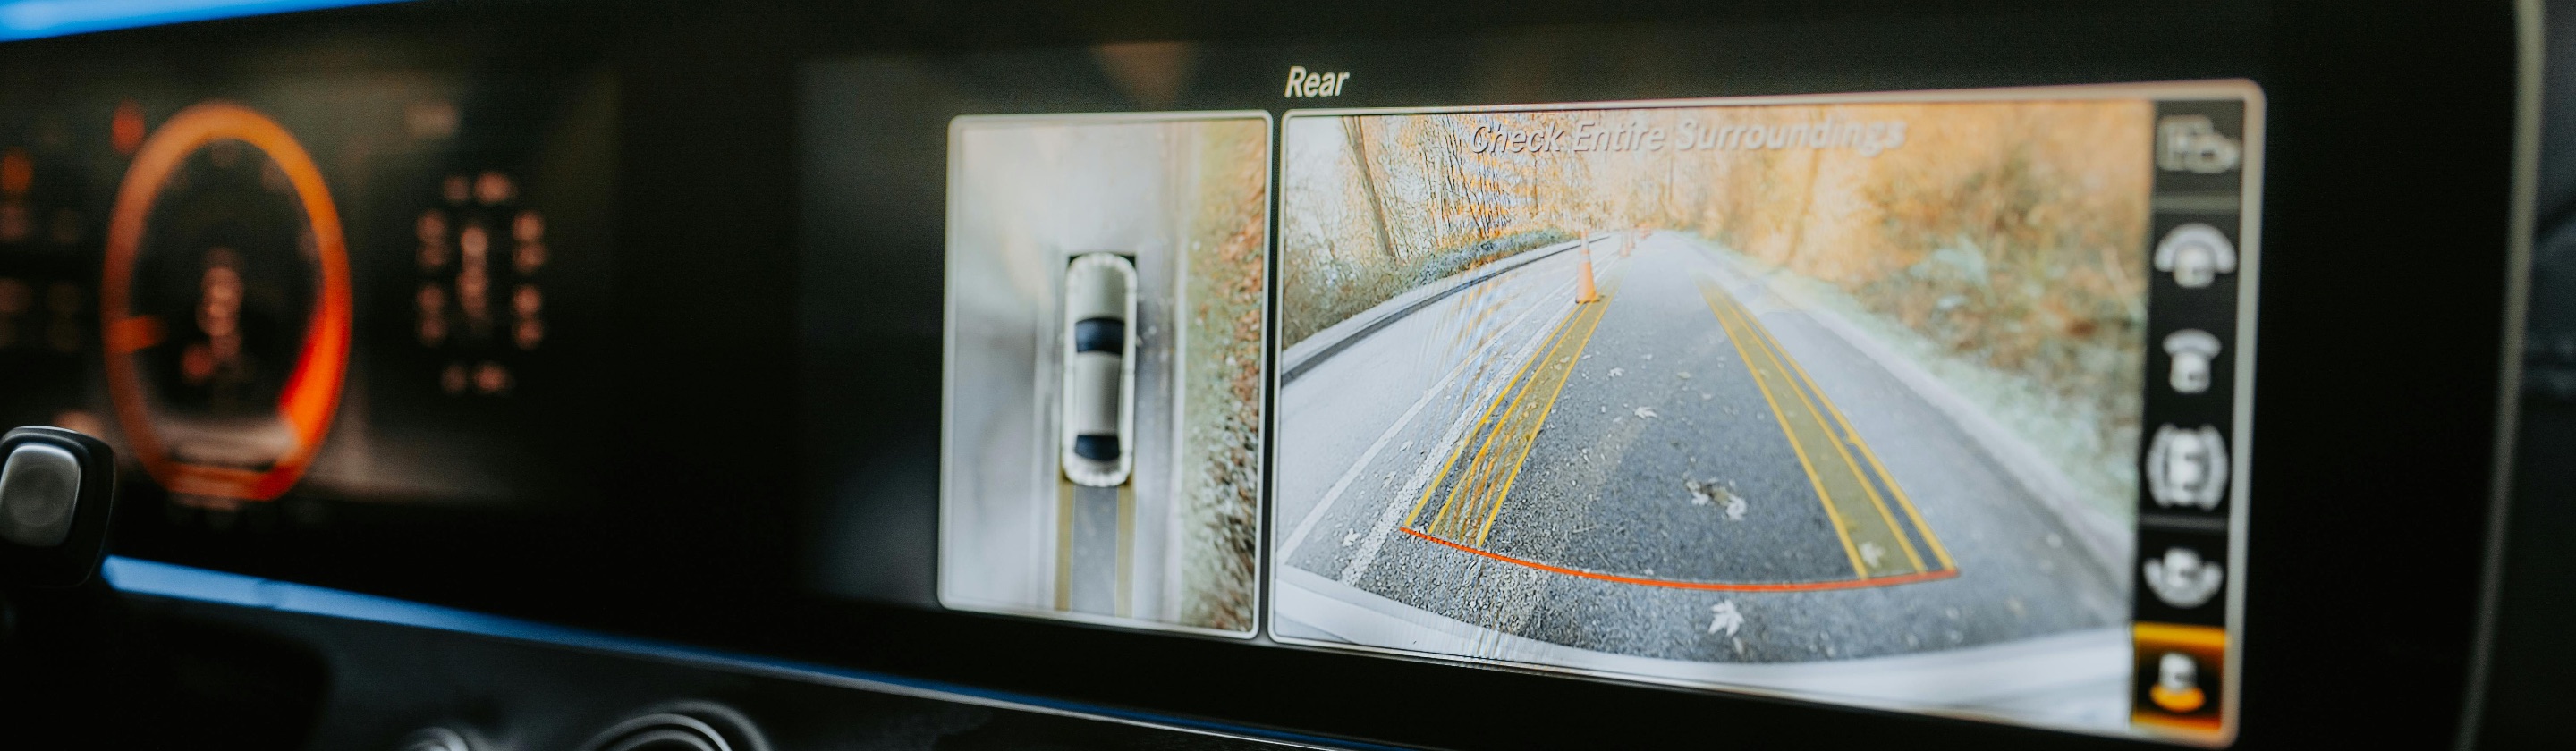
20. Before-And-After Photos
Taking before-and-after photos isn't just for showing off. It actually helps you spot what still needs attention. Shoot in similar lighting, keep angles consistent, and capture close-ups of the areas you worked on, like jambs, carpets, and trim edges. The transformation looks much more professional when you can see the details you caught.