
Saving You From Later Disputes
Rental car lots often create a sense of urgency. You may be tired, your bags can be cumbersome, and the car is likely parked in a dimly lit garage where it’s difficult to see every scratch. However, the first few minutes are your best opportunity to document the vehicle’s condition. Take note of important details such as the fuel level, mileage, existing dents, rim scuffs, warning lights, interior stains, missing accessories, and toll equipment. These factors can become significant when returning the car. Before you drive away, take a moment to photograph the following 20 items.
1. Rental Agreement And Damage Report
Start with the paperwork before you get to the car itself. Take a photo of the rental agreement, condition report, fuel level, mileage, return location, and any damage already marked by staff. If someone adds a note by hand, photograph the updated version before you sign or drive away.
 Annika Wischnewsky on Unsplash
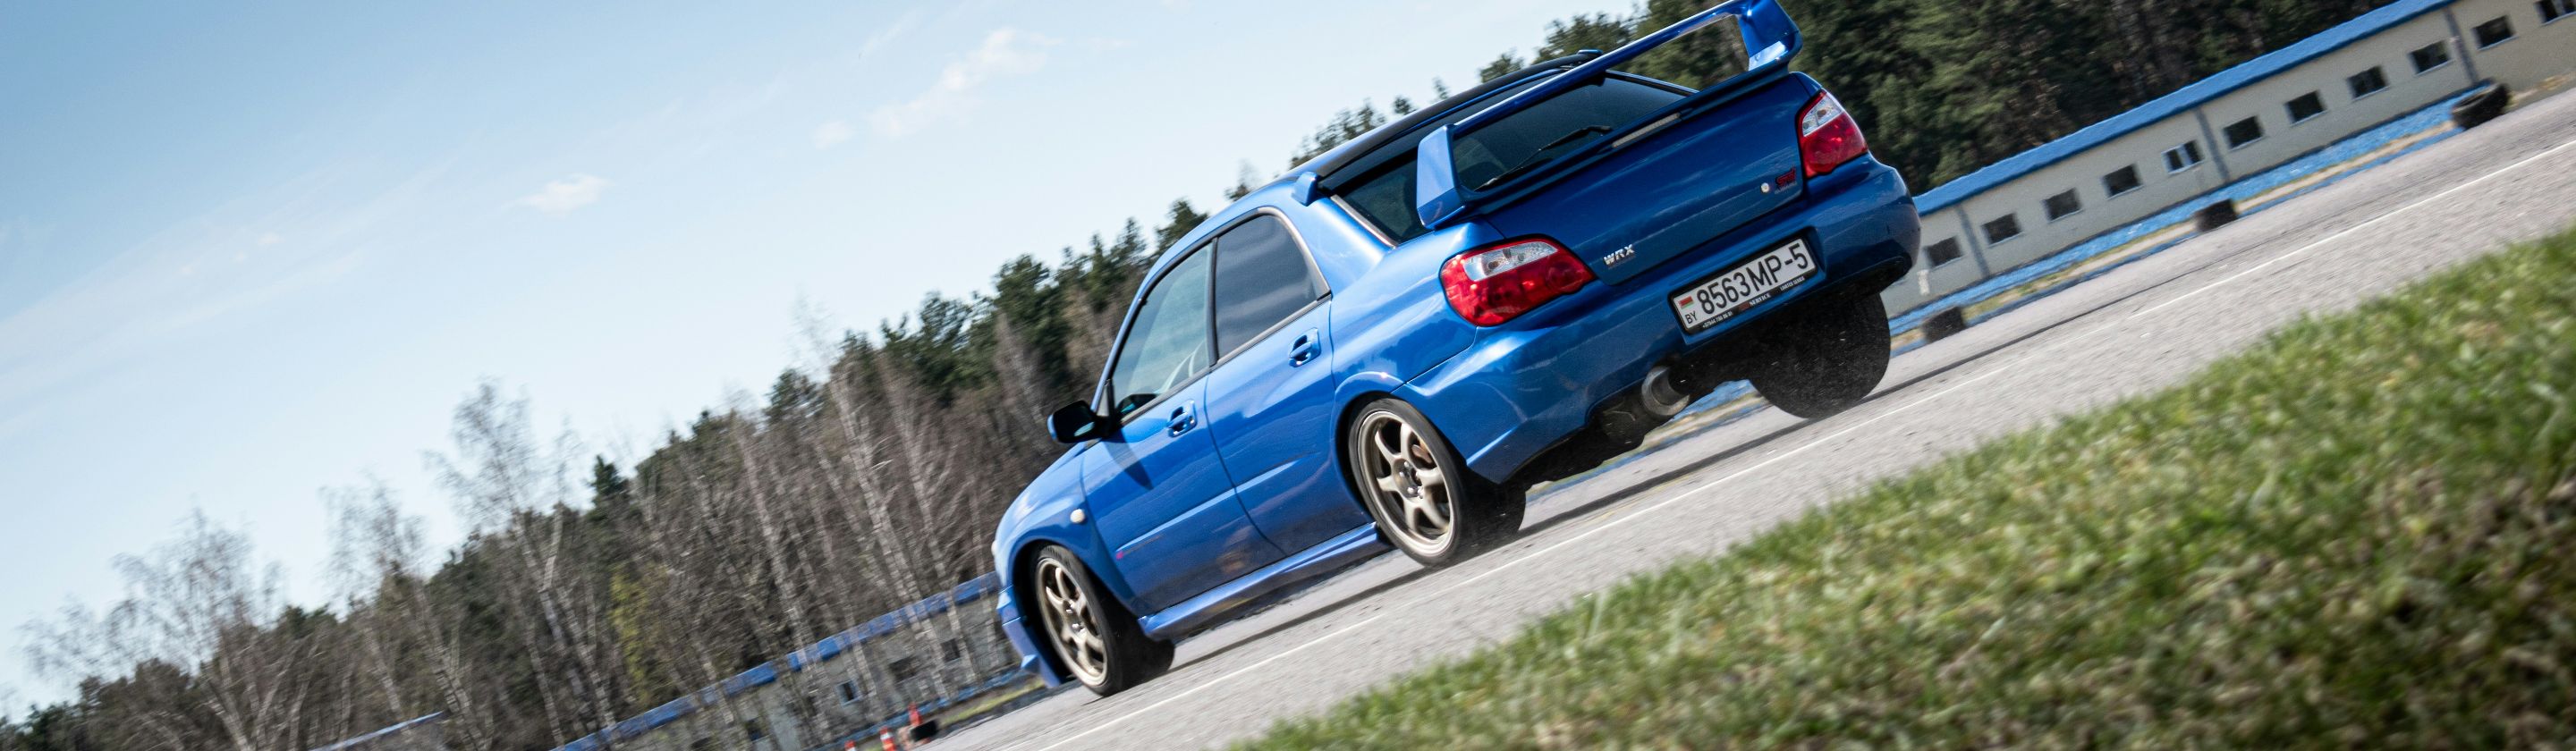
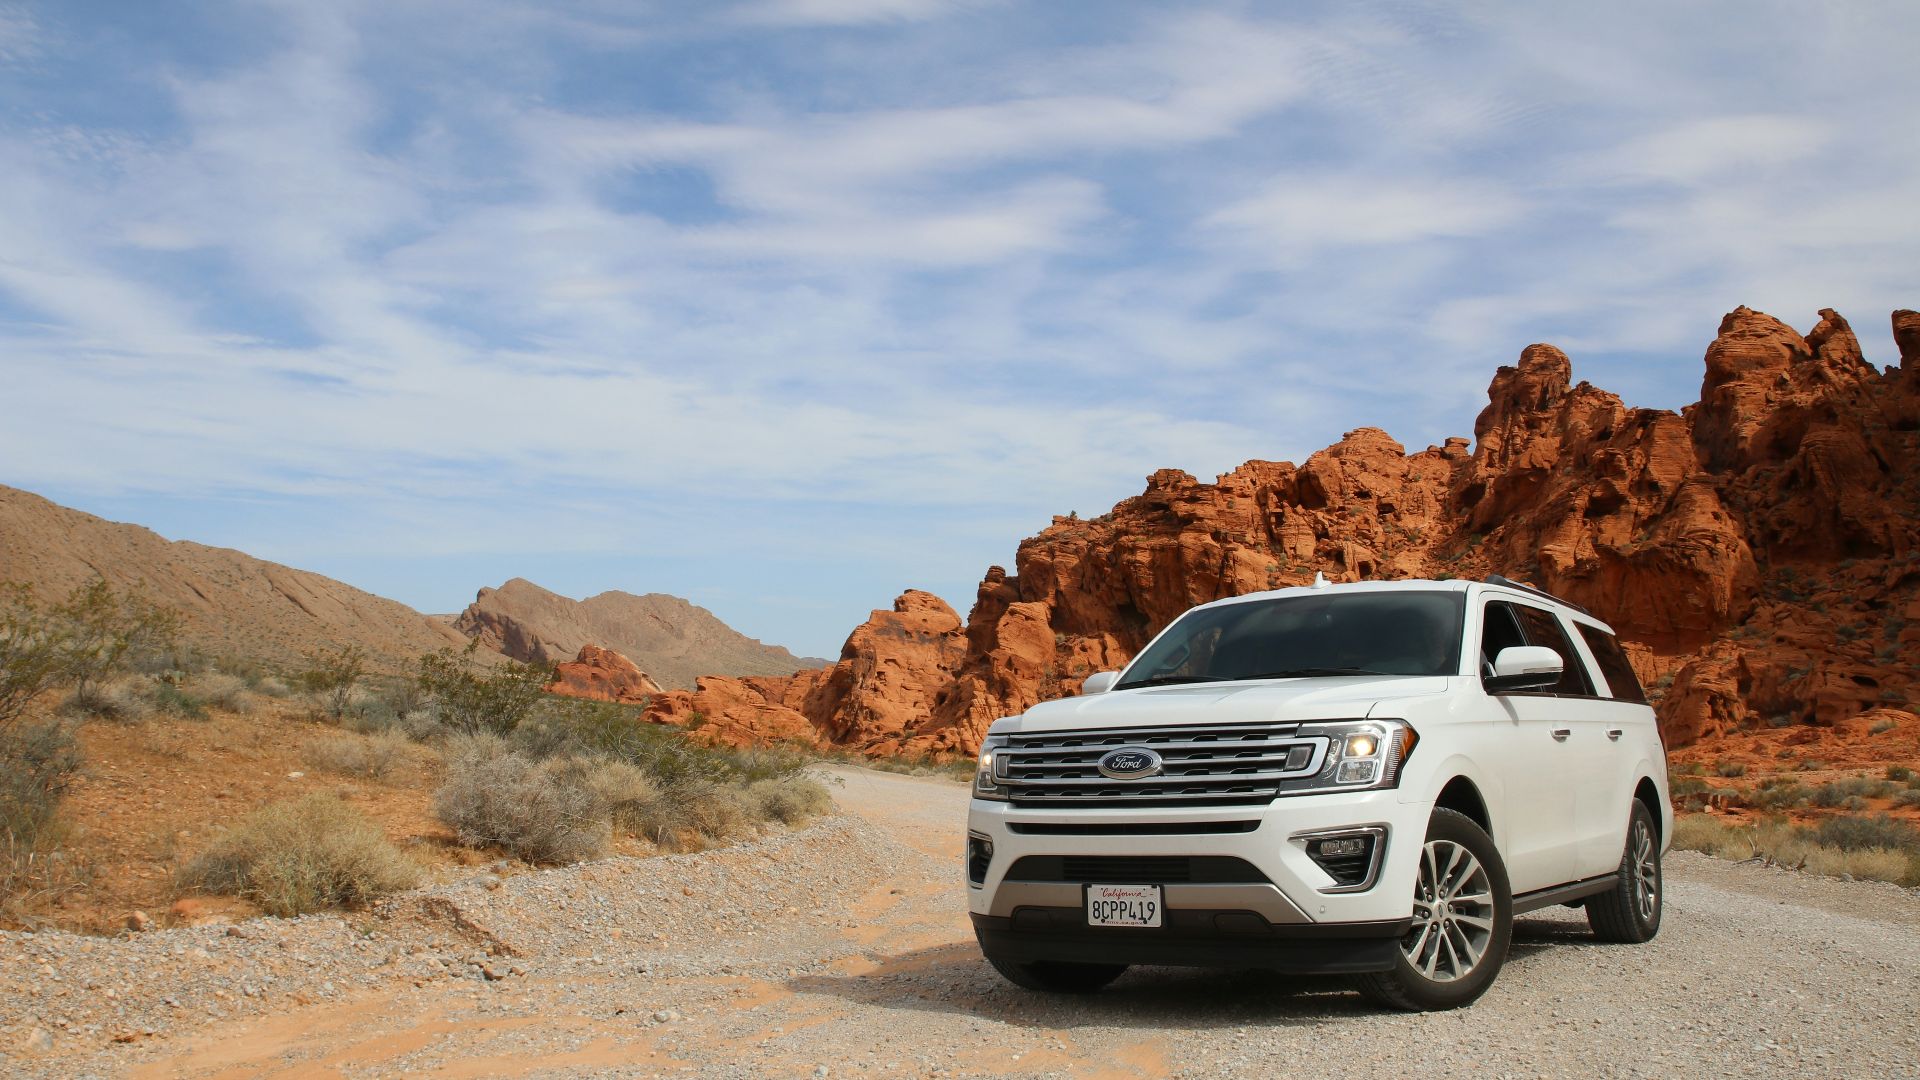
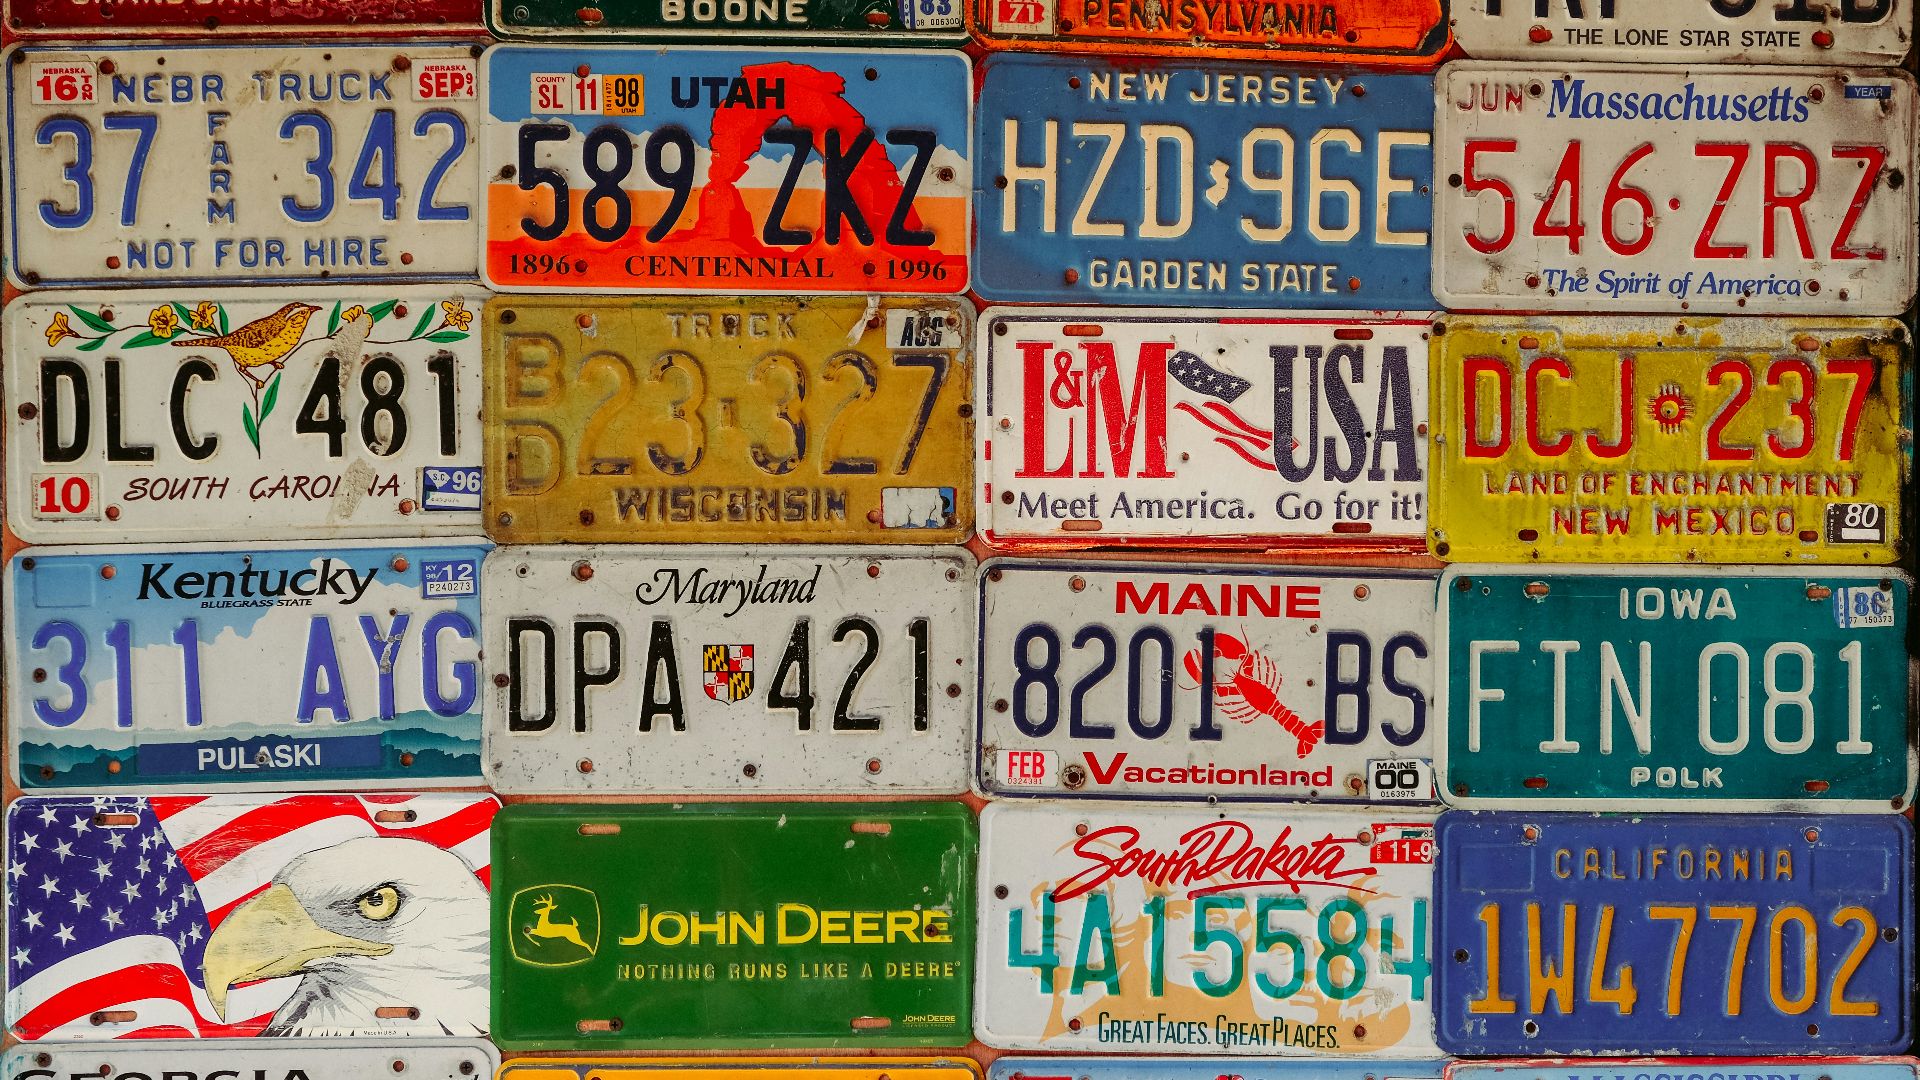
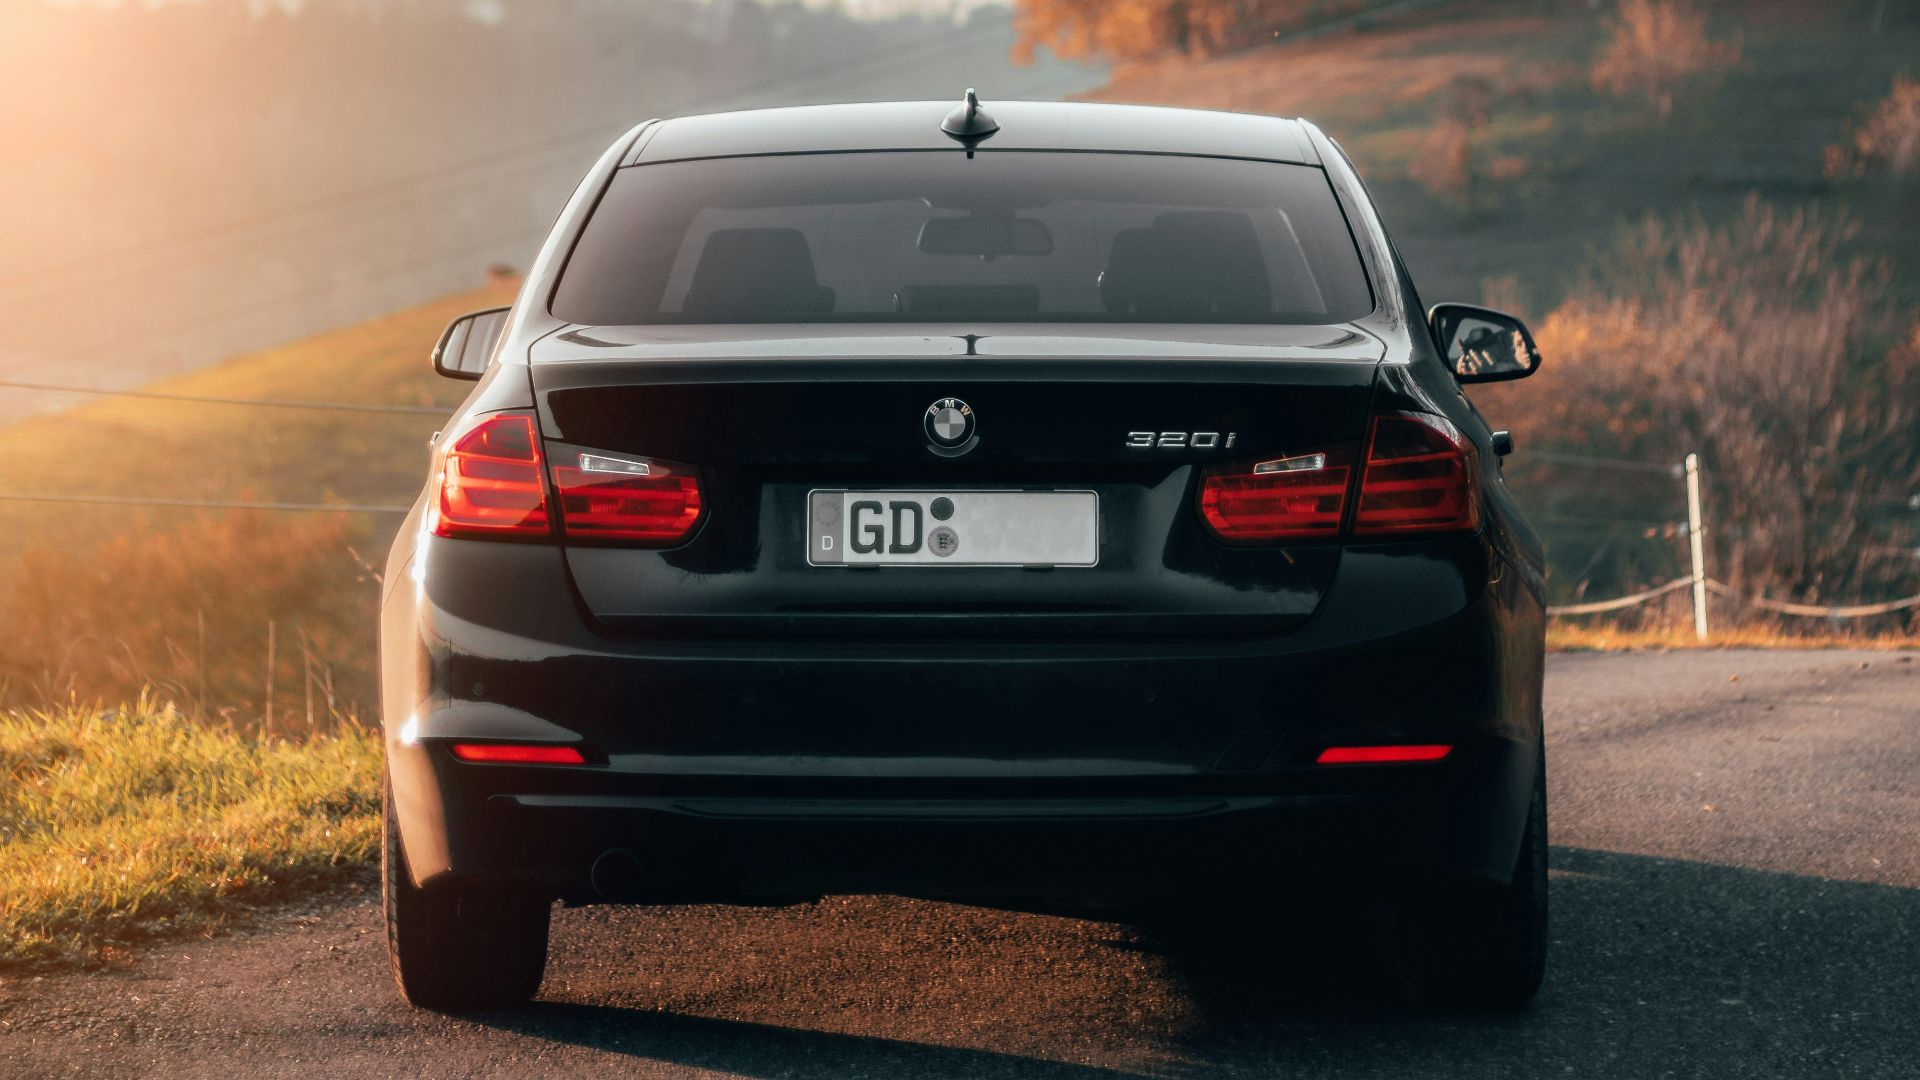
2. License Plate
Get a photo of the license plate while the car is still parked in the lot. You may need it later for parking garages, hotel valet tickets, toll questions, or basic vehicle confirmation. It also helps when you’re trying to find your rental in a row of nearly identical white SUVs.
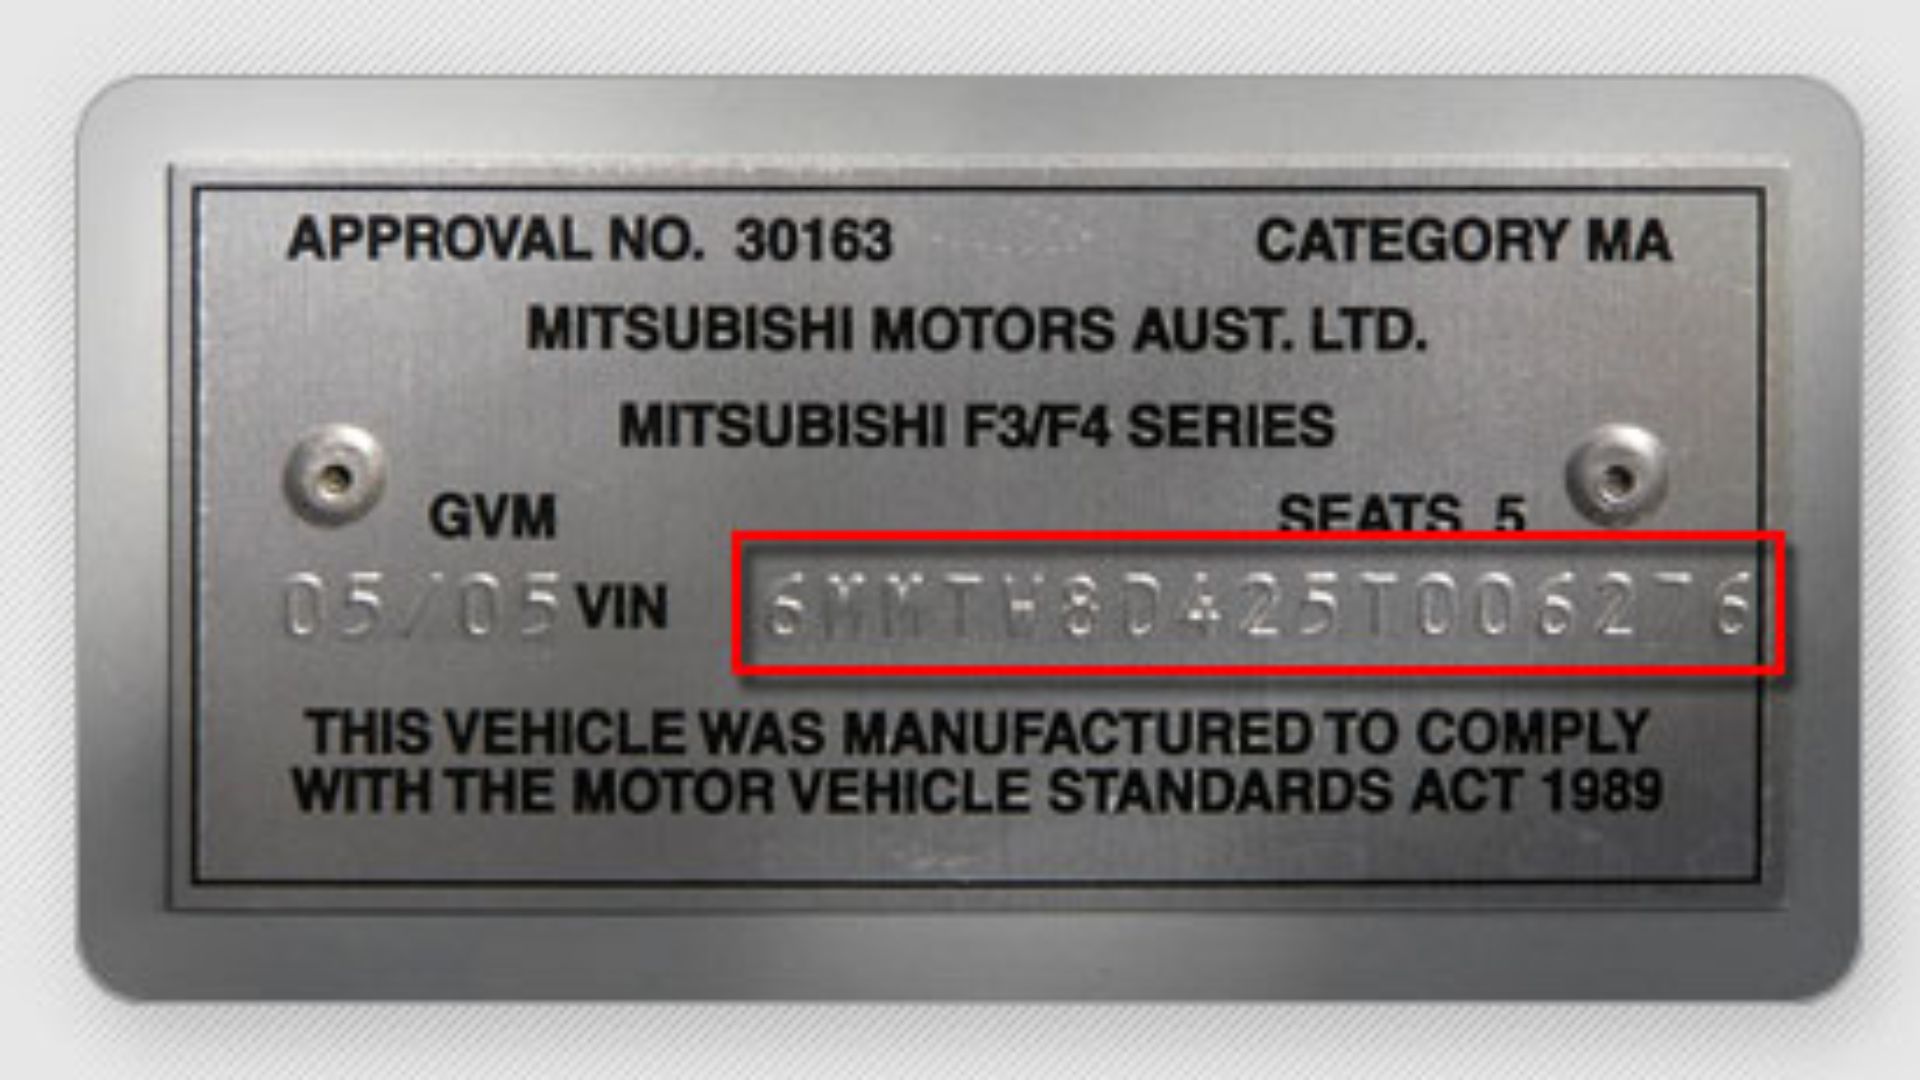
3. VIN Or Vehicle Sticker
Photograph the VIN through the windshield or the vehicle sticker inside the driver’s door jamb. The license plate is useful, but the VIN connects your rental to one specific car. If there’s ever any confusion about which vehicle you were given, this photo provides stronger evidence.
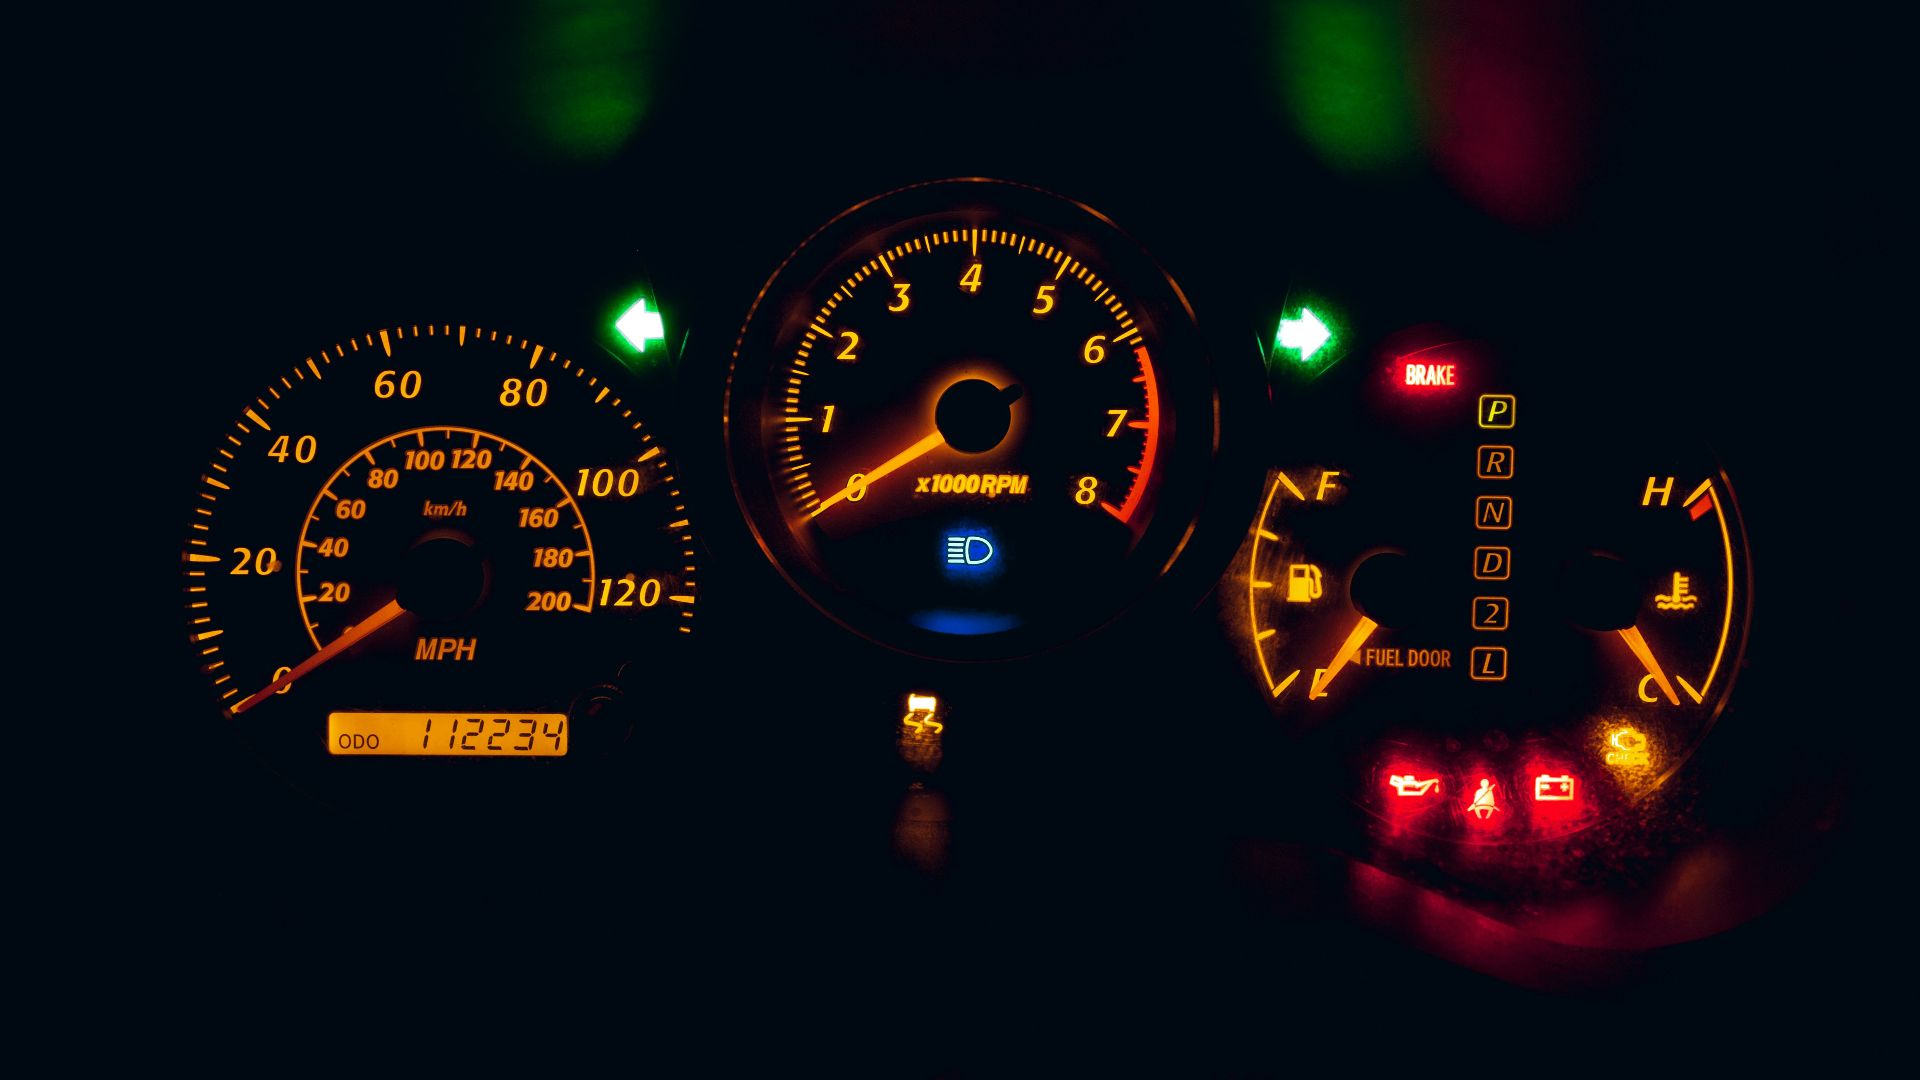
4. Odometer
Take a photo of the odometer before the trip begins. Some rentals include unlimited mileage, while others may come with mileage limits or location-specific rules. A pickup photo gives you a clean starting point if the return receipt shows a number that doesn’t look right.
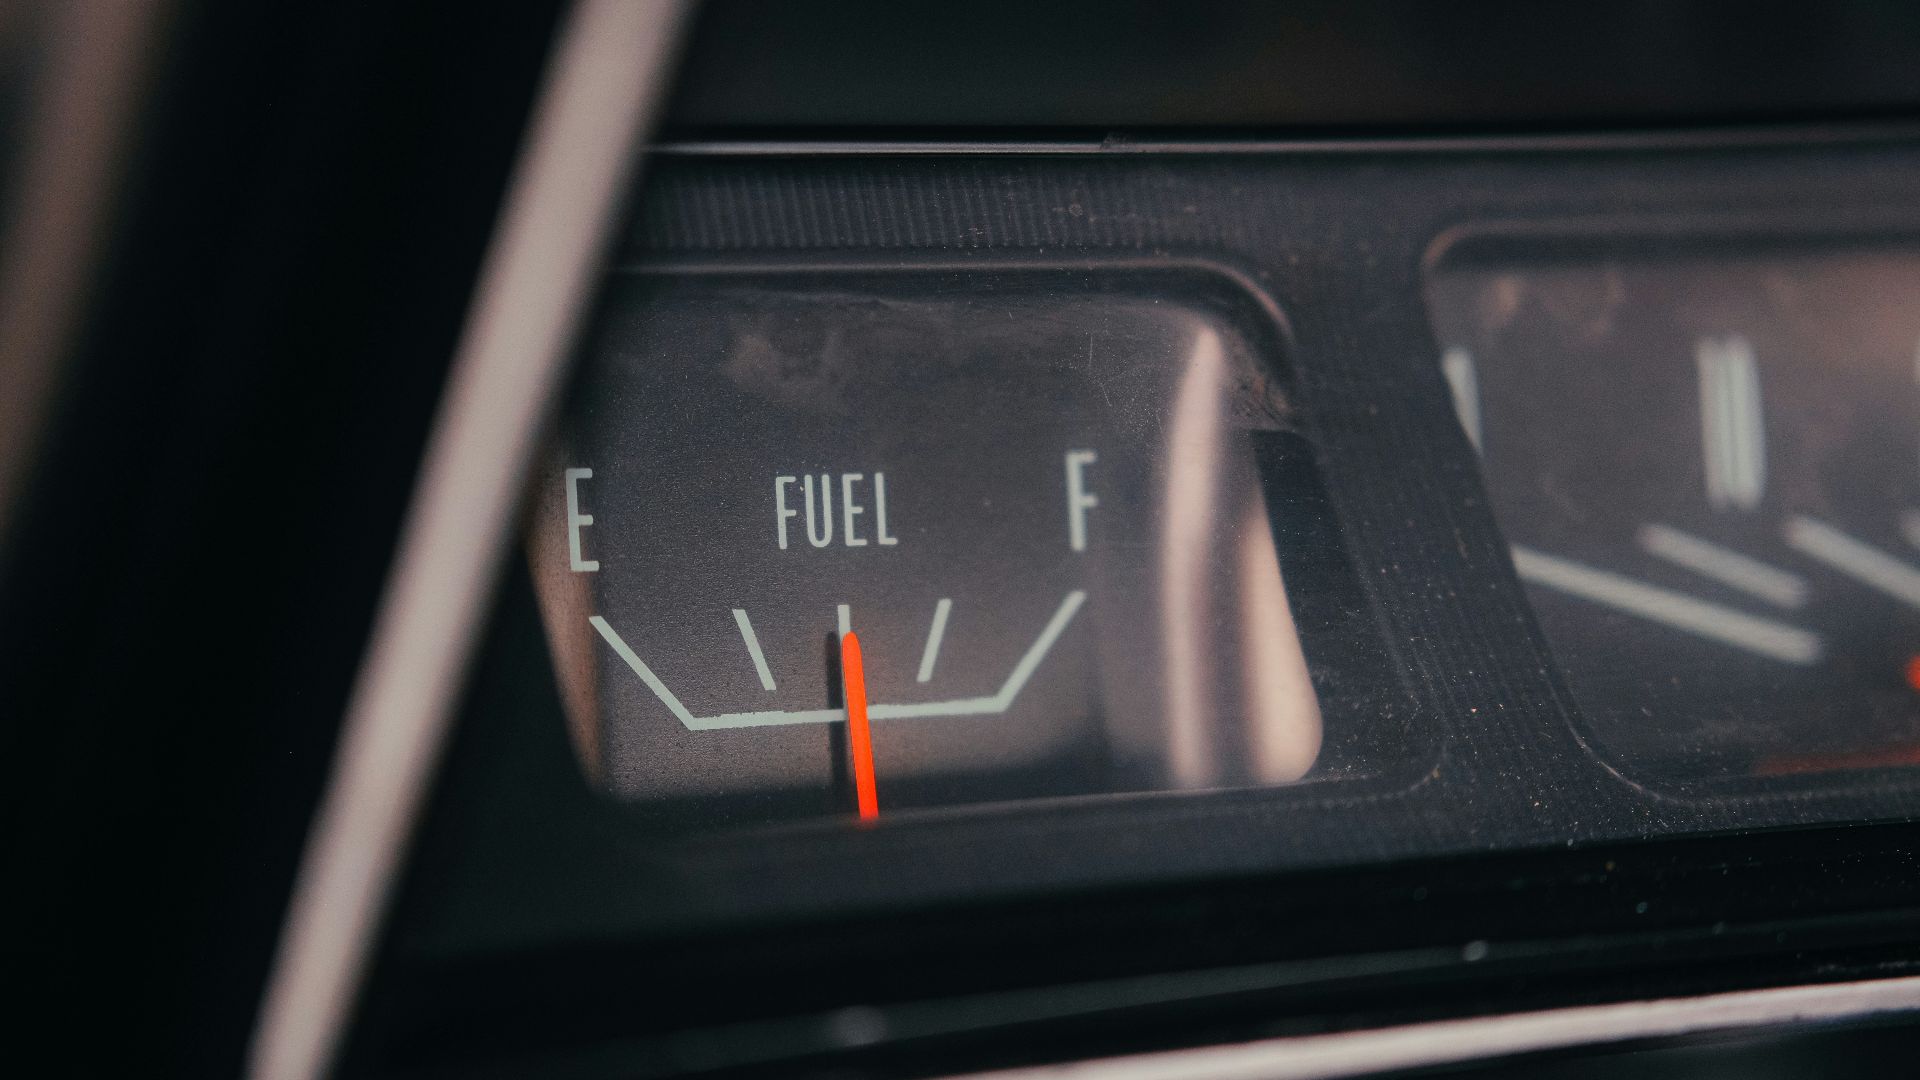
5. Fuel Gauge Or Battery Level
Photograph the fuel gauge, or the battery percentage if you’re driving an EV. Rental fuel and charging rules can vary, and returning the car with the fuel below the required level may incur extra charges. A photo helps show what you started with and what you brought back.
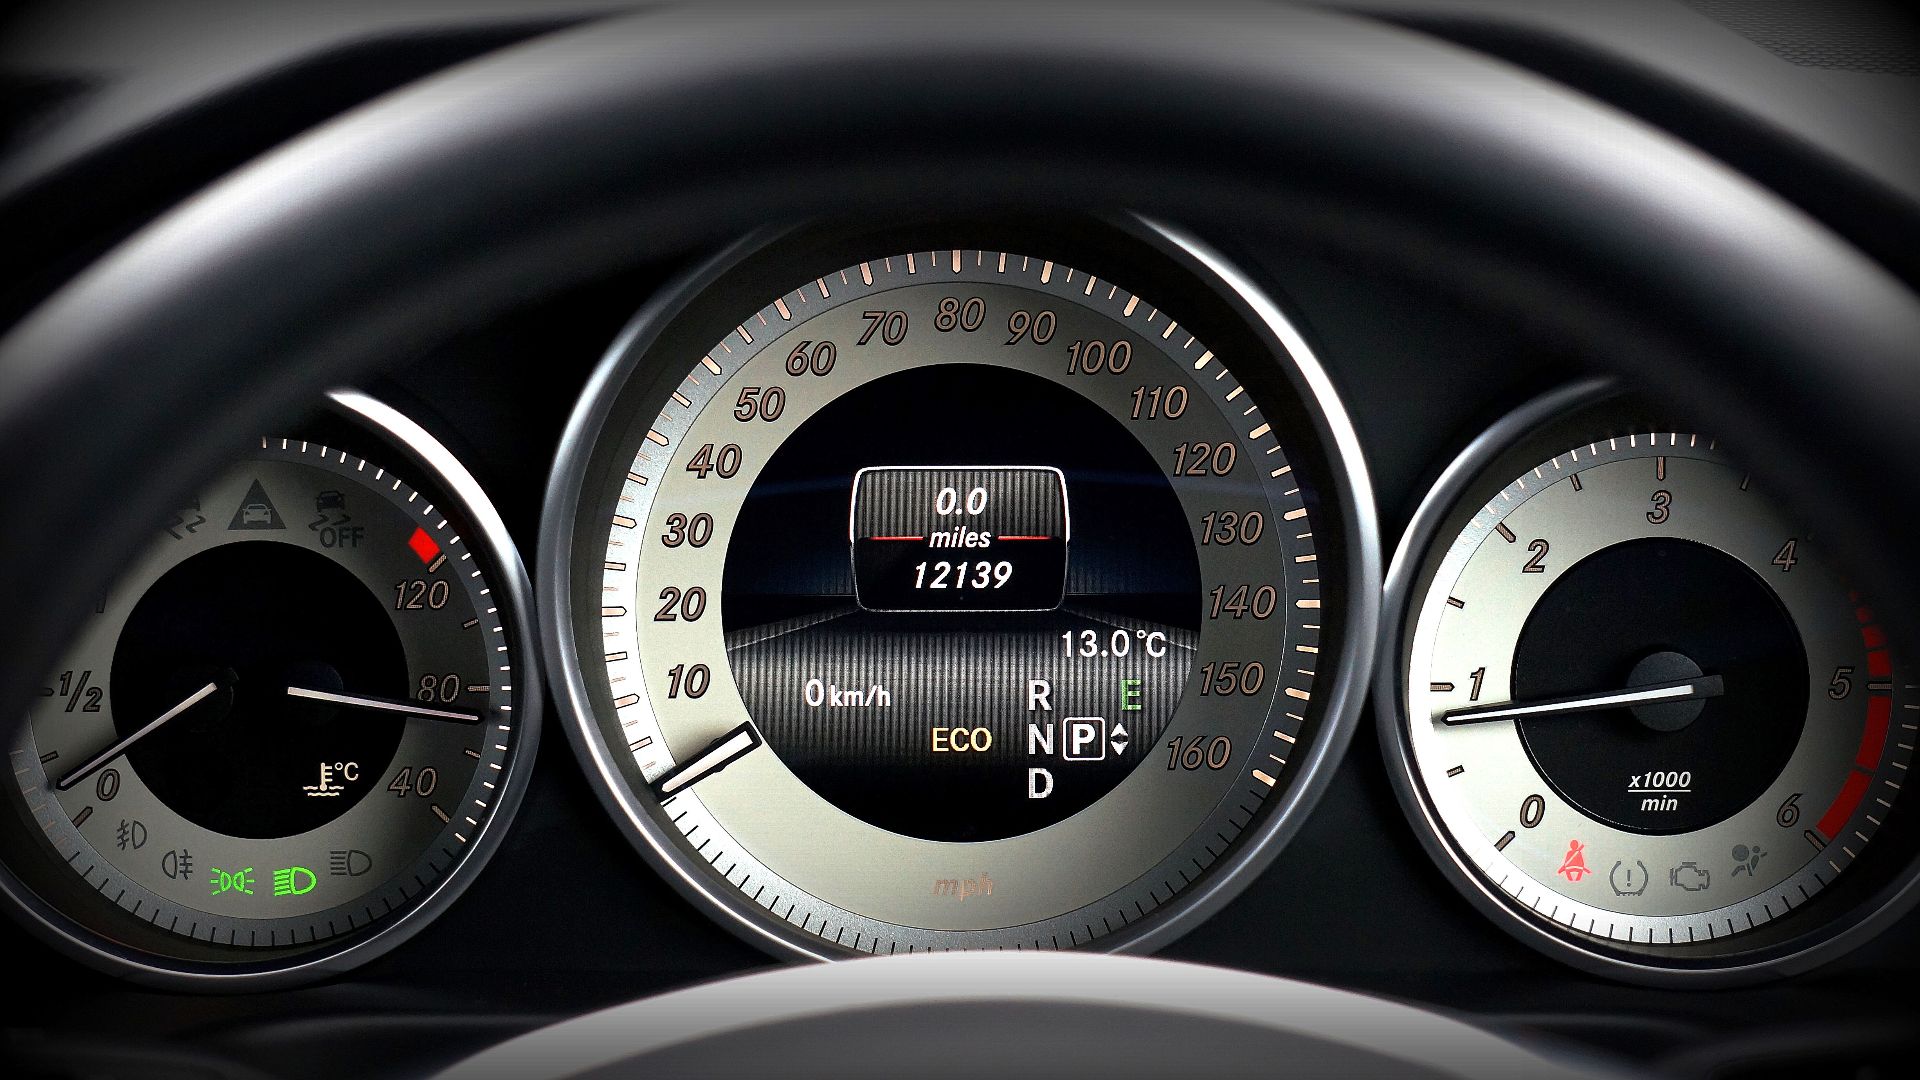
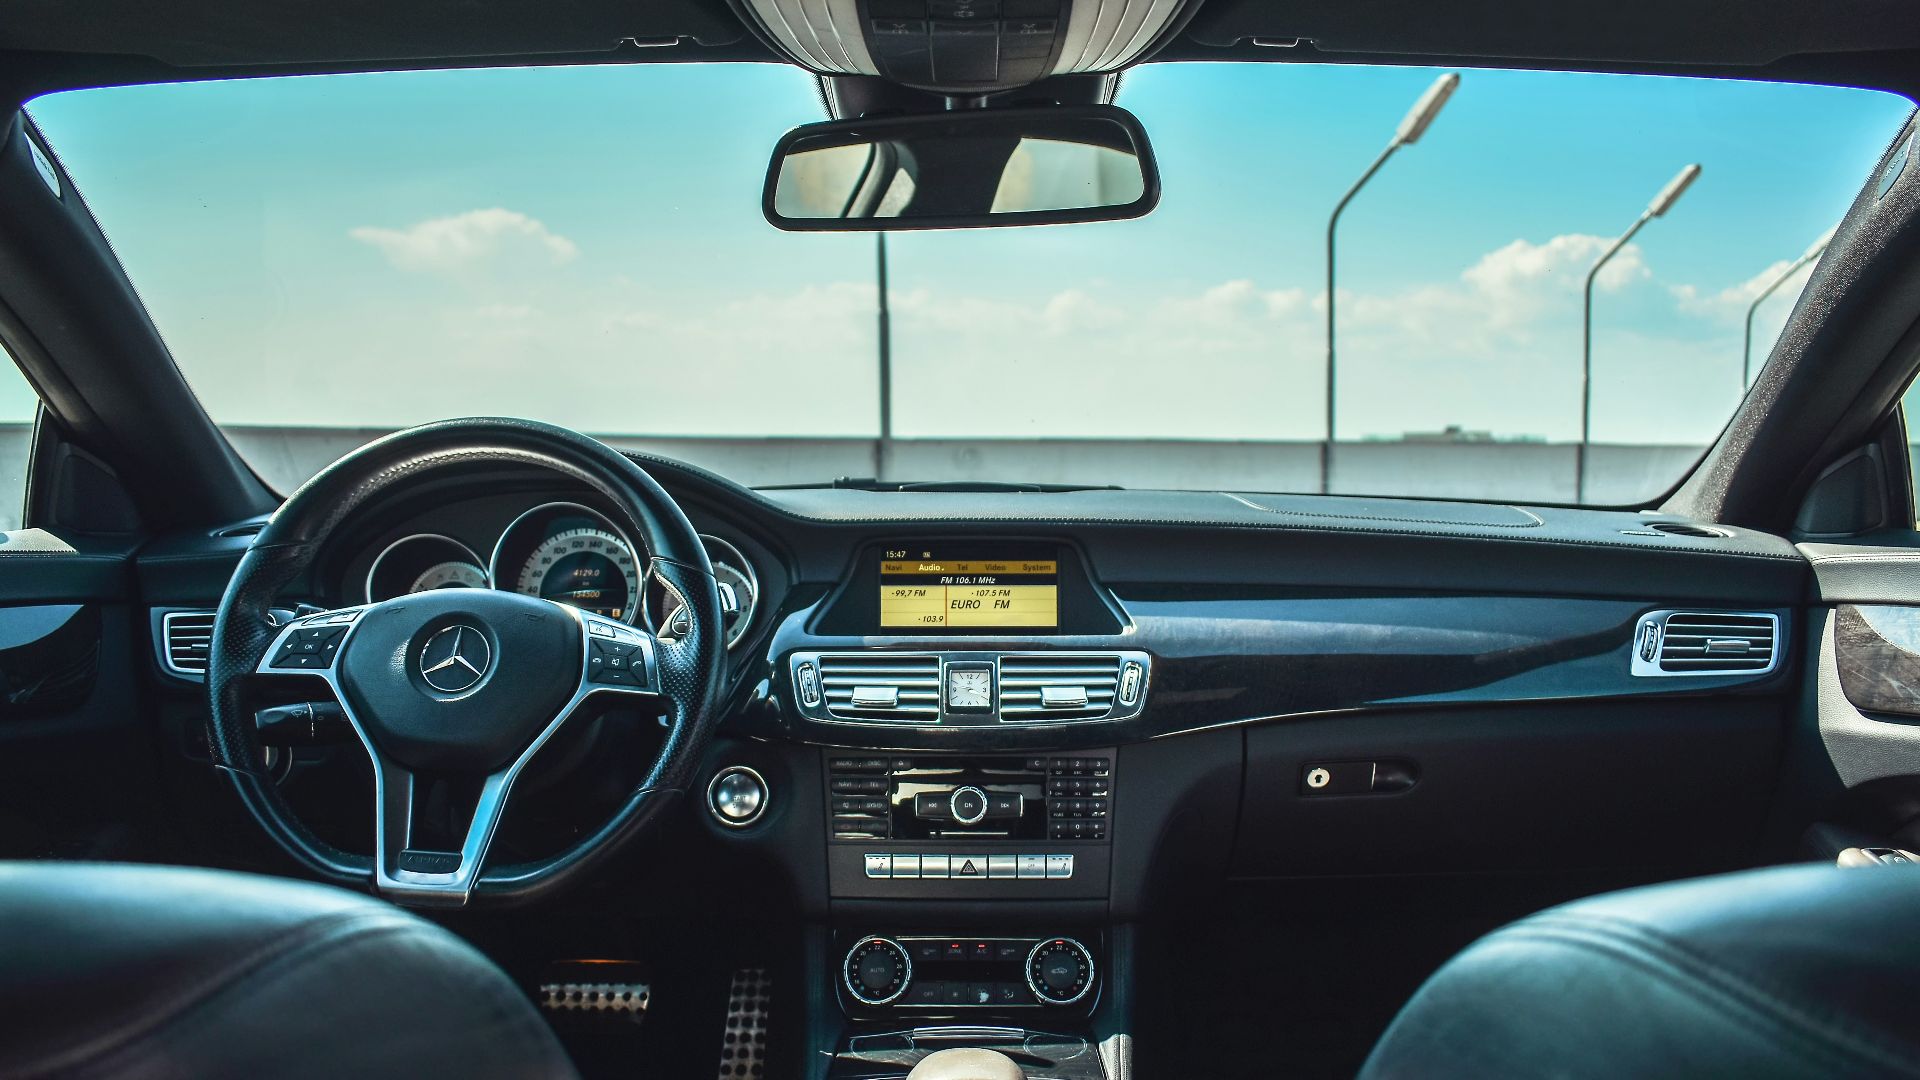
6. Dashboard Warning Lights
Photograph any warning lights that stay on. A tire pressure light, check engine alert, brake warning, airbag light, or maintenance message should be raised before you leave. This protects you from accepting a car that already needs attention.
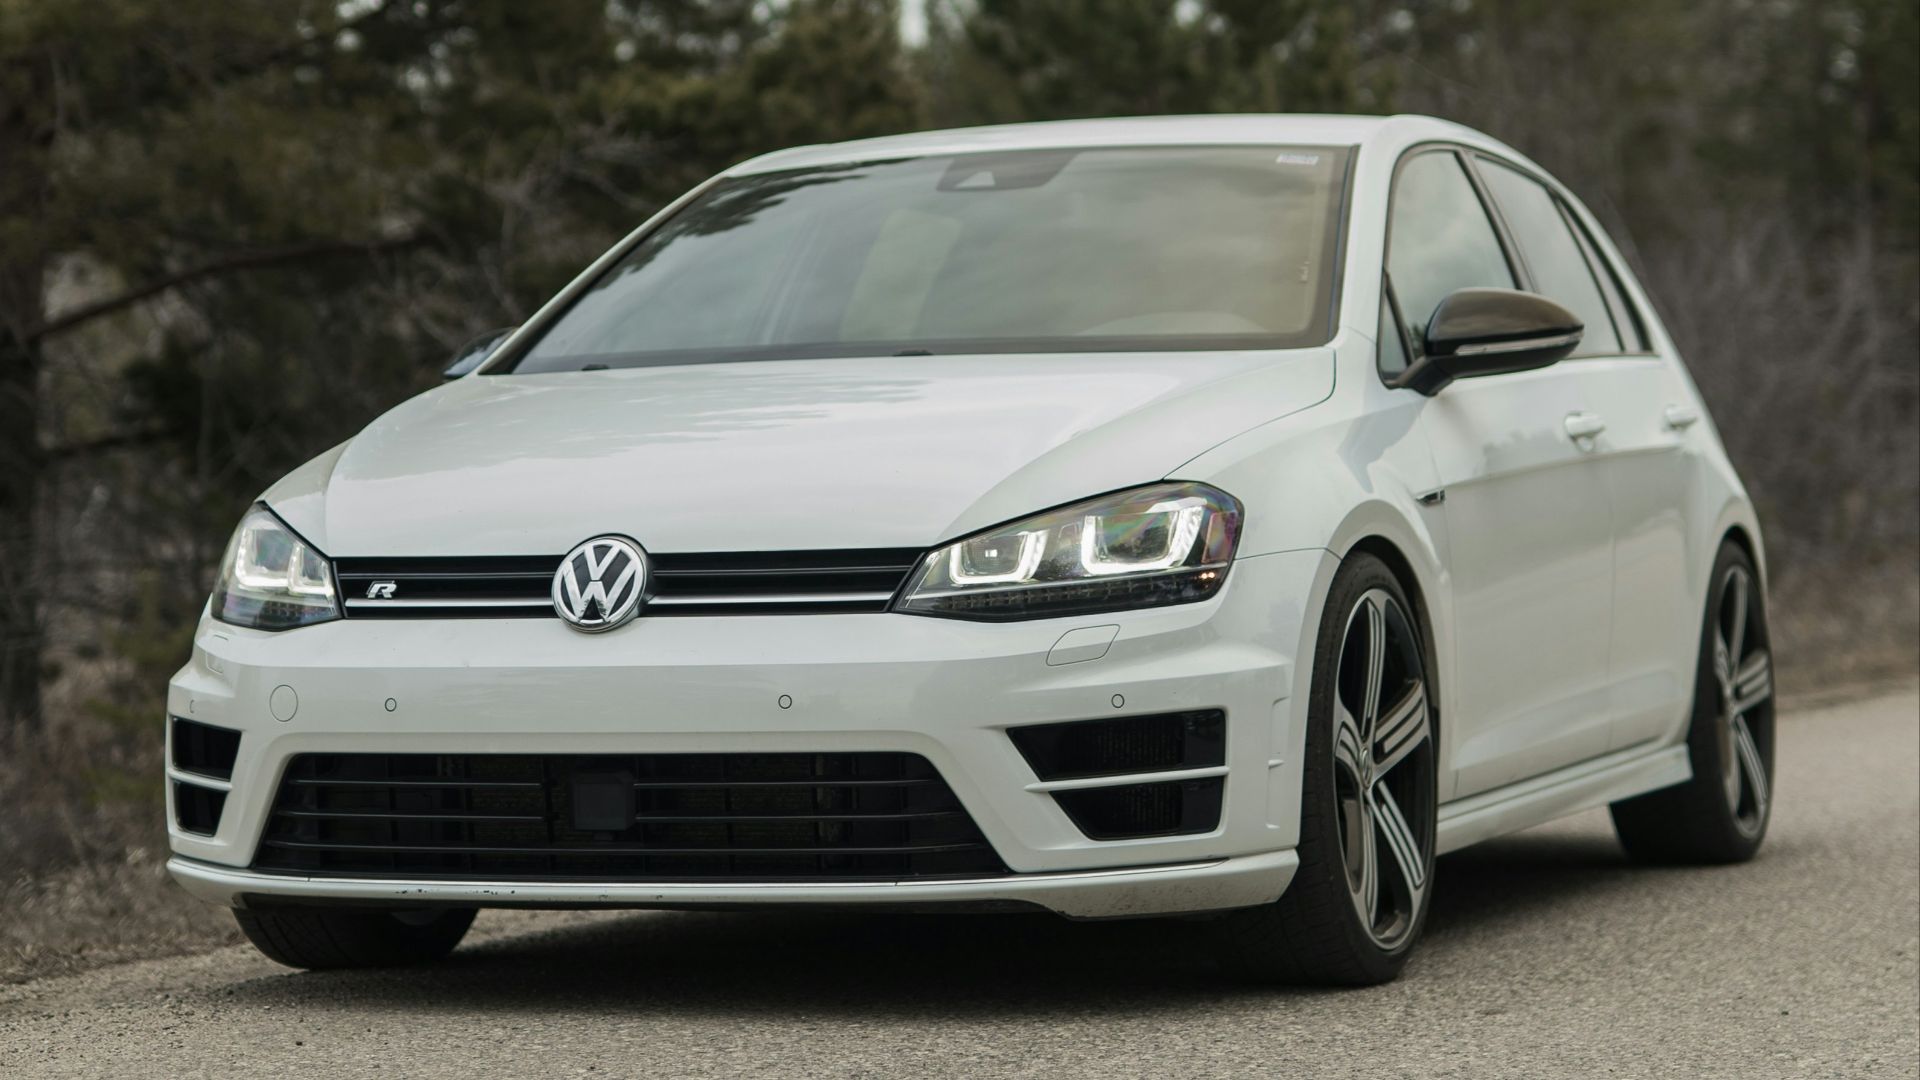
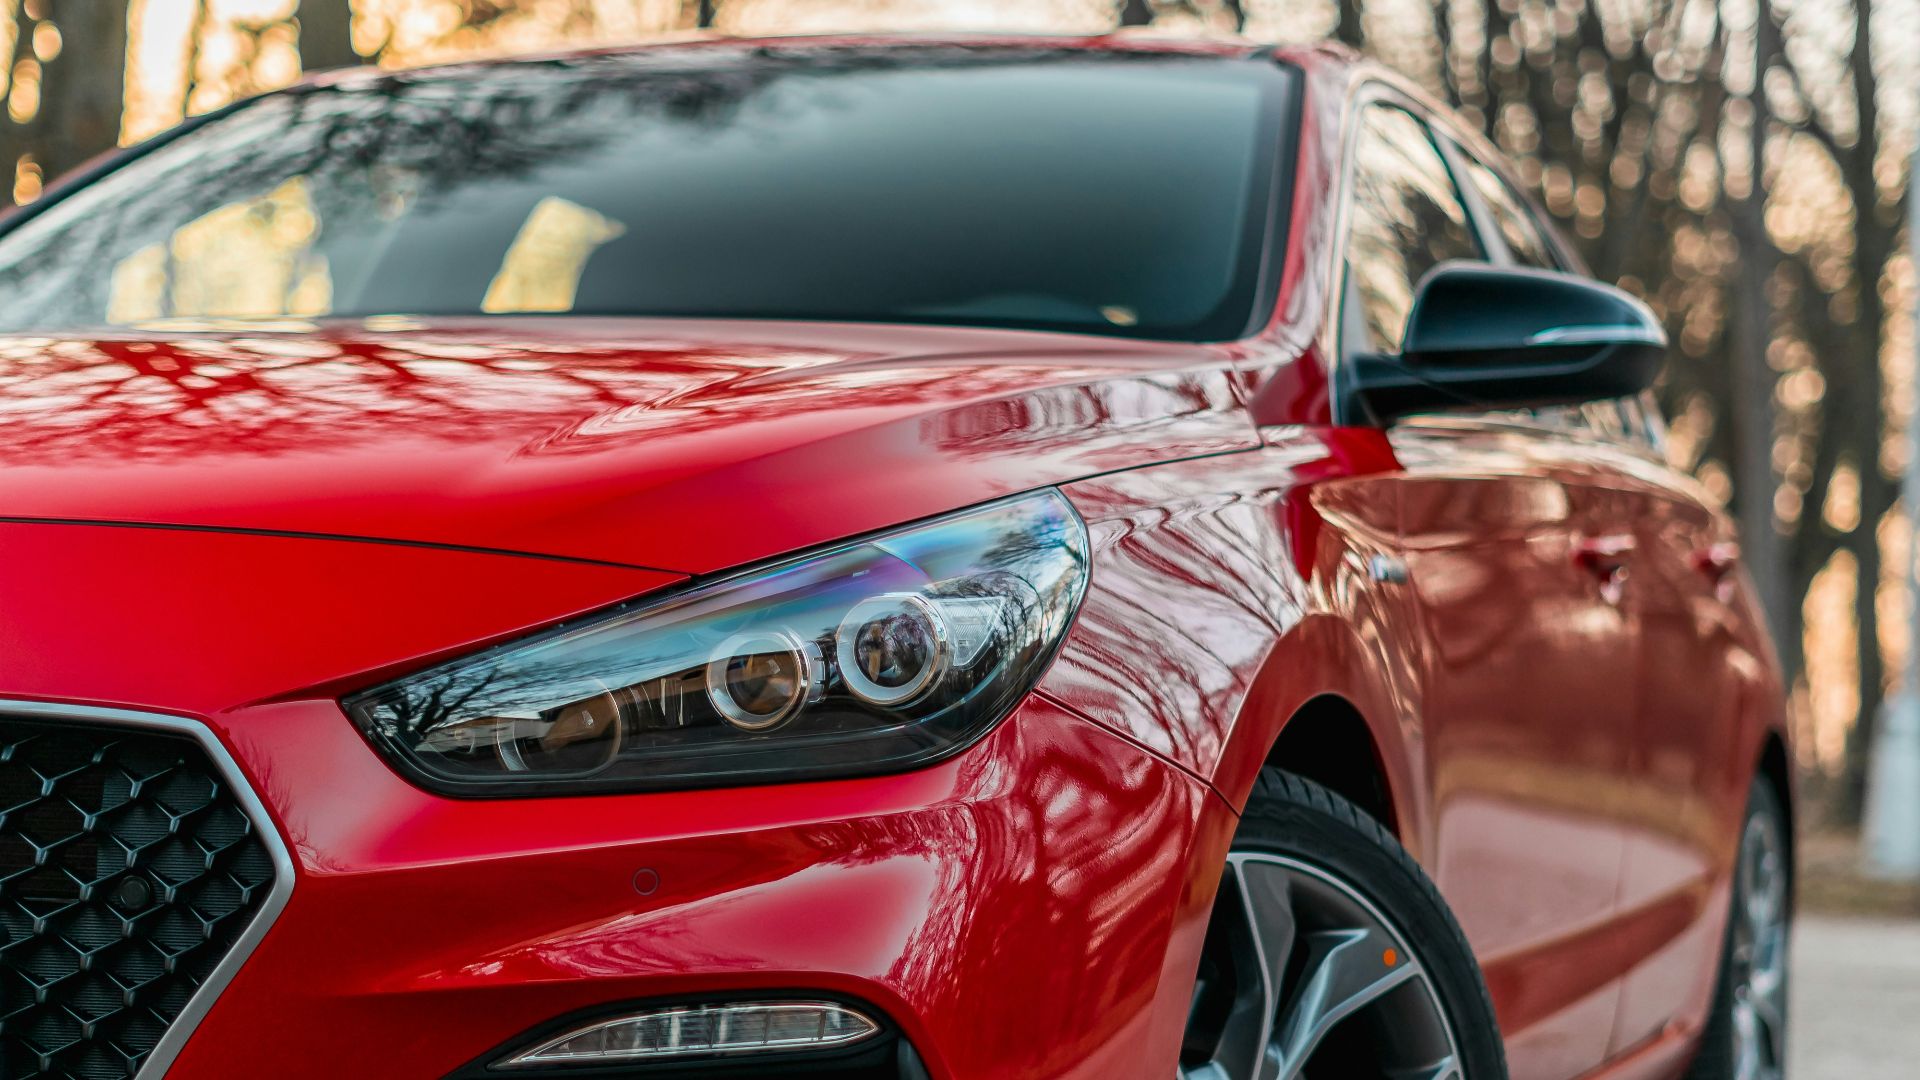
7. Full Front View
Stand several feet in front of the vehicle and photograph its front end. Include the bumper, grille, headlights, hood edge, lower trim, and front plate, if any. Front bumpers often pick up scrapes from curbs, parking stops, garage walls, and road debris.
8. Full Rear View
Take the same kind of wide photo from behind the car. Rear bumpers, hatch edges, trunk lids, backup camera areas, and lower corners are common places for scuffs to hide. If you see a dent, cracked trim, or paint transfer, take a closer photo before you leave.
 Christian Wiediger on Unsplash
9. Driver’s Side Panels
Photograph the driver’s side from a few angles, including the front fender, doors, rocker panel, and rear quarter panel. Side damage can disappear under poor garage lighting, especially on black, white, or silver paint. Step back and shoot along the length of the car so small dents are easier to see.
10. Passenger’s Side Panels
Repeat the same process on the passenger side, even if the car is parked close to another vehicle. That side can pick up curb scrapes, parking-lot dings, and garage-column marks. If the space is too tight for a useful photo, ask staff to inspect it with you first, or move the car slightly.
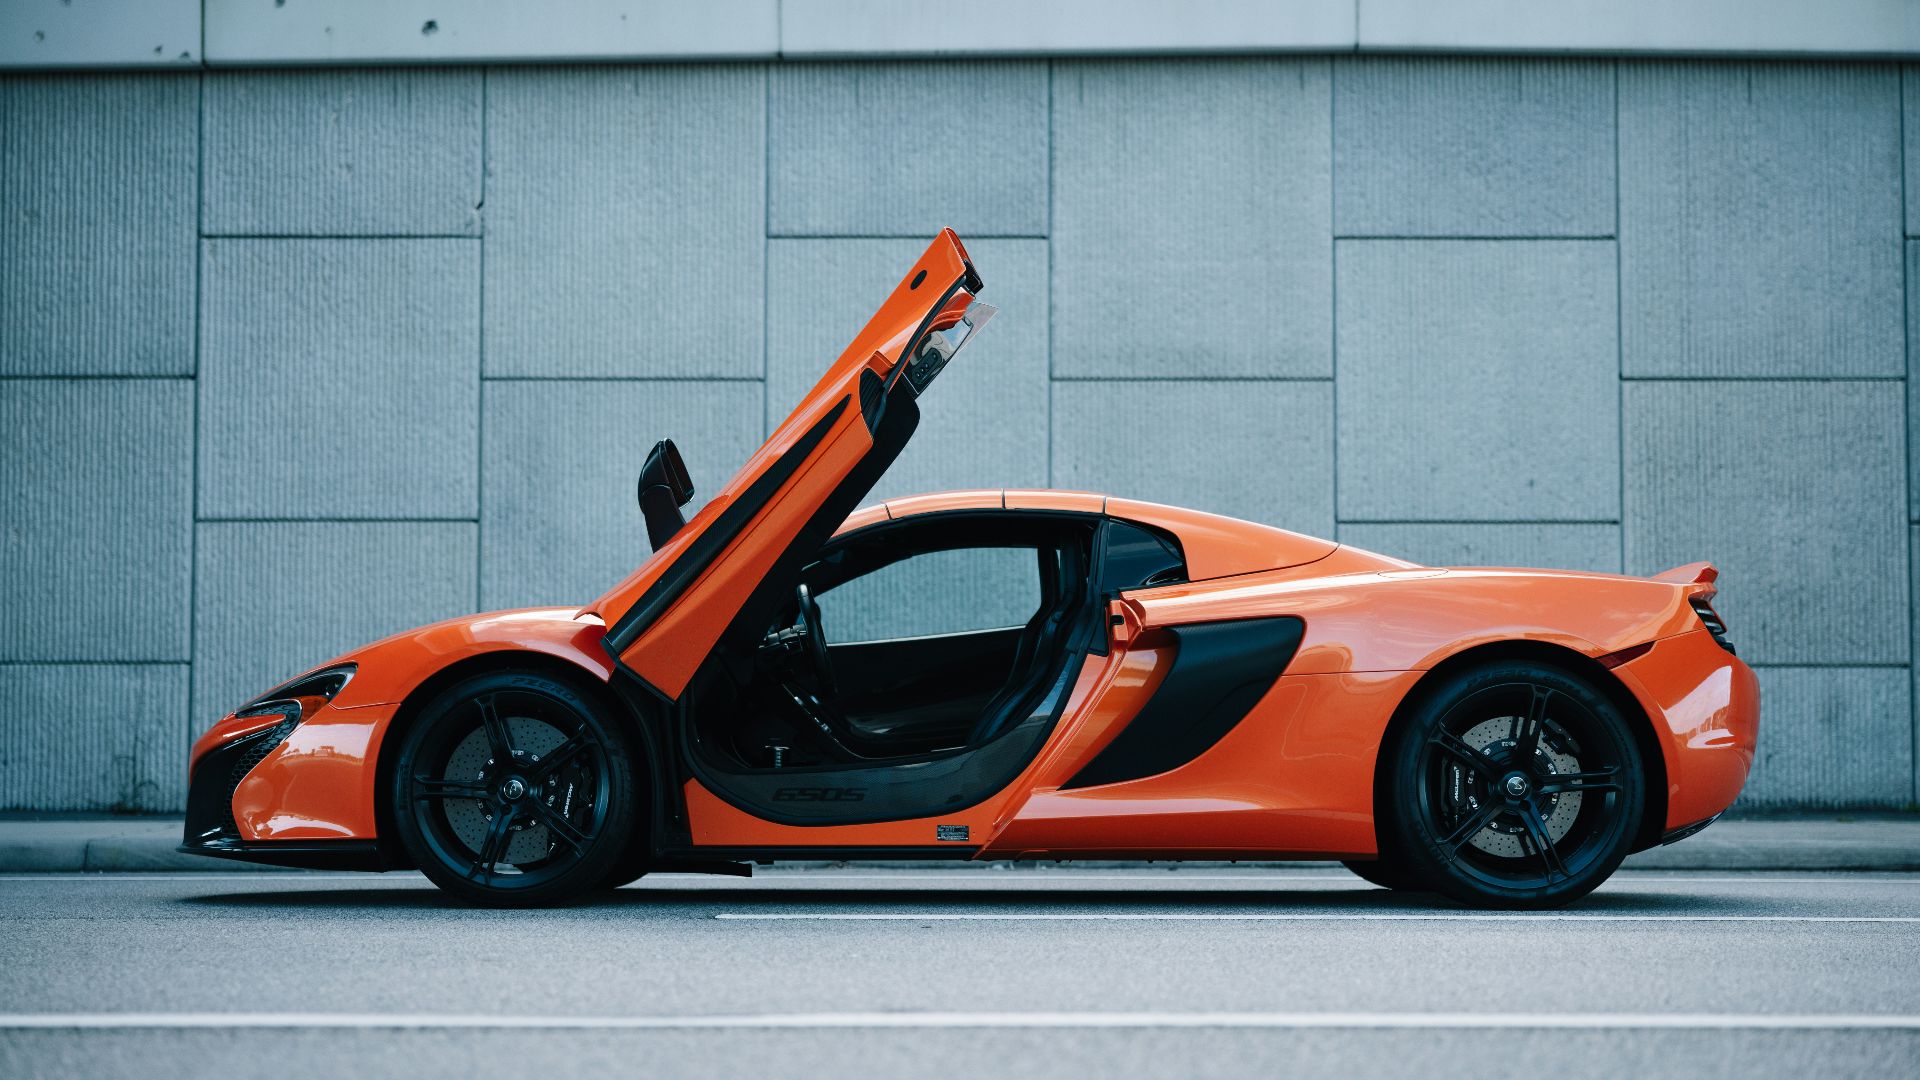
11. Doors And Door Edges
Take close photos of each door, including handles, keyholes, trim pieces, and outer edges. Door edges can chip when they’re opened into walls, posts, or nearby cars. Open each door and check the inner edge as well, since those marks are easy to miss.
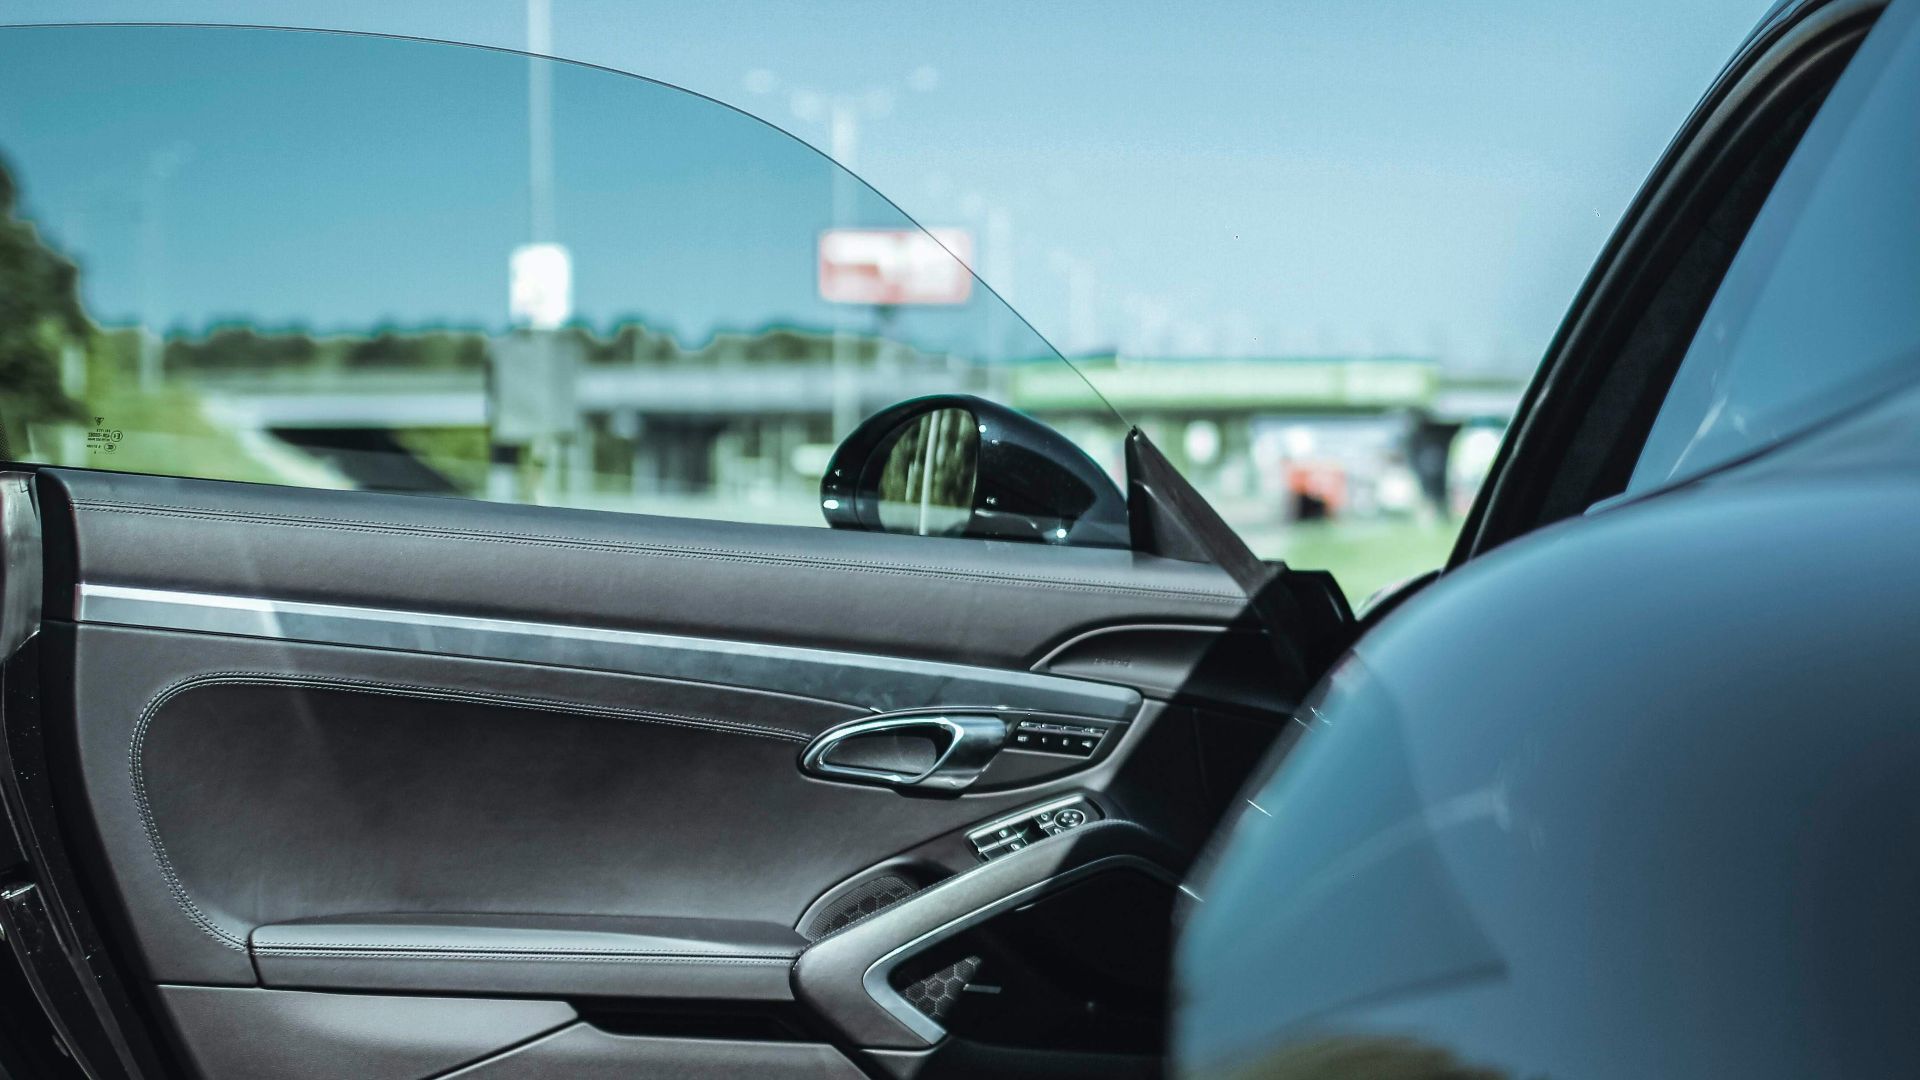
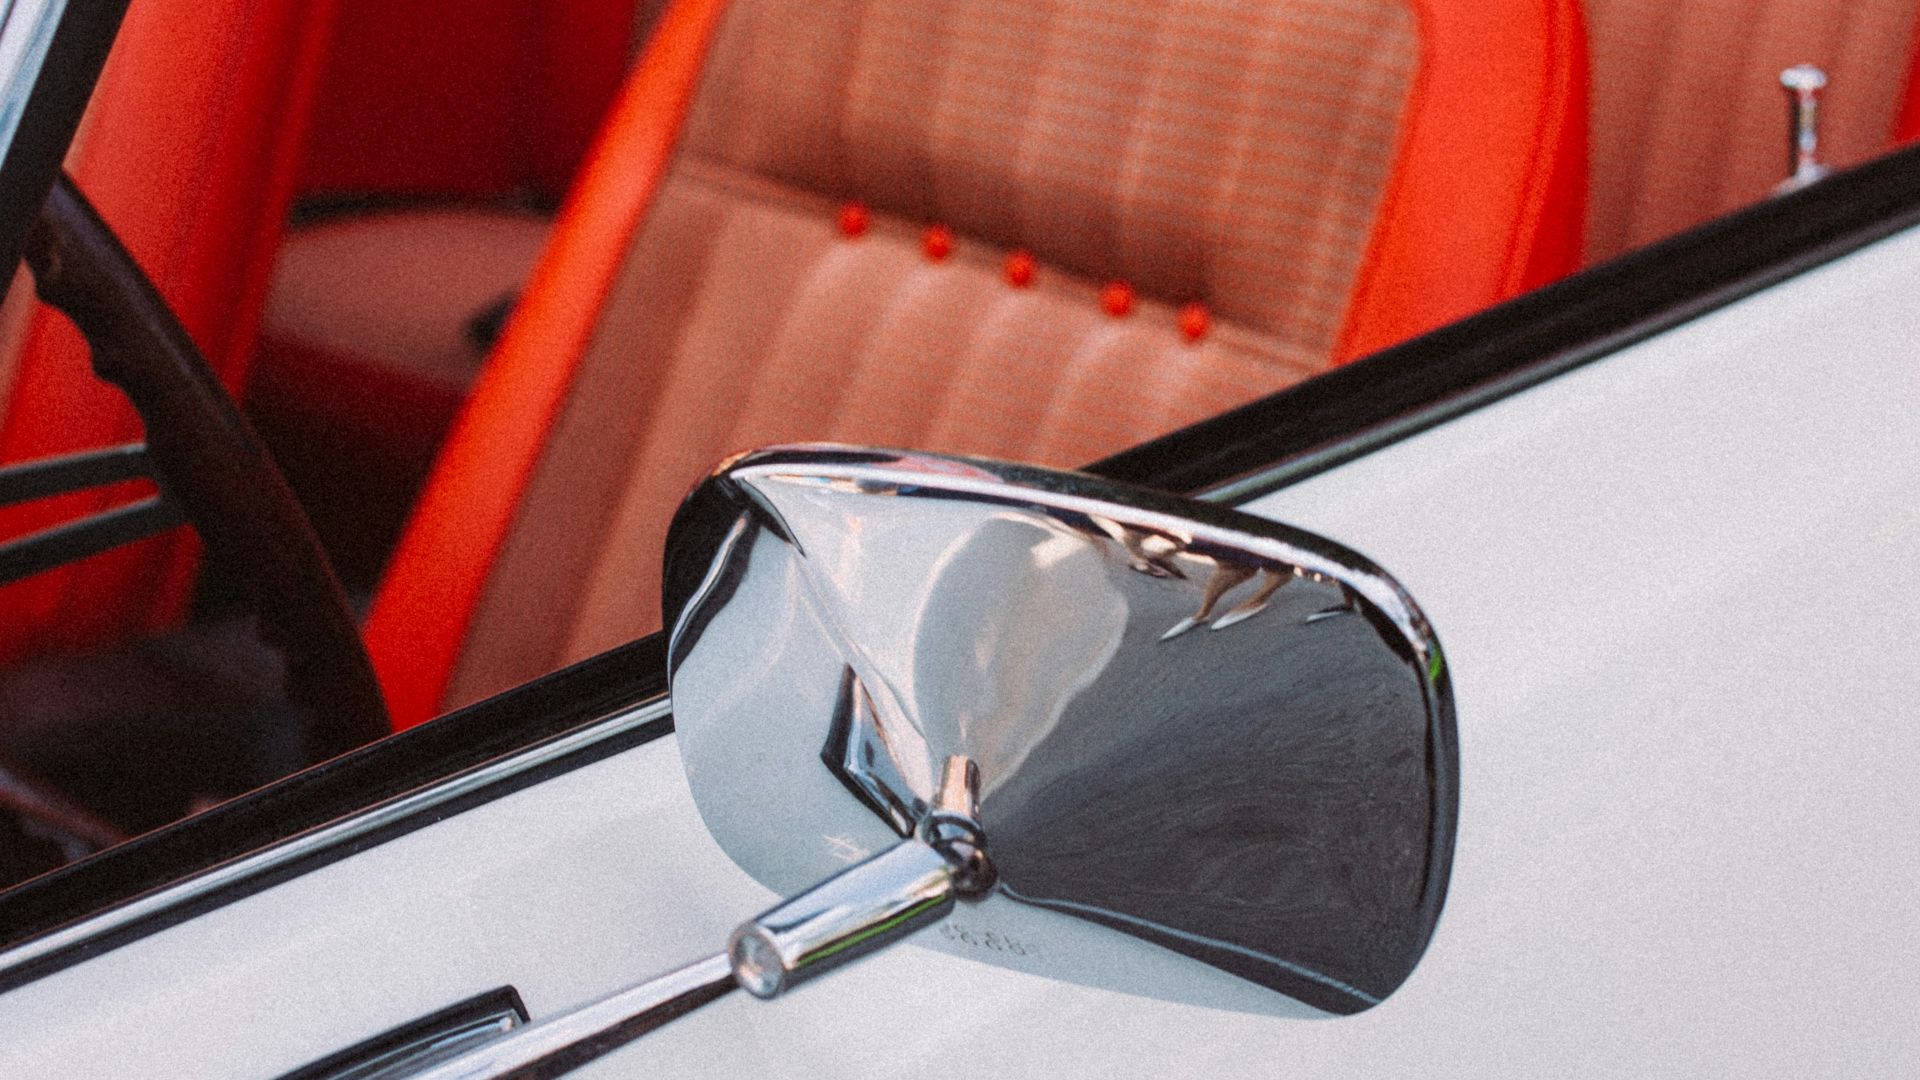
12. Side Mirrors
Photograph both side mirrors from the front, side, and back. Mirror housings stick out, so they’re easy targets for scrapes, cracks, loose trim, and broken indicator lenses. Check the glass, blind-spot area, and any camera housing before assuming everything is fine.
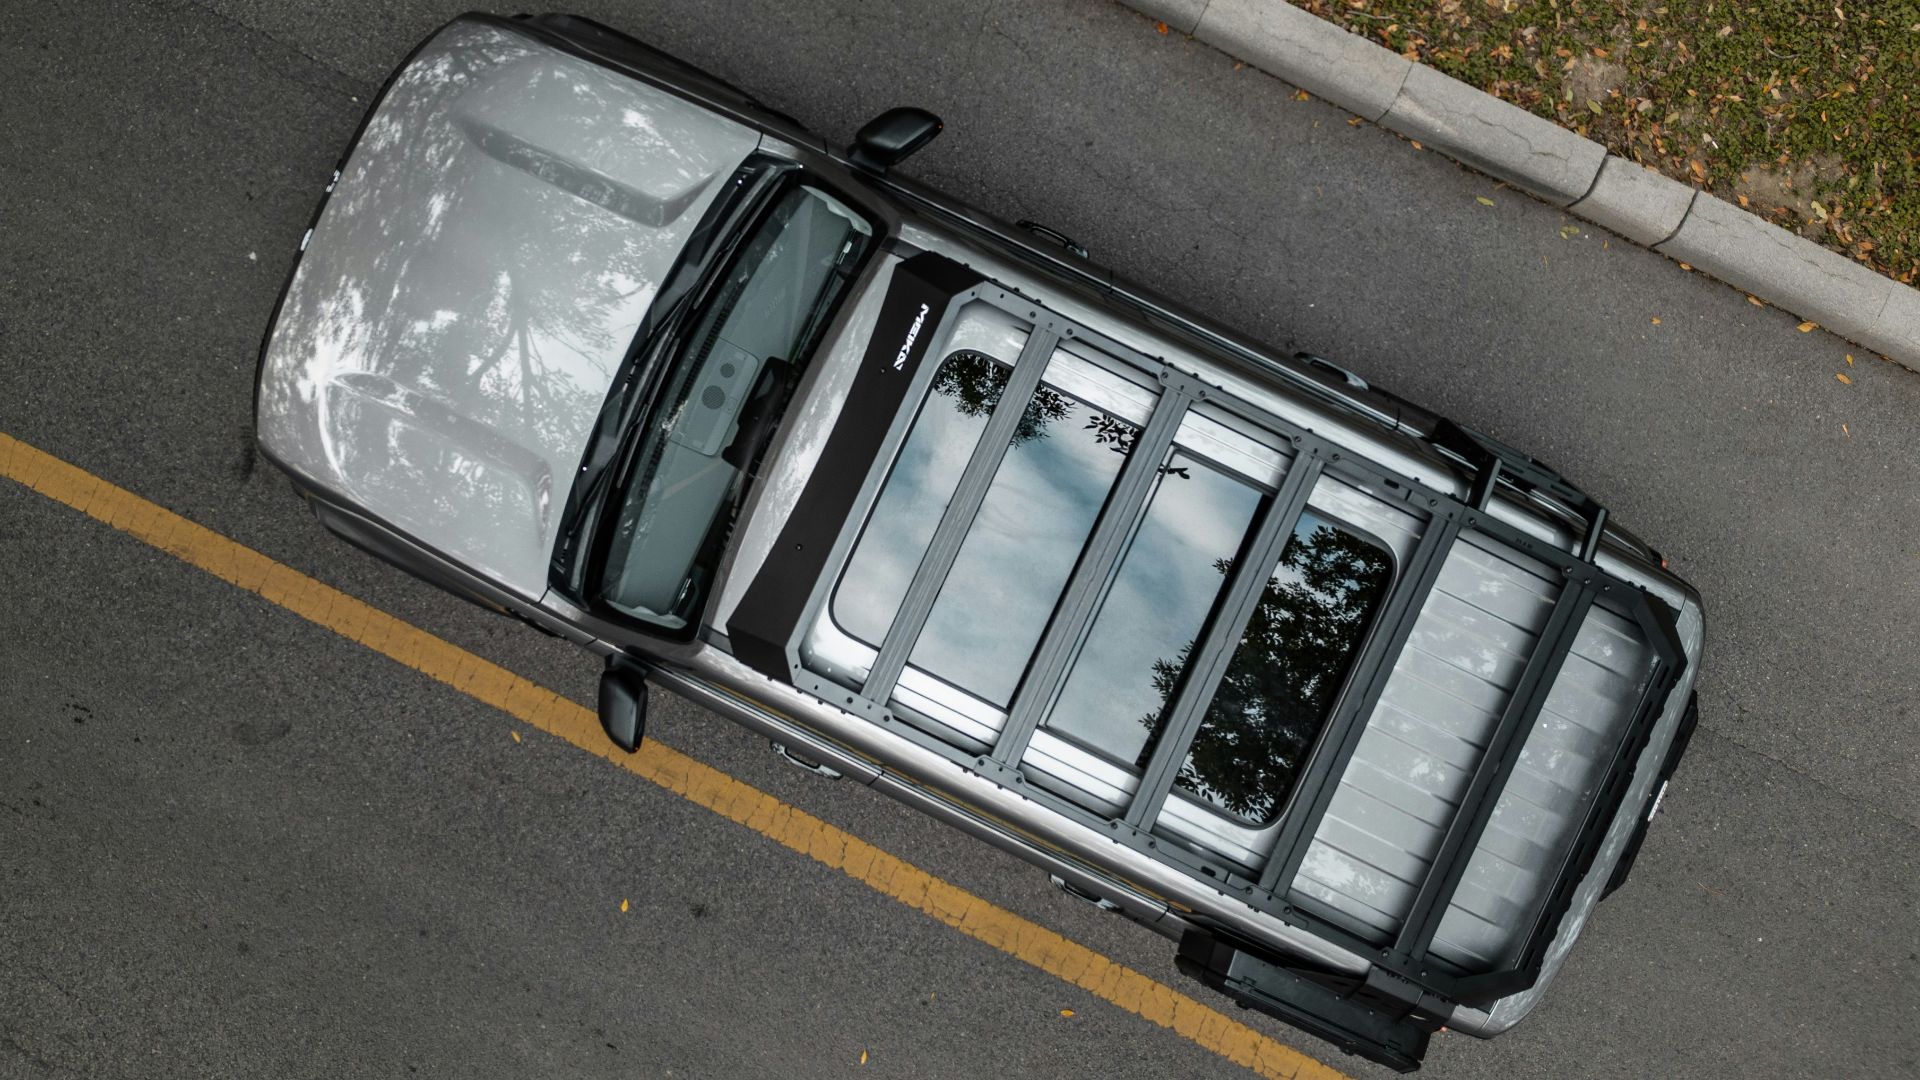
13. Hood, Roof, And Trunk Lid
Don’t stop with the panels at eye level. Photograph the hood, roof, trunk lid, or hatch top for dents, scratches, stains, sap, or luggage marks. Roof damage is especially easy to miss on taller SUVs, minivans, and pickups.
14. Windshield And Windows
Take photos of the windshield, rear glass, side windows, and sunroof if the car has one. Small chips can turn into larger cracks, and glass damage can be expensive to argue about later. Try one straight-on photo and one angled shot so chips, pits, and scratches are easier to see.
15. Lights And Lenses
Photograph the headlights, taillights, brake lights, turn signals, reflectors, and fog lights. Cracked lenses, moisture inside housings, and missing pieces are easy to overlook when you’re in a hurry. If it’s safe, turn the lights on and take a quick photo or video showing they worked at pickup.
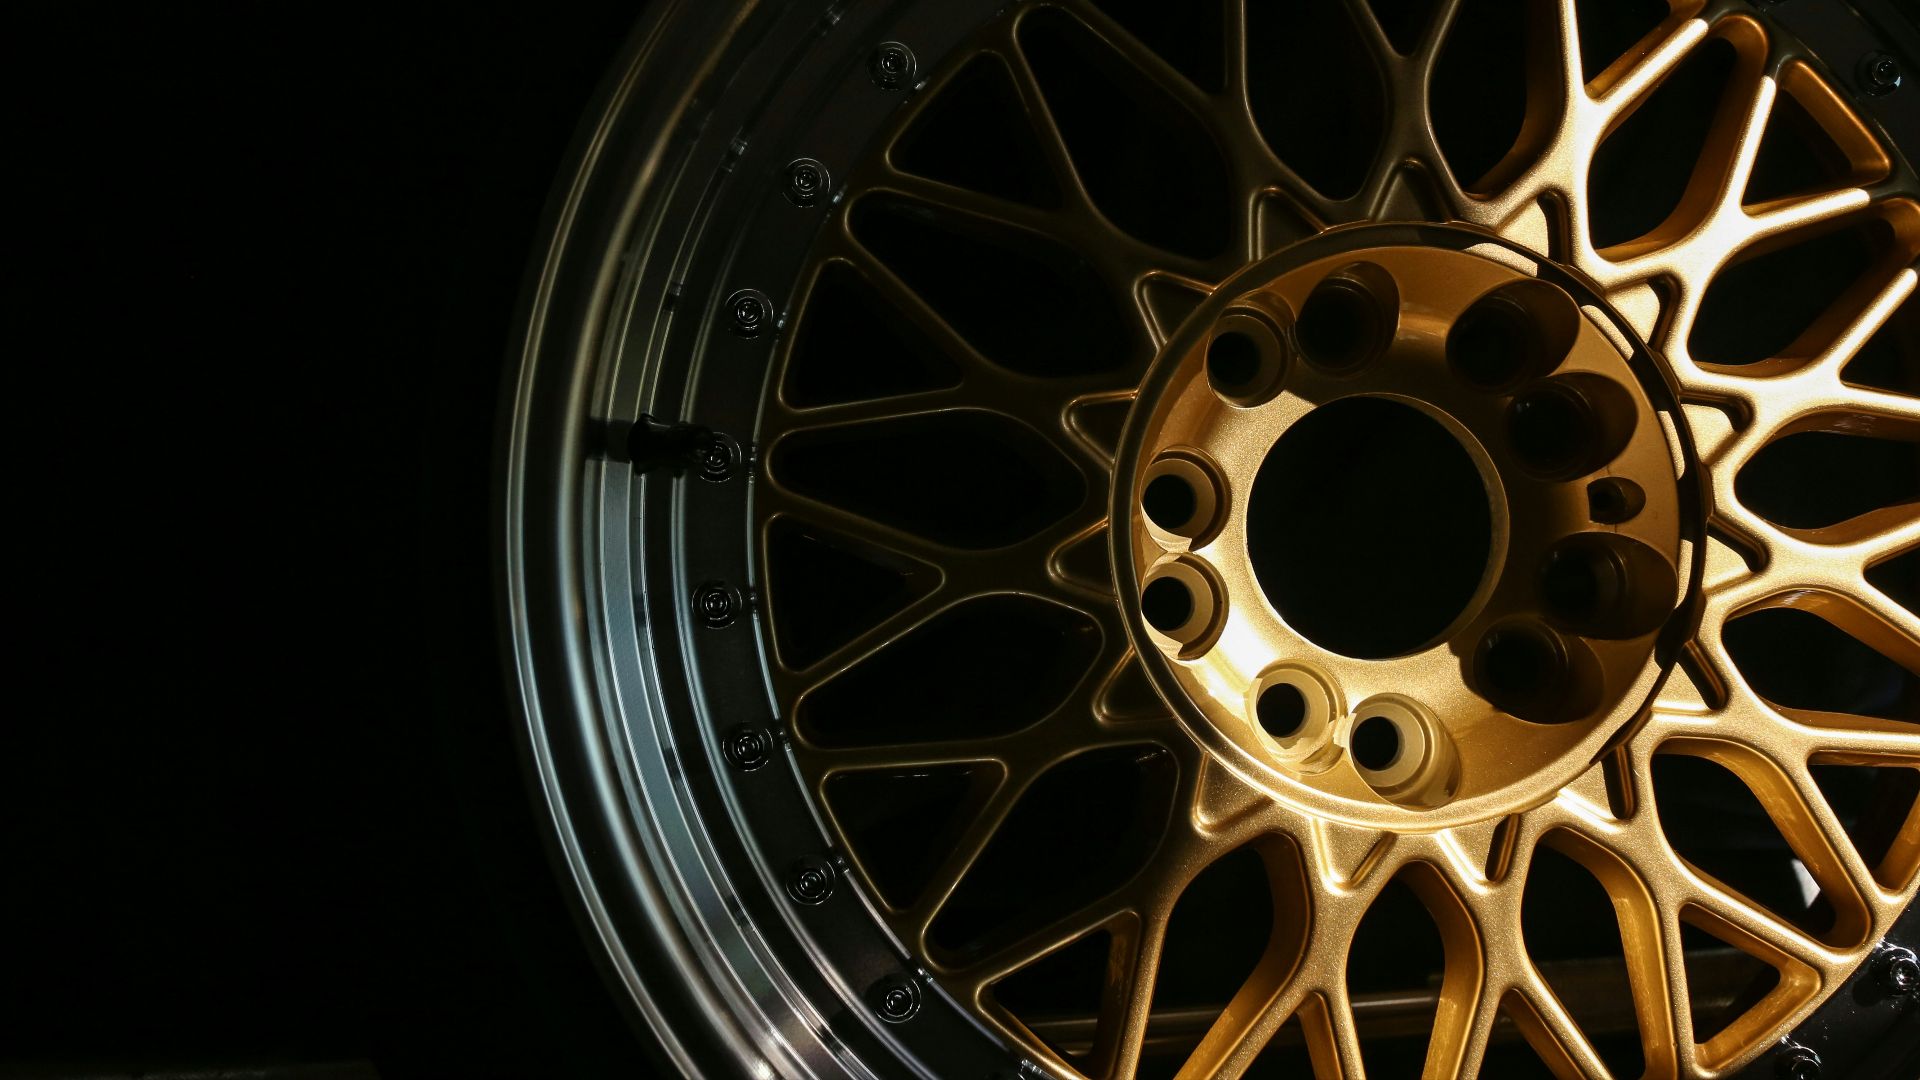
16. Wheels And Rims
Take a separate photo of every wheel. Rental-car rims often have curb rash, scratches, missing hubcaps, or scuffed alloy finishes from previous drivers. A full-wheel photo, plus close-ups of any marks, can help if those scrapes are questioned later.
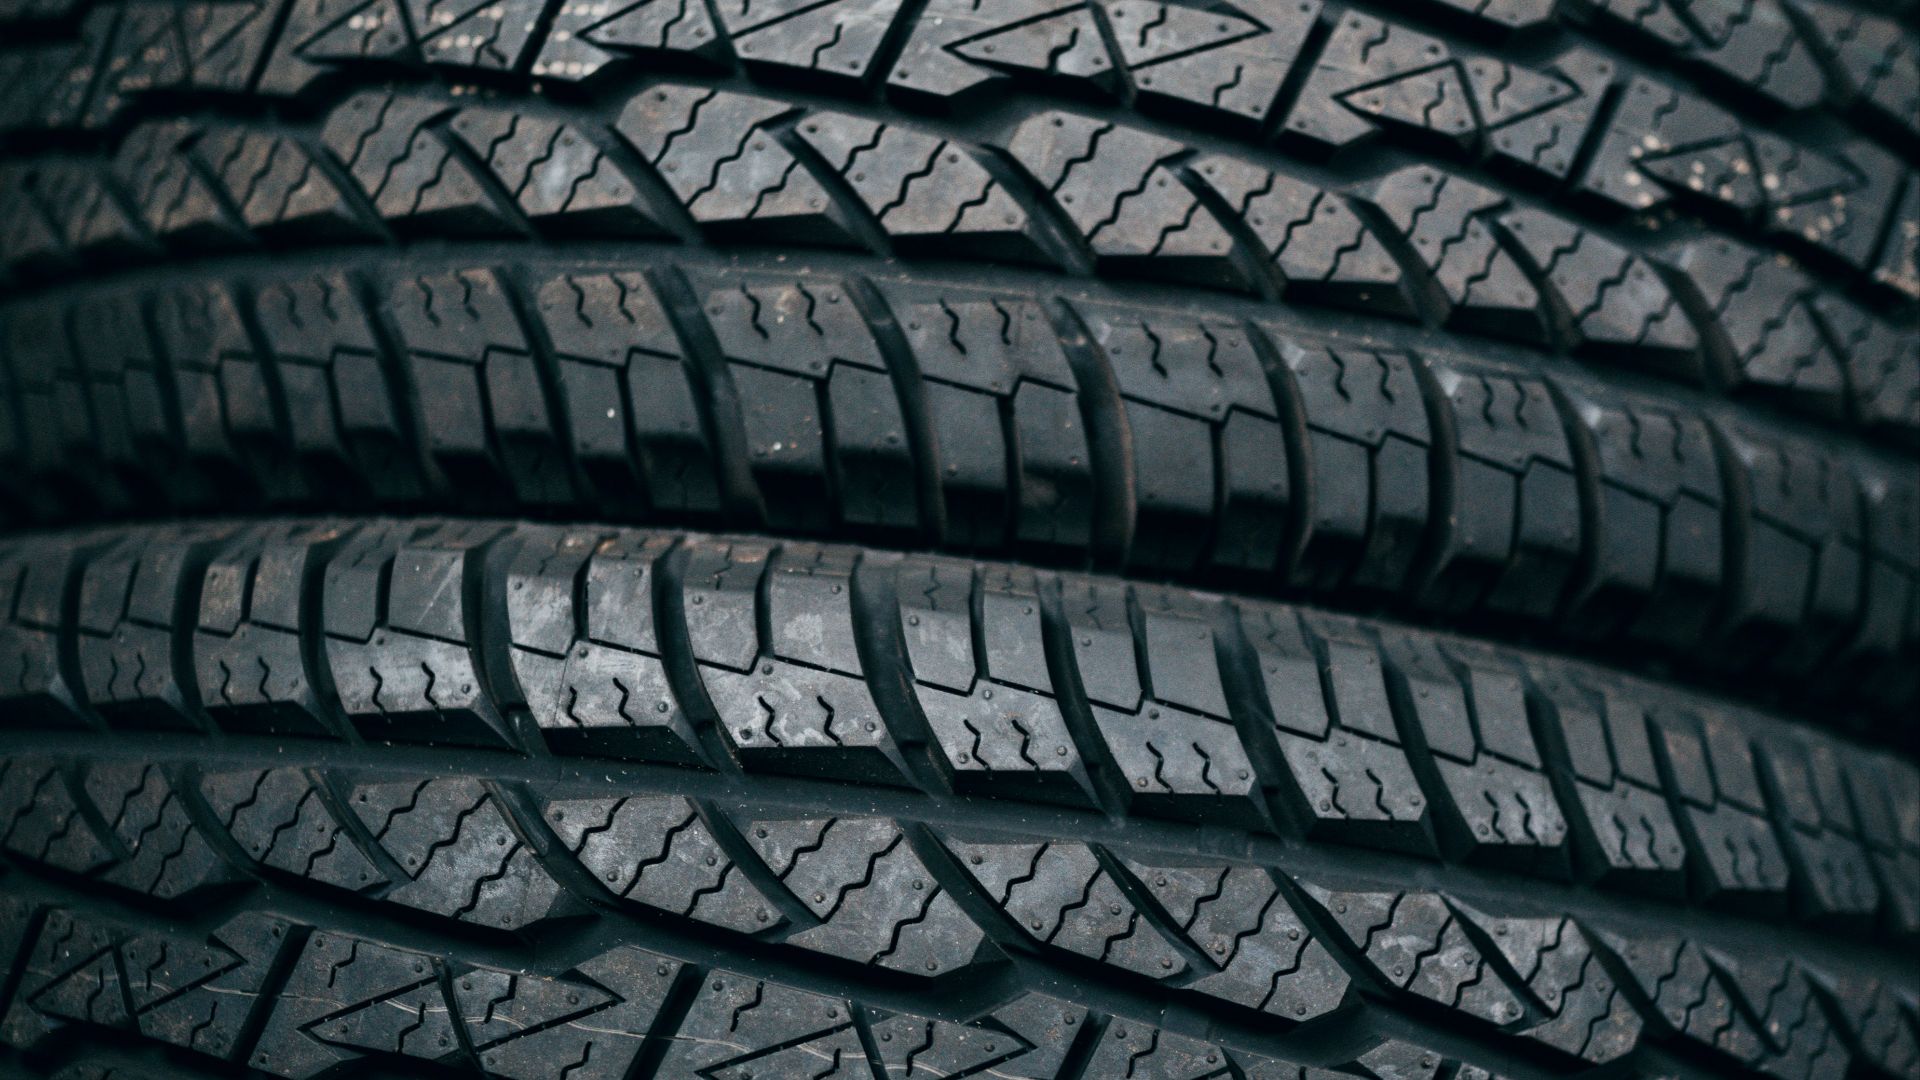
17. Tires And Sidewalls
Photograph the tires, including the tread, sidewalls, and any visible damage. Look for bulges, deep cuts, nails, uneven wear, or anything that makes the tire look unsafe. If the tire pressure light is on or a tire seems questionable, bring it up before leaving the lot.
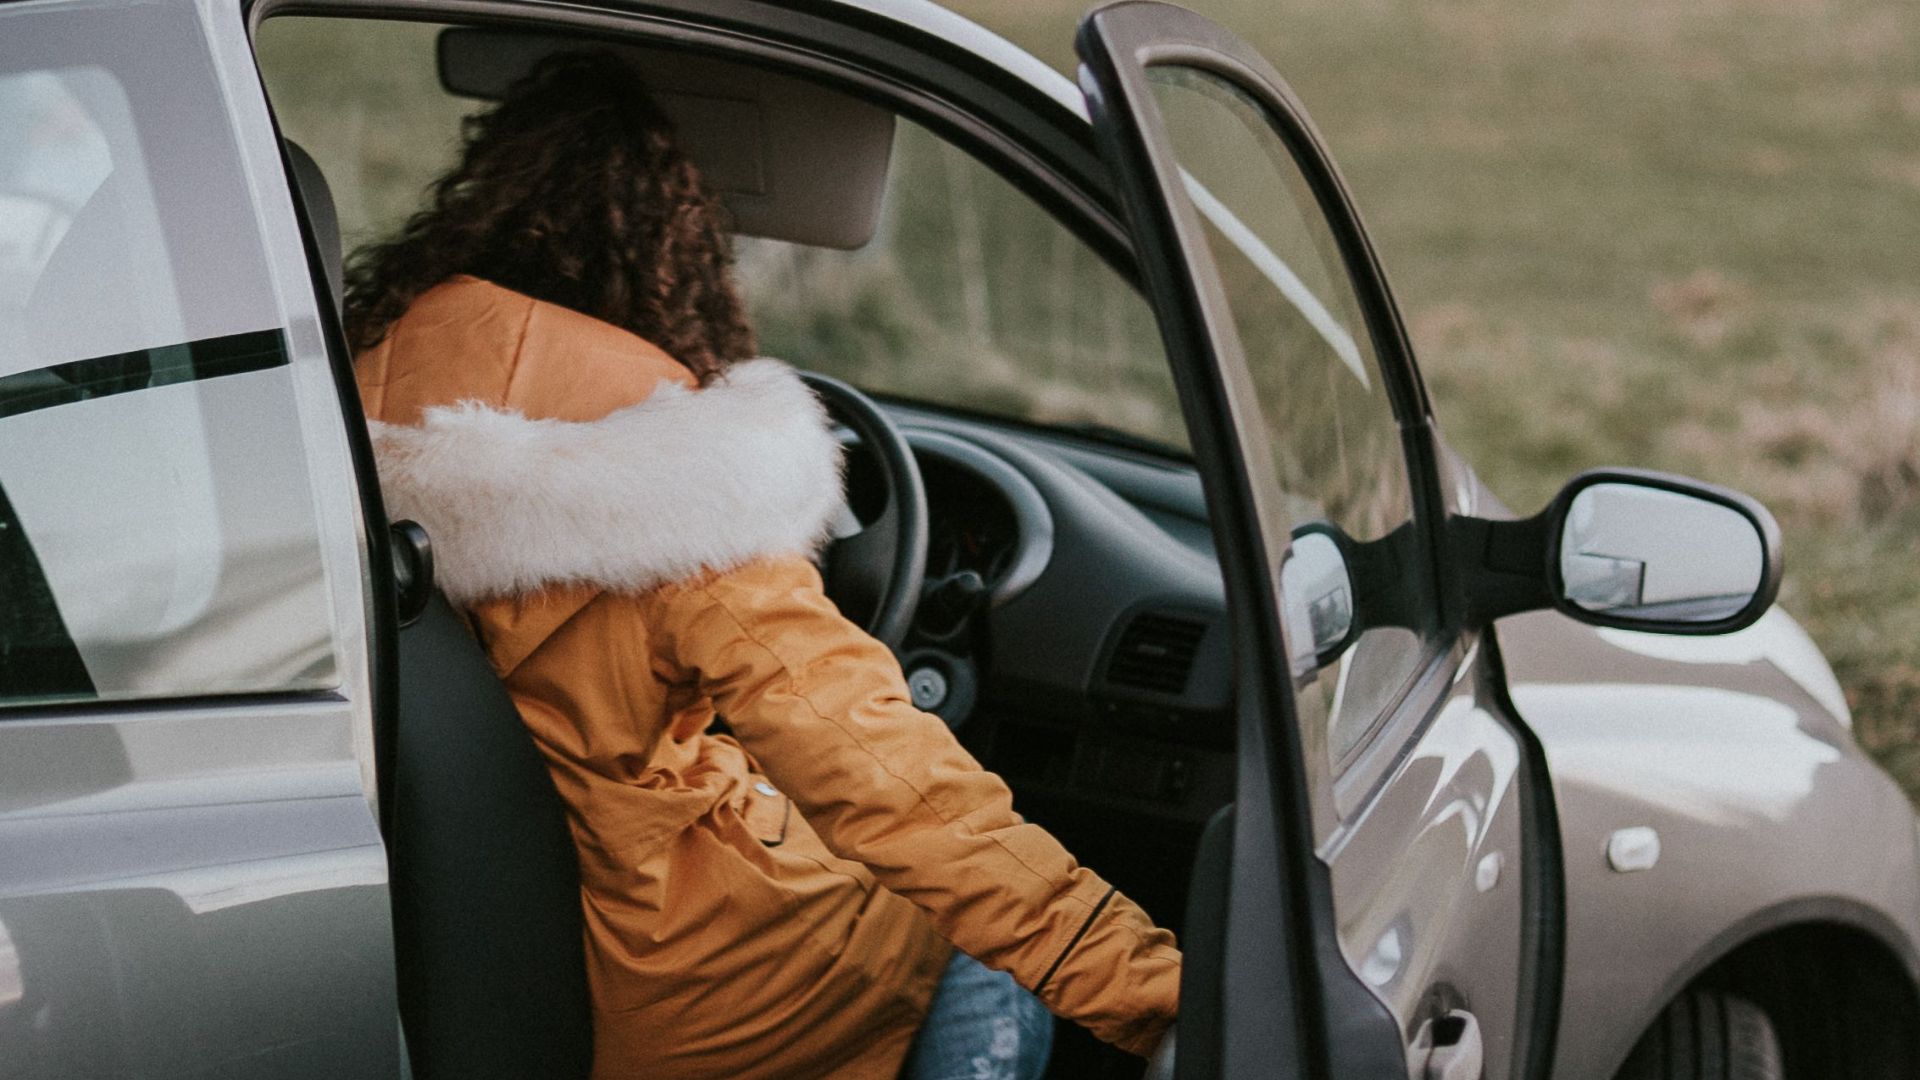
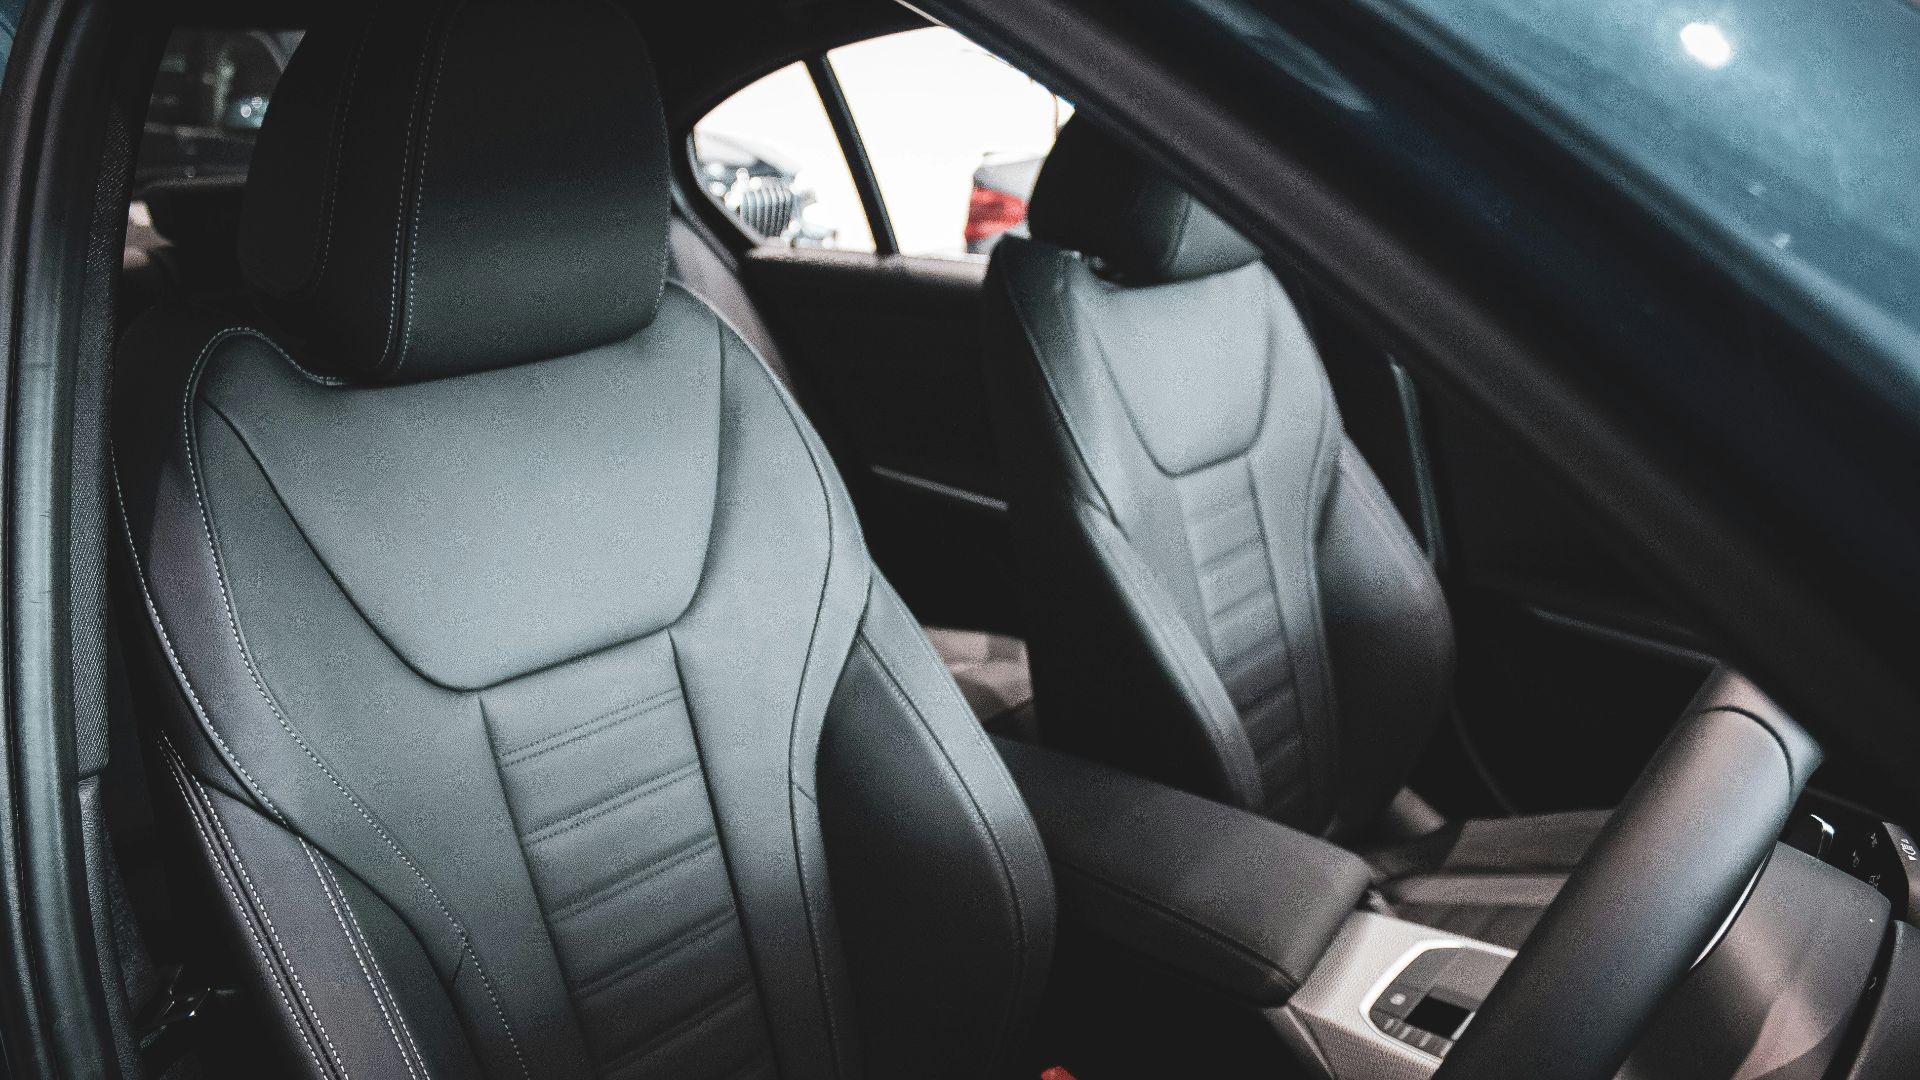
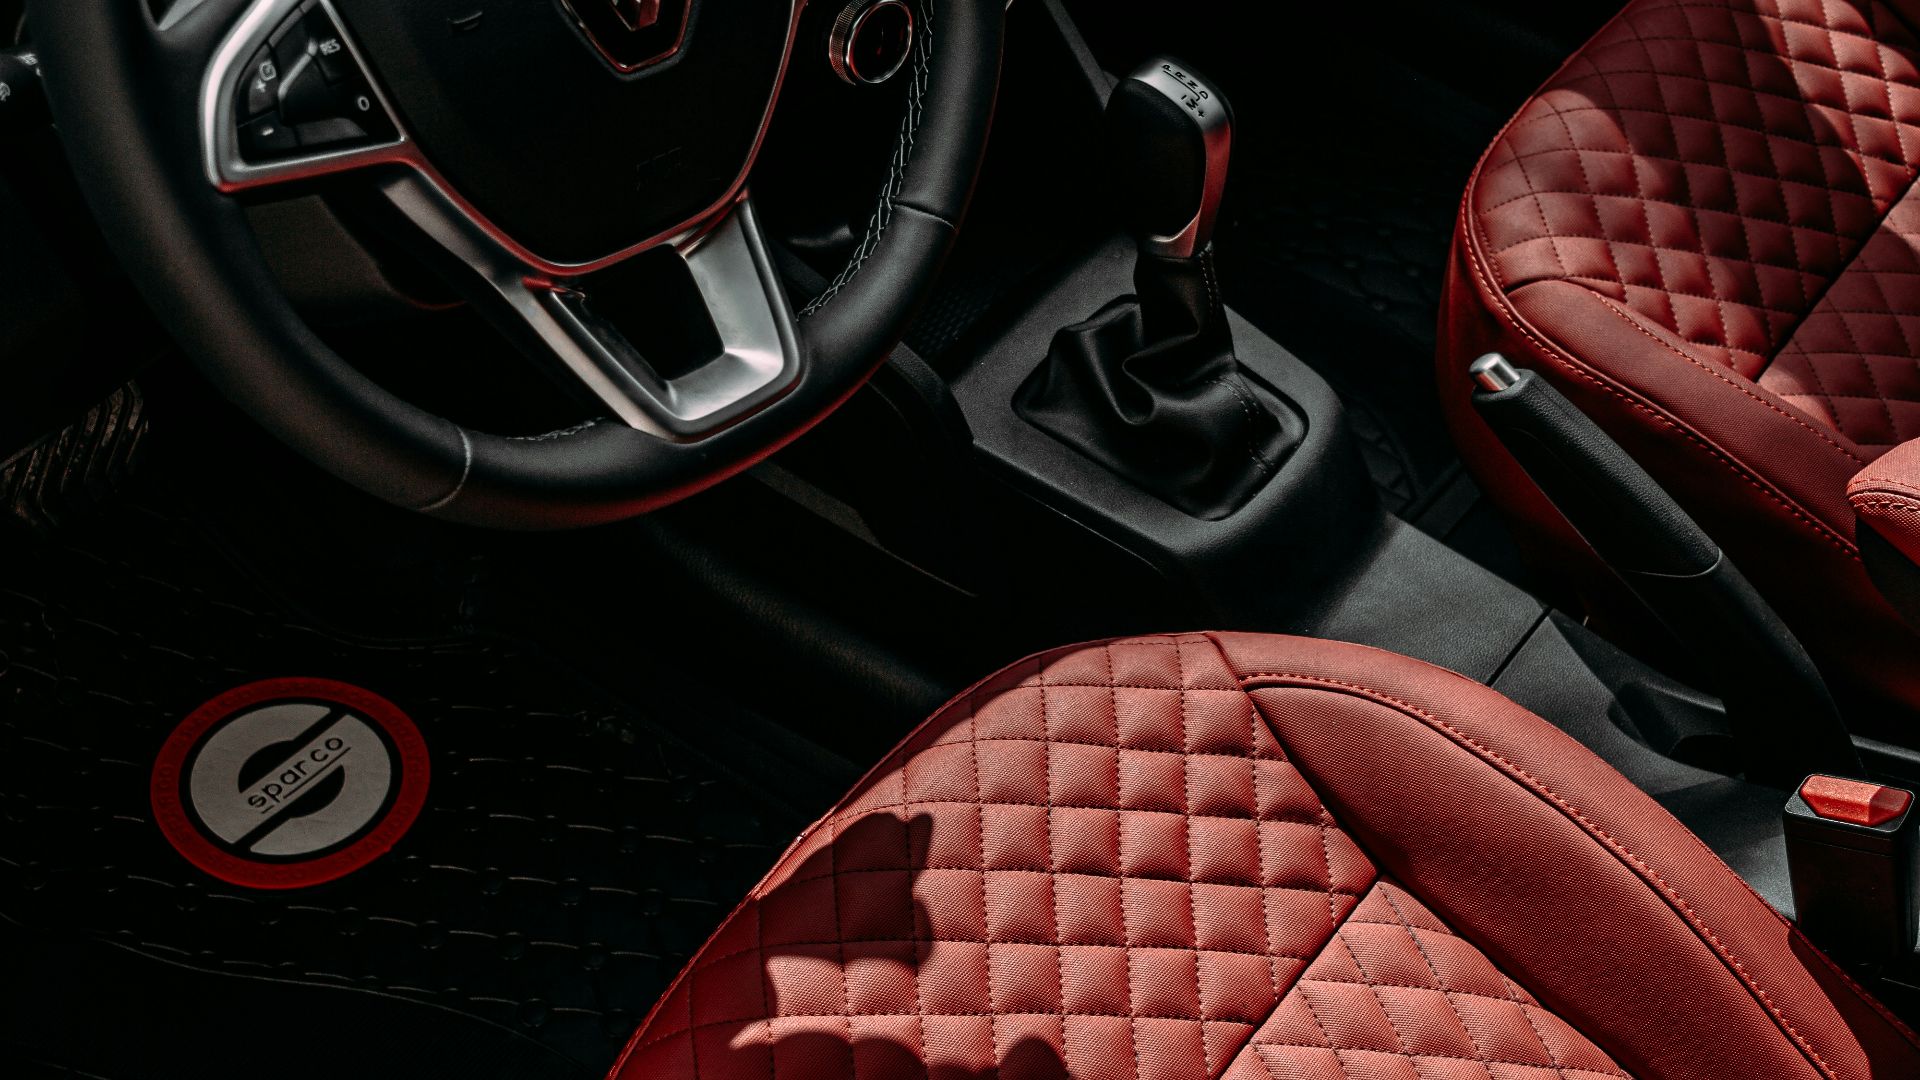
18. Seats And Upholstery
Take interior photos before passengers climb in or bags land on the seats. Capture the front seats, rear seats, armrests, headliner, door panels, center console, and cupholders. Stains, burns, smoke odor, pet hair, torn fabric, and sticky mystery spots are much easier to discuss if you documented them first.
19. Floor Mats And Cargo Area
Photograph the floor mats, carpets, trunk, cargo floor, and seatbacks. These areas take the hit from muddy shoes, rolling suitcases, beach gear, groceries, and whatever the last renter hauled around. If mats are missing, the cargo floor is stained, or plastic panels are scratched, get it on camera before loading your own things.
20. Toll Transponder, Keys, And Accessories
Finally, photograph the toll transponder, key fobs, charging cable, child seats, GPS unit, roadside kit, cargo cover, or any other included equipment. Toll programs and accessories can lead to charges after the trip, especially if something is missing, damaged, or left in the wrong setting. A quick photo shows what you received before the rental ever left the lot.